Arcane Legends Alargan Complete Guide
Arcane Legends Alargan Complete Guide by Hiosahaf
Alargan solo: Part I: Mob clearing.
This boss is literally a beast. I’ve never encountered something more complicated in AL. Inan was easier with rogues! Even the mages who healed him could be taken care of but this dragon rocks. Here’s the first part which comprises of the mobs and the sections to be cleared.
First up are the armadillo like creatures which are pretty easy to kill for any class. Their special ability is that that they jump and attack.
After clearing them, you’ll see a whole lot of fake Singe thingies. Now these are pretty easy in normal but their specual attack can be devastating in elite (its like a strong attack which causes immense damage when a lot of them are together. mostly they attack only when together, peculiar thing I noticed. small radius). Move only along the right edge of the mob so you won’t aggro the other fake Singe.

Next up you’ll meet these heavy dps serpents who attack with great speed. Don’t go too far while attacking the fake Singe because their attack is a bit ranged too.
Now you will see the tribal (^) which is guarded by his shield. In my opinion, it is a waste of pots killing his shield and him both. Thing I noticed is that that he moves around a bit so when he is in the position as shown in the pic, move along the corners and bypass him to avoide him. Pretty useful strategy in elites.
Standing here is ideal:
More armadillos and 1 tribal now. Beware so as to not to go beyond the shown lamp else you’ll unnecessarily aggro the serpents. Kill the shield ASAP. This is the first thing you should do, be it normal or elite maps. If you think it’s getting too much to handle, retrace your steps back.
Kill the serpents ahead like you did before. Take them to the shield which you killed earlier else you will aggro the mobs ahead, namely few fake singe, tribal, armadillo.
Again, aim straight for the shield and use AoE attacks so as to kill a few in the process of destroying the shield. It is important to mention here that you should aim for the tribal kill first.
Now you’ll encounter a lonely fake Singe and an armadillo couple. Kill them off and stop!
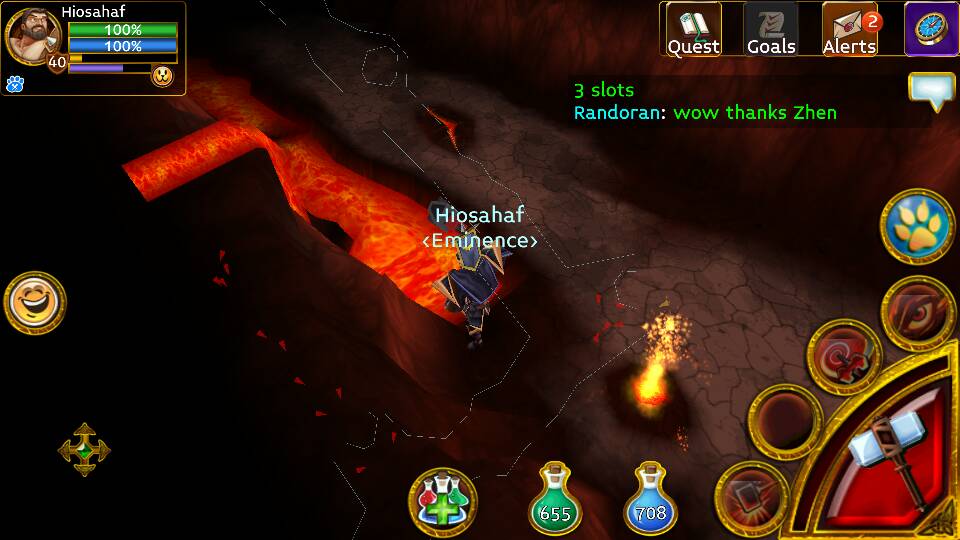
Now is the time to run to Ala!
Run till the end of the map and the mobs will reset. Rest if you want for 10s in the big area because if you followed what I did, Ala would not have spawned by now.


You can see from the above two images that I had to kill the initial mobs for Ala to spawn.
This ends the first part!
~
Quick pro tip:

Click “free” even if you have loads of plat because he resets and stays there only. You’ll die again!
~
Alargan solo: Part II: The beast.
Well.. took me 11 tries to tame this beast. Only the last 5 counted as the previous 6 were laggy. First of all, the timing on the rage are highly irregular (or so it seems unless you get to know him). I knew I had to run a lot so I chose Loki for the dex and the meagre but not negligible 15 str. It didn’t quite work out as it was too slow. Then I tried ribbit and died one more time and then again after getting it to 40-50ish. I was using a dev maul and then I thought of switching it out for a noob targe.. voila, it worked! The great armour bonus was epic. There were times when I got to 2% health. Would be dead for sure with the dev maul! Put ribbit on autofeed, used 200ish pots for final kill and I’m done.
Leave your constructive comments below!
~
The first failure
Prance was a viable option and would have ensured higher survivability but would slow me down even more.

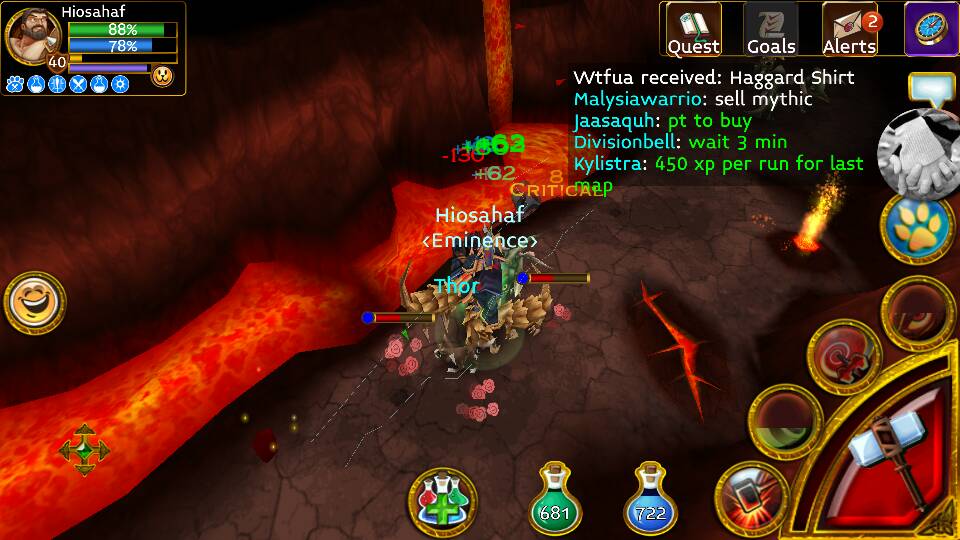
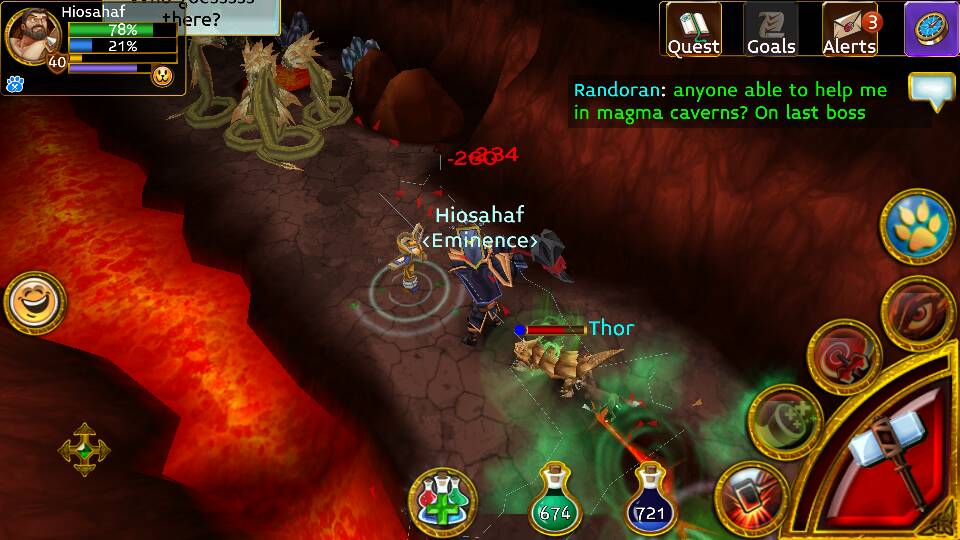
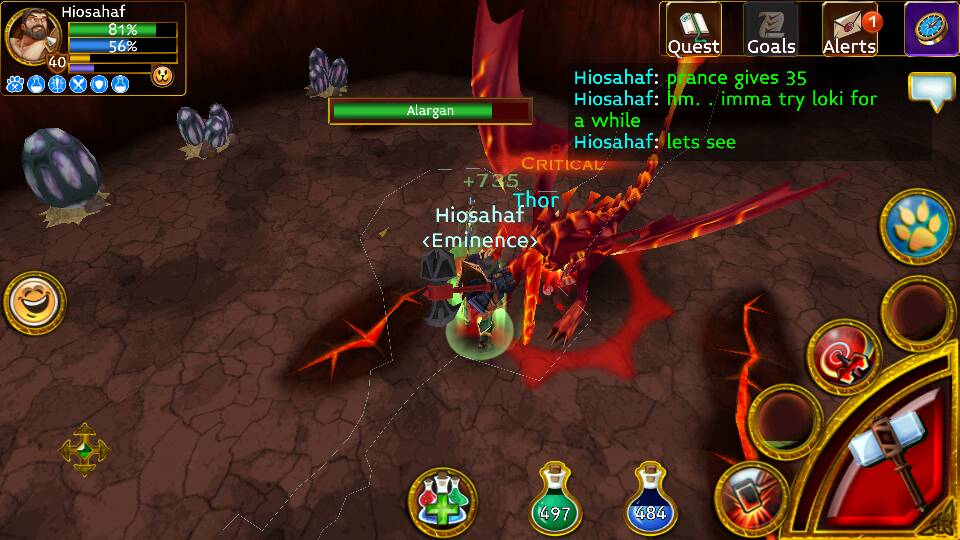
Alargan has a devastating tail attack. It attacks you like a scorpion with its tail and leaves a lot of damage while doing so. Here in this pic you can see the full attack of the beast.

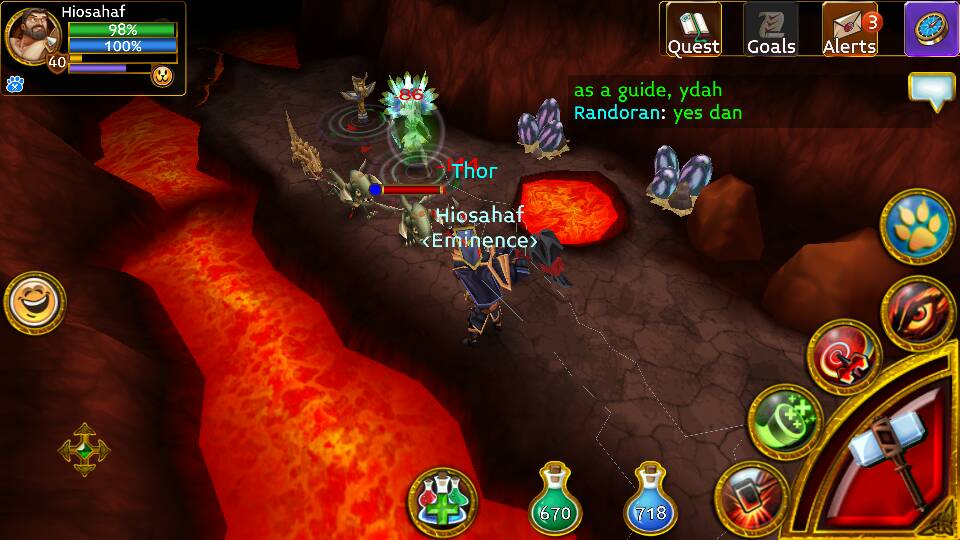
The Arcane ring bling type halo around Ala indicates its “rage” mode. Responsible for my numerous deaths. Tip to avoid this? RUN. Really, run, unless you are a good tank and can spam pots fast enough. To counter this rage mode, I made a lot of observations. This pattern repeated for quite many cycles. Unless I was smack at the wall, he would pull me in. Given time, he would do his conical red-zone attack, and you have to move RIGHT to avoid it. Be sure to blow VB by now. Get HoR as he will pull you now if he didn’t earlier and wham you. Use Ribbit’s AA, and hammer your way for a while. Should lower his health by quite a significant amount (even if you’re using a nooby targe)

final try (yes, 4th try. Got him to 20, lag, died)

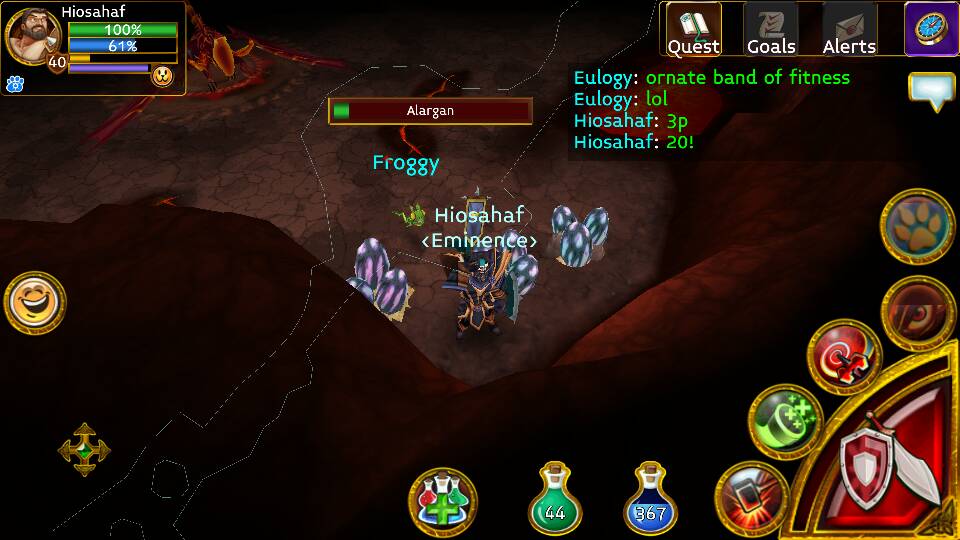
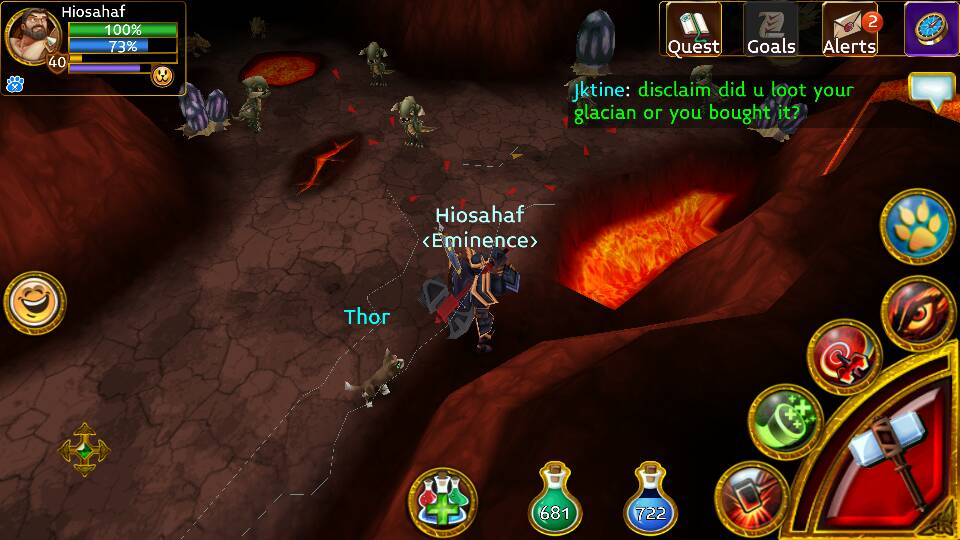
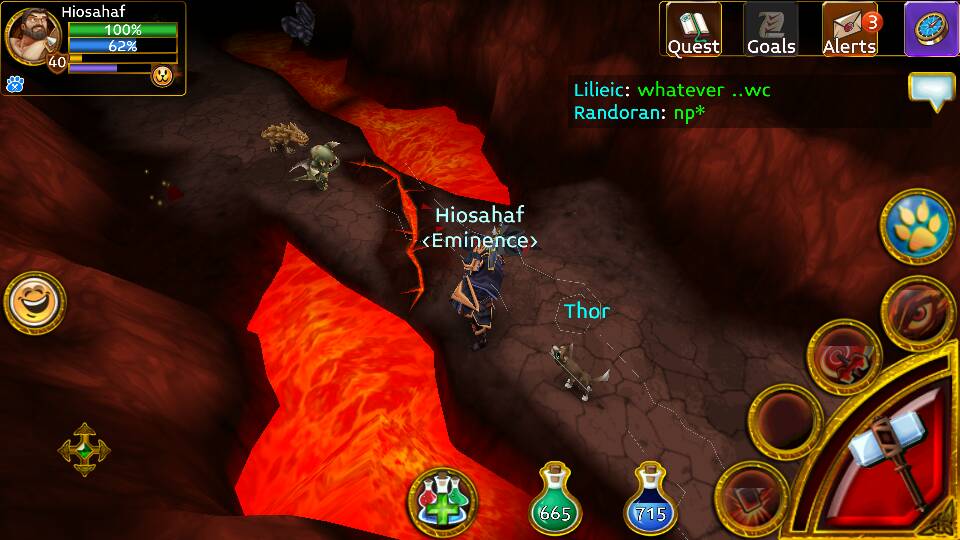
I can’t emphasise how much this spot is important. This spot is your saviour and can be the make-or-break point. This is the farthest point in the in the arena and has the chance to give you a much needed respite for CD of skills. Even in elites (I shall merge the elite part with this one later on), this will be THE spot to stand in. Since this boss doesn’t stun and moves slow as well, it makes him relatively easier (imagine if Ala had stun!)
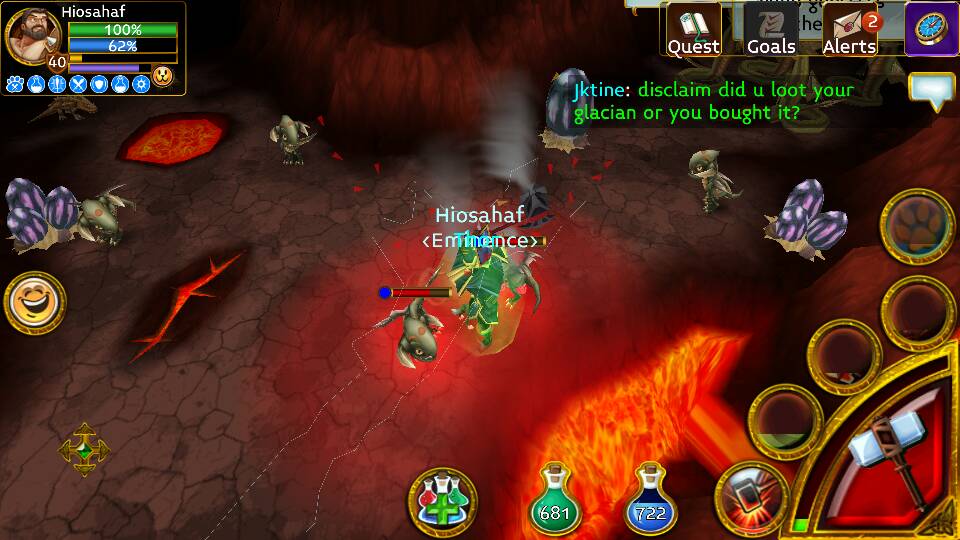
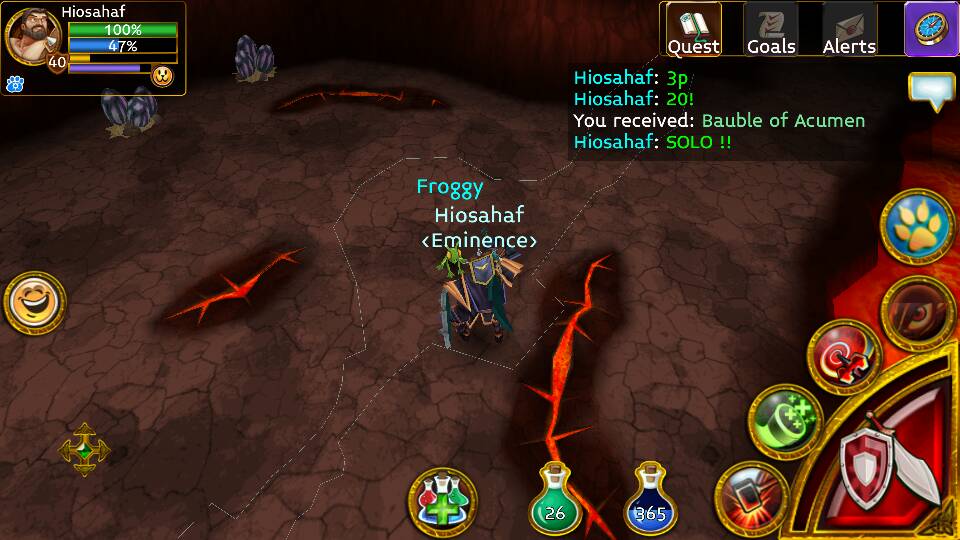
Now, the trick to survival is moving in anti-clockwise direction in a circular manner. Stick to the walls. This boss will keep facing you so move SLOWLY, allowing Ala to move in your footsteps hence. Reason? Skill CD and helps you gauge his next attack. What I mean by that is, if he uses the red-zone conical attack, you can be pretty sure he’s gonna pull you in soon so keep your pot spam/horn ready. Get to the spot shown in the pics below, spam your skills away, circular path after he enrages, repeat.
~
Pro tip
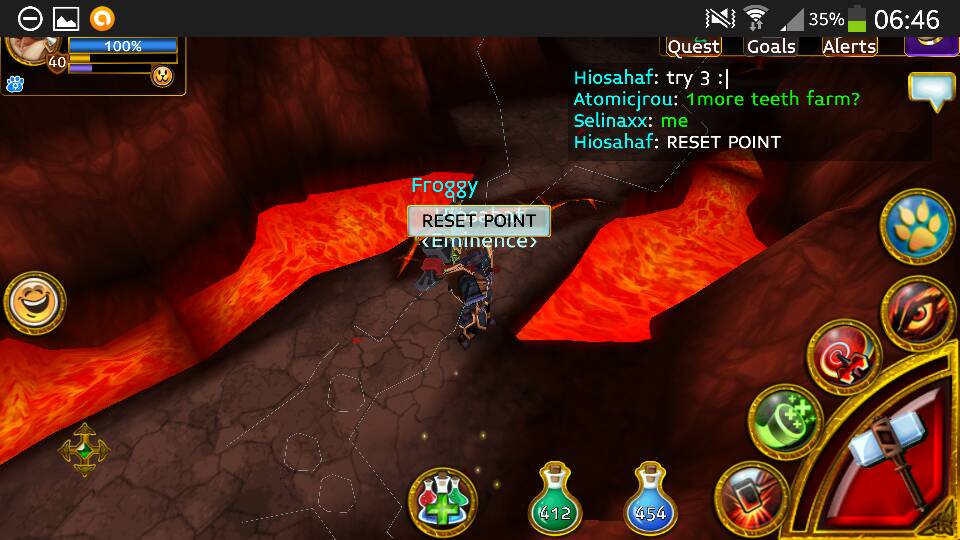
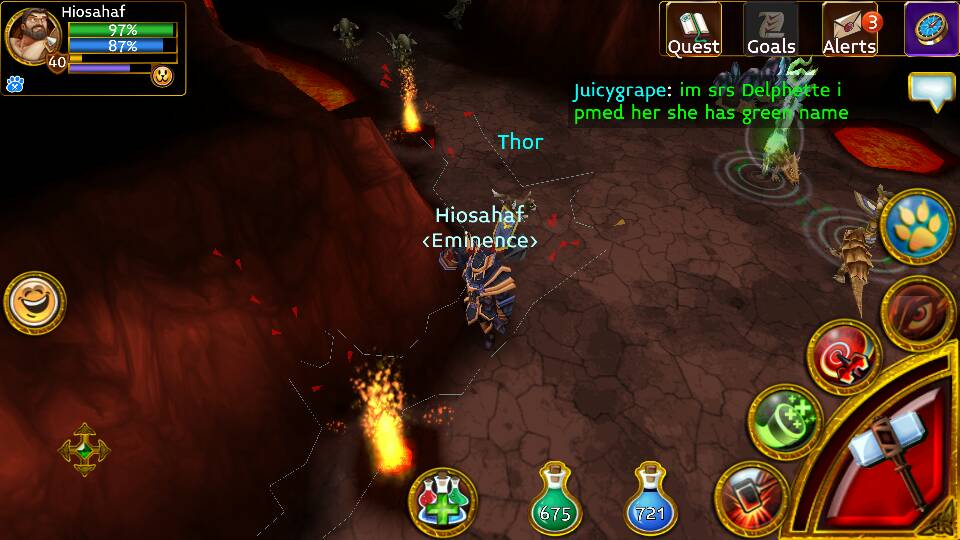
Get here after luring the mobs away as you will aggro alagran too in the process of mob ignoring.
~
Thank you for reading! This thing really shows that you don’t need mythic gear to kill stuff, you just need a cool head, patience, and skill ! I accept gifts as thanks if you find it helpful :3
~
Edit- (Valuable inputs from Goodsyntax/Kalizzaa)
When solo, this boss can be challenging; however, in a party with multiple members possessing a 100% stun pet (George or Kelvin), this is actually a really easy boss. The most difficult aspect of this boss is that if you are kiting him (I’m a Rogue), keeping your pet engaged can be a challenge. If you get pulled while your pet isn’t engaged, his AA will miss and you will die.
I will make a general observation, based on my numerous runs here. It seems that the boss is easily confused and disoriented when your party is kiting him and attacking from different angles. He seems to stall out and become indecisive on which player to attack. As soon as his aggro locks in on one player who is attacking at range, another player attacks from the opposite side and Alargan’s aggro locks in on the new threat, so he starts to turn around. If you slow down your attack intervals, Alargan will basically stand in the middle of the room turning in circles until he does his pull or his long distance attack. This is particularly effective when he is enraged, since his enraged attacks are effectively from melee distance.
One final note, you have to perform your pet’s AA quickly. If you wait for the pull to finish, the AA stun may be late and you will die.

Recent Comments