Guild Wars 2 Ranger Pet Guide
Guild Wars 2 Ranger Pet Guide by Sycthrex
1. Introduction
Hello fellow Rangers and welcome players who are new to the Ranger!
Hopefully you will have come here from my Ranger Guide but if not then please don’t hesitate to go check that out, it is full of information you may want to know if you want to delve into the PvP side of things for the Ranger.
This Pet Guide is more of a general guide to your little friend(s) but will also touch on my ideas and thoughts on the PvP side of things so I hope you enjoy!
2. Pet Management
Pets are permanent AI-controlled NPC allies which are the ranger’s special profession mechanic. A pet has a family, such as bear, which determines most of their skills and its general attributes. Its species, such as a polar bear or a brown bear, determines a unique skill. Its type; aquatic, terrestrial or amphibious, determines which environments the pet is able to operate in.
The ranger has limited control over the actions of their pet; they can set the aggressiveness of the pet and activate a skill, otherwise a pet’s action is automatically controlled and based on what the ranger does in combat. A ranger can have any number of tamed pets, but only four pets are immediately available to call into battle and only one can be active in the world.
A juvenile animal, which will have a name in the form “Juvenile <pet species>”, can be approached by the ranger which makes a context-sensitive skill available, on F, to charm it. Charming an animal unlocks that species so that it can be placed in one of four pet slots out of combat.
The pet management panel can be accessed by clicking your current pet’s icon in the mechanic bar or by using the shortcut key, which defaults to K. From here the player is able to rename and view the statistics of the current pets. The player can select tamed pets into a pet slot using this interface so they are available to switch to during a fight. The ranger has four slots for pets; two slots for the pets available when on land and two slots for pets in aquatic environments. Pets have to be of the appropriate type to be slotted; amphibious pets can be placed in any slot.
To rename a pet, click on the quill icon to the left of the pet name.
3. Pet Interaction
Active Mode is effortless, but gives you less control over what your pet does and who it does it to.
Passive Mode takes more effort, but gives you good control over who/when/where/how your pet attacks.
Target + F1 This tells the pet to chase and attack your current target.
Target + F2 This tells the pet to use its F2 skill as its next skill, then chase and attack your target.
Note: Previously it appeared that passive mode created a more reliable lock-on, but that may no longer be the case. When told to attack a target, the pet will chase it until it gets too far away from the ranger, the enemy gets too far away from the pet, it dies, the enemy dies, the ranger dies, or the enemy stealth’s. Chase range is quite large.
No Target + F2 Your pet will use its F2 skill. If it is in the middle of a skill, it will use it after the current skill finishes. Useful for F2 buffing skills.
F3 or Changing to Passive at normal range Your pet will stop attacking and come to you.
F3 or Changing to Passive at extreme range Your pet will stop attacking and teleport to you.
Pets now have “return to me” commands separate from passive/aggressive setting; this is the new F3 command.
Pet Swapping swaps to your other pet, with full health and all skills recharged.
Pet Swapping with a dead pet results in a very long swap cooldown. (40sec)
Pet Swapping in combat with a live pet results in a moderate swap cooldown. (20 sec)
Pet Swapping outside of combat with a live pet results in a very short swap cooldown.
Stow (F4)/’Dismiss’ is useful for insta-reviving your pet once out of combat along with removing it from screenshots.
4. Types of Pets
There are twelve different families of pets each with multiple species. For example, the family of bear has the species polar bear and brown bear along with other bears and bear-like creatures. Each is of a designated environment type. Families and known species are listed below.
Terrestrial Pets
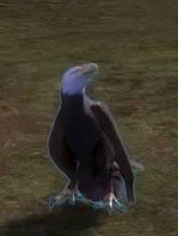
Family – Bird – Highest damage pets but long cast animation.
–Eagle – Appearance – Location
–Hawk – Appearance – Location
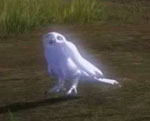
–Owl – Appearance – Location
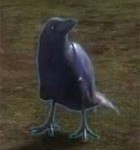
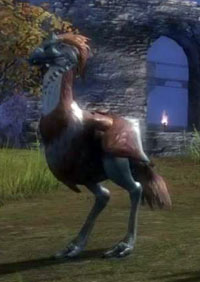
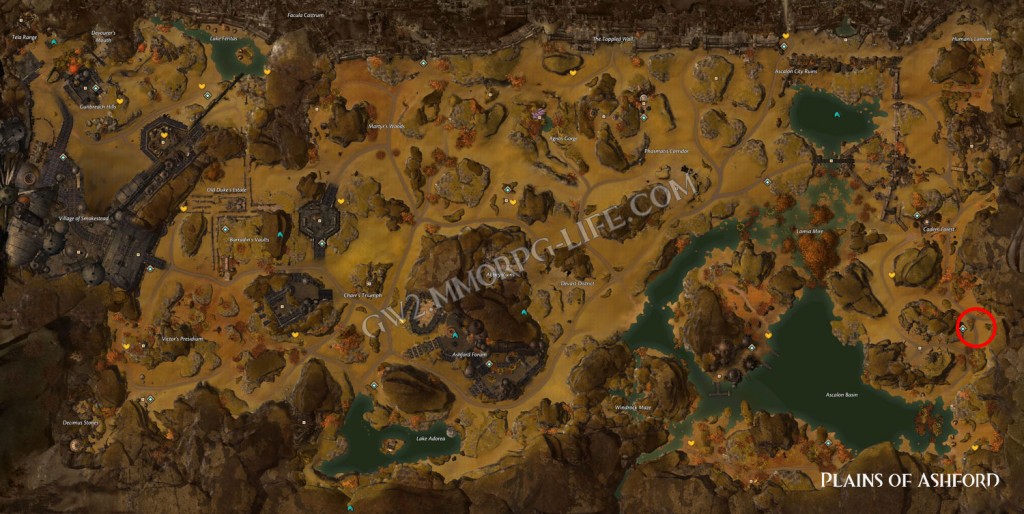
–Raven – Appearance – Location
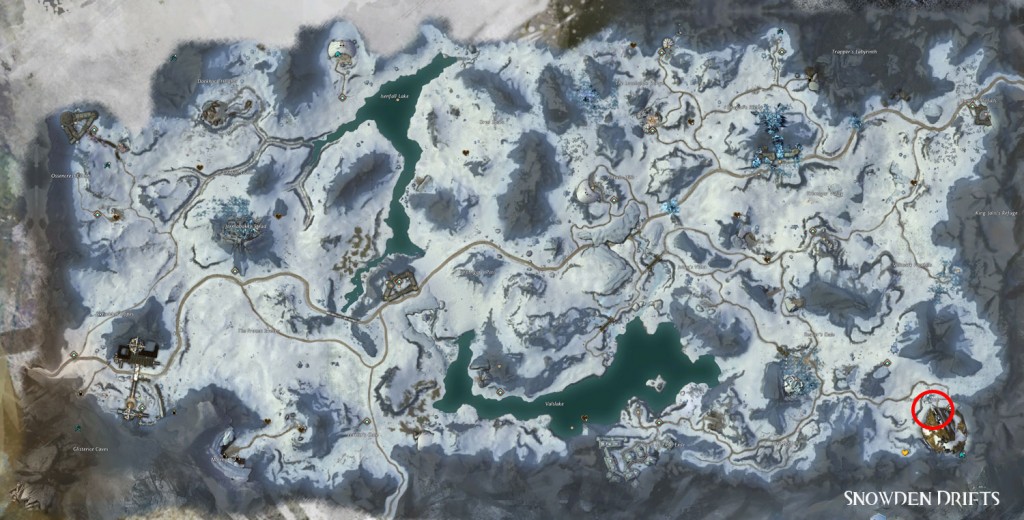
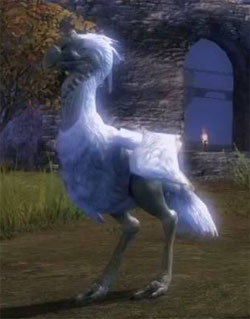
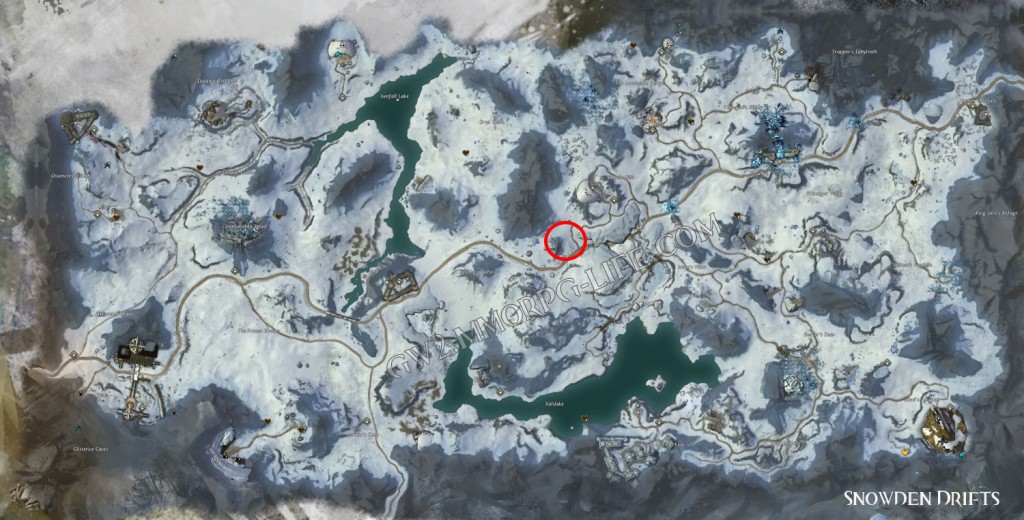
–White Raven – Appearance – Hall of Monuments (25pts)
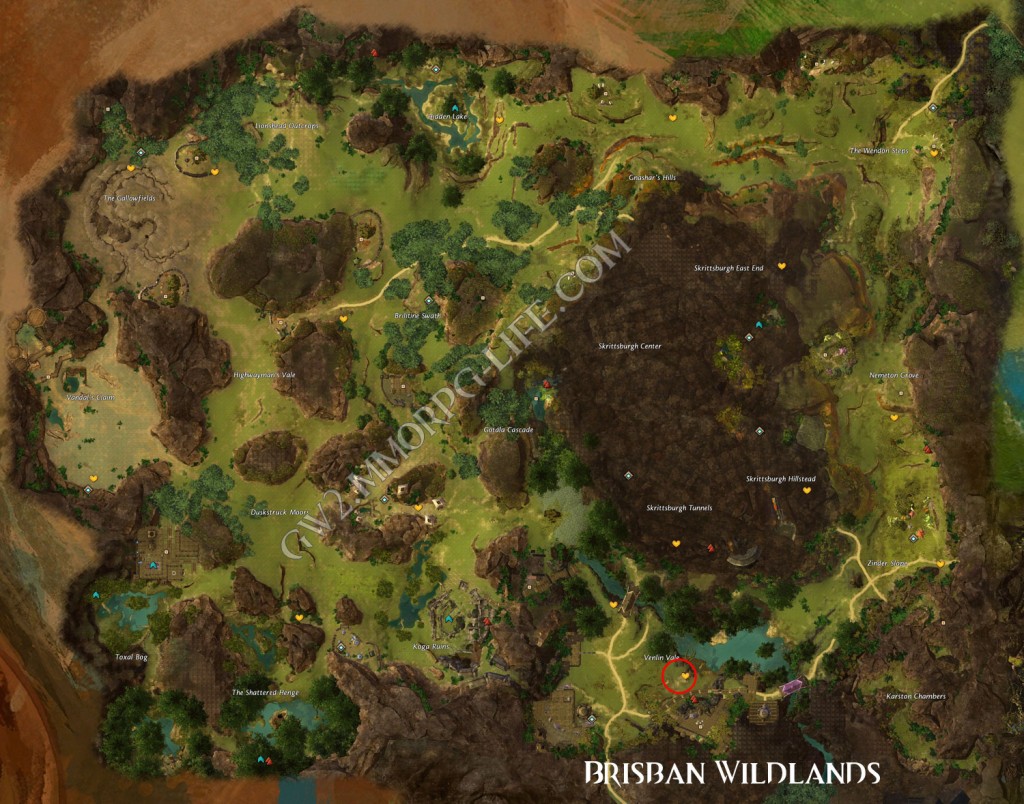
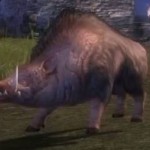
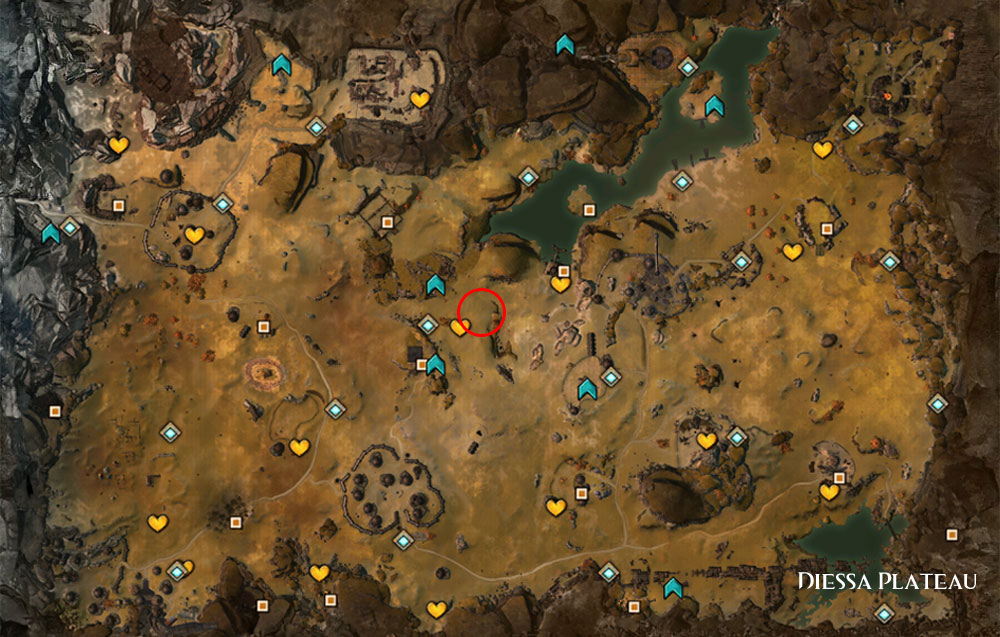
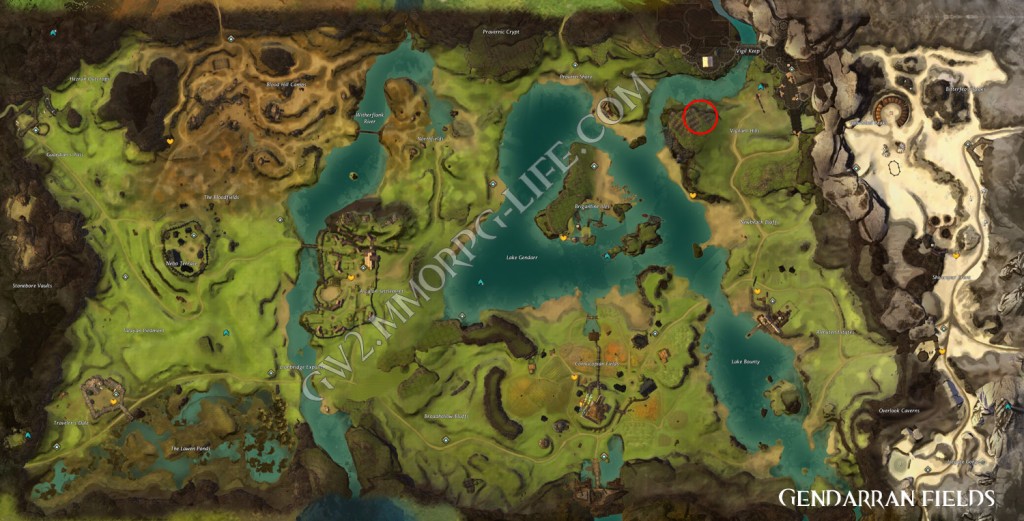
Family – Boar – Known best for knocking down your opponent.
–Boar – Appearance – Location
–Pig – Appearance – Location
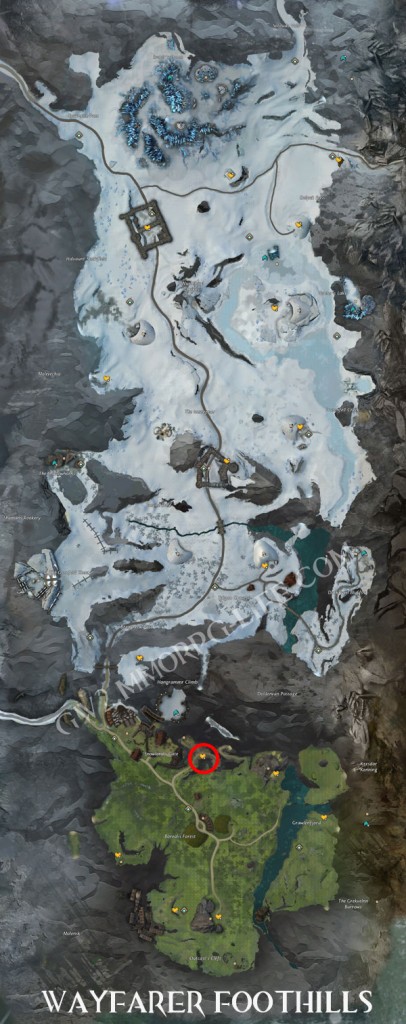
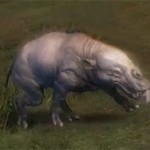
–Siamoth – Appearance – Location
–Warthog – Appearance – Location – Location
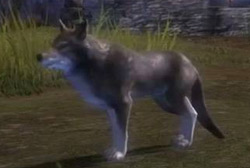
Family – Canine – Knocking down foes and slowing the enemy.
–Alpine Wolf – Appearance – Location
–Fern Hound – Appearance – Location
–Hyena – Appearance – Location
–Krytan Drakehound – Appearance – Location – Location
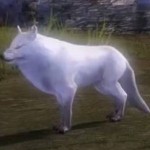
–Wolf – Appearance – Location unknown
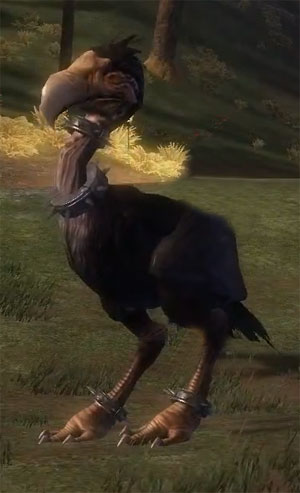
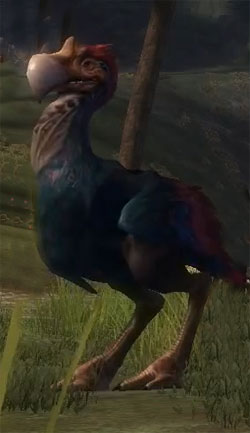
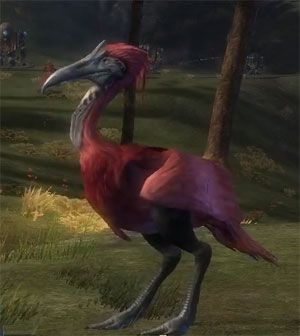
Family – Moa – Healing & Support pets.
–Black Moa – Appearance – Hall of Monuments (15pts)
–Blue Moa – Appearance – Sylvari Starter Pet
–Flamingo – Appearance – Location – Location – Location – Location
–Red Moa – Appearance – Location
–White Moa – Appearance – Location
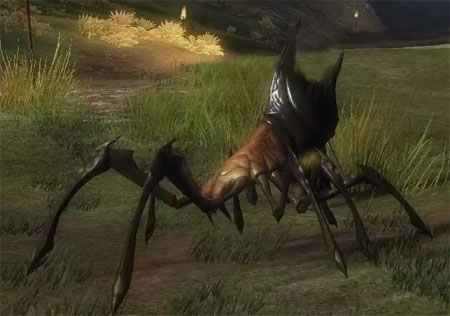
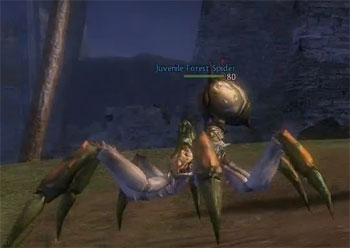
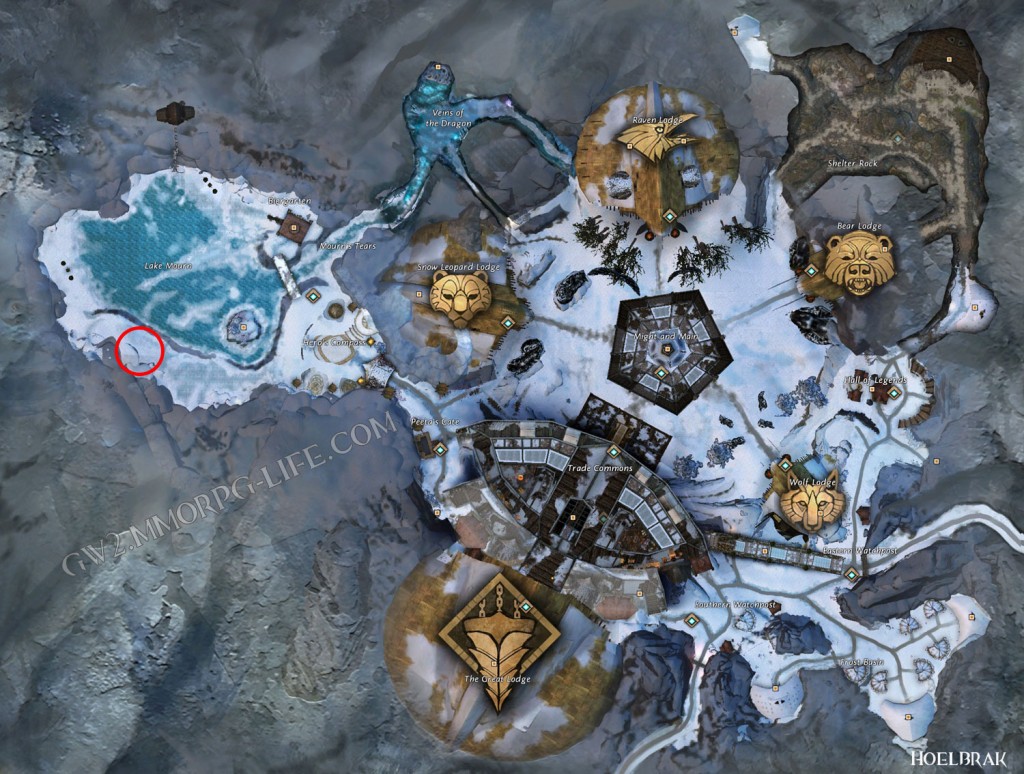
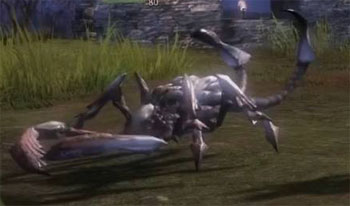
Family – Spider – Immobilizing and poisoning your foe.
–Black Widow Spider – Appearance – Hall of Monuments (30pts)
–Cave Spider – Appearance – Location unknown
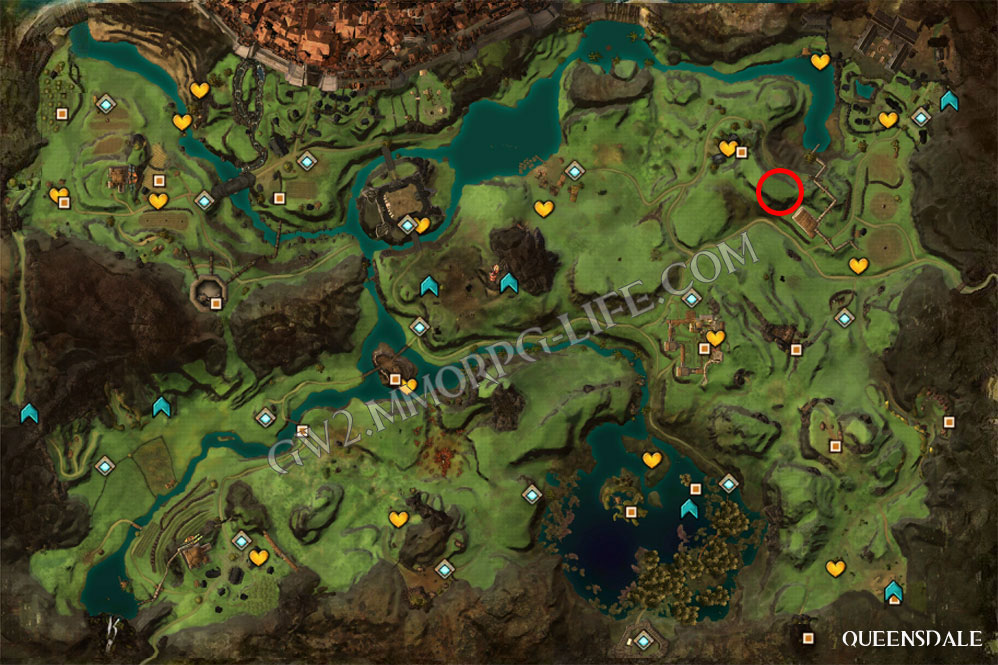
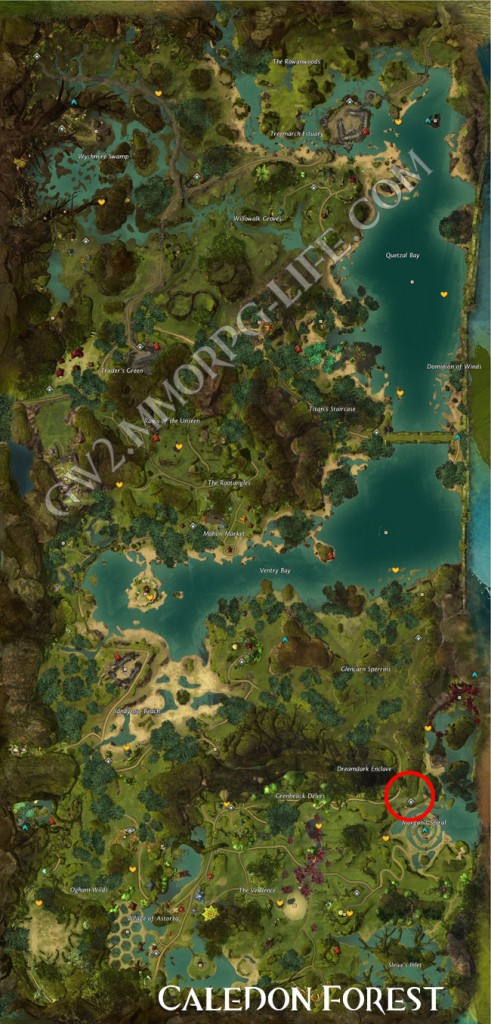
–Forest Spider – Appearance – Location
–Jungle Spider – Appearance – Location – Location – Location
Amphibious Pets
Family – Bear – High HP and damage reduction, your ‘Tank’ pet.
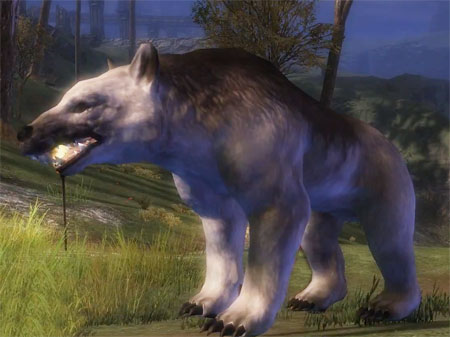
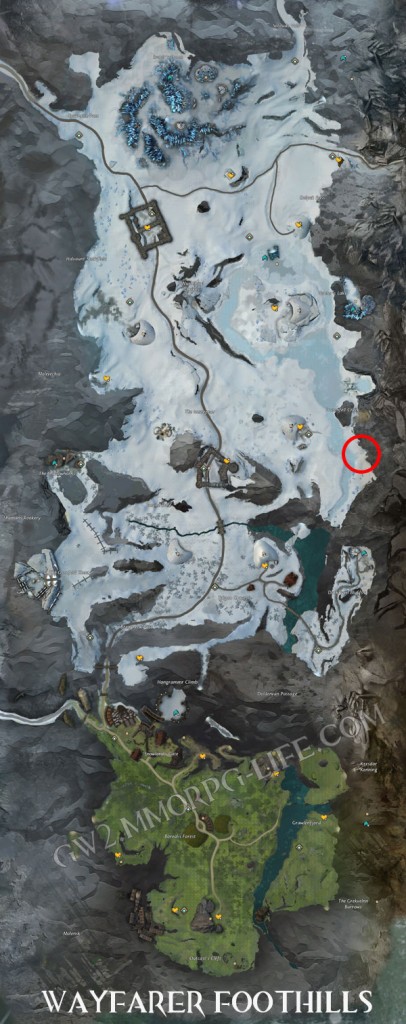
–Actodus – Appearance – Location
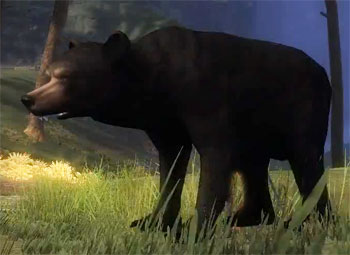
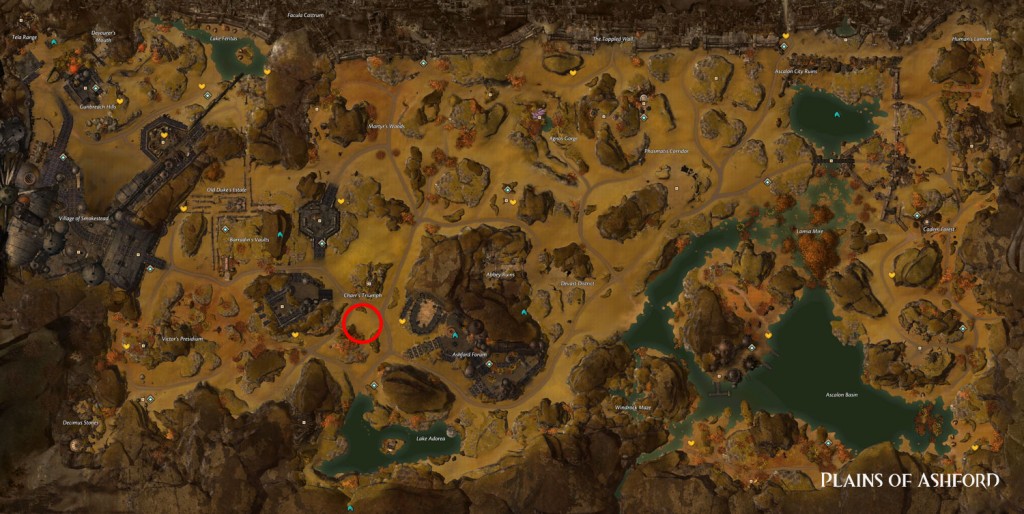
–Black Bear – Appearance – Location
–Brown Bear – Appearance – Location – Location
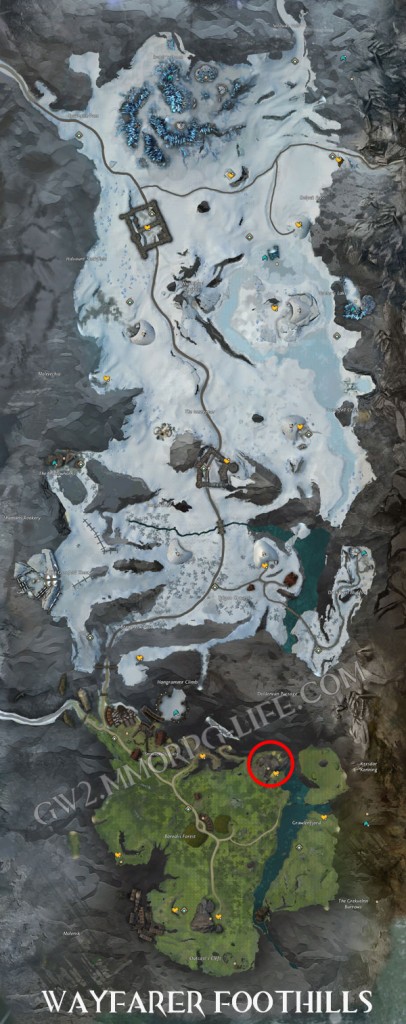
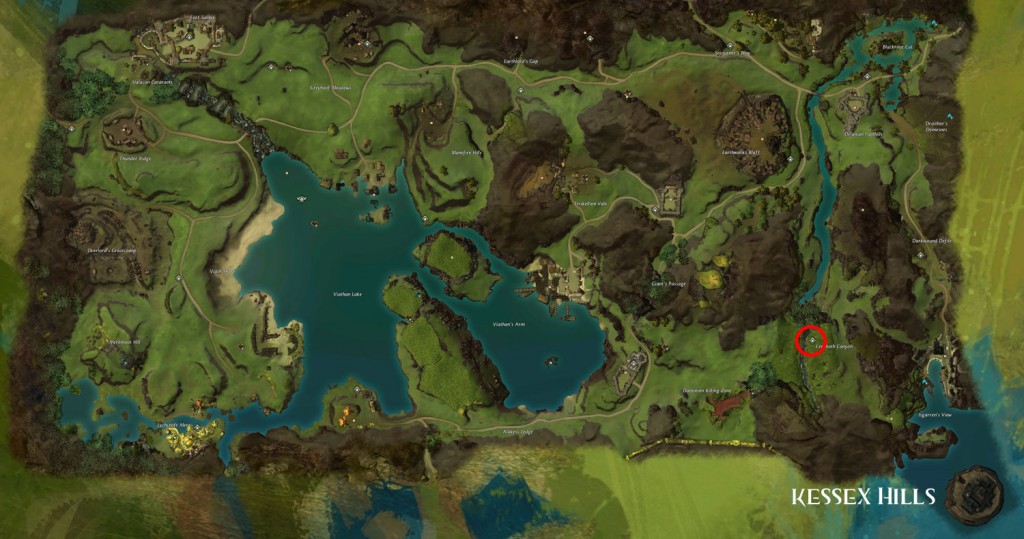
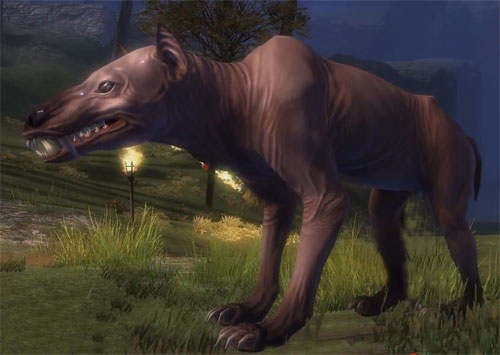
–Murellow – Appearance– Location
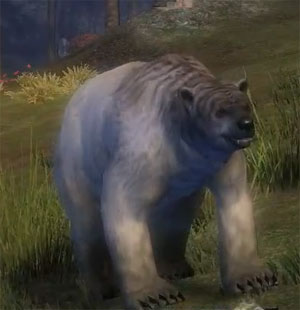
–Polar Bear – Appearance– Location
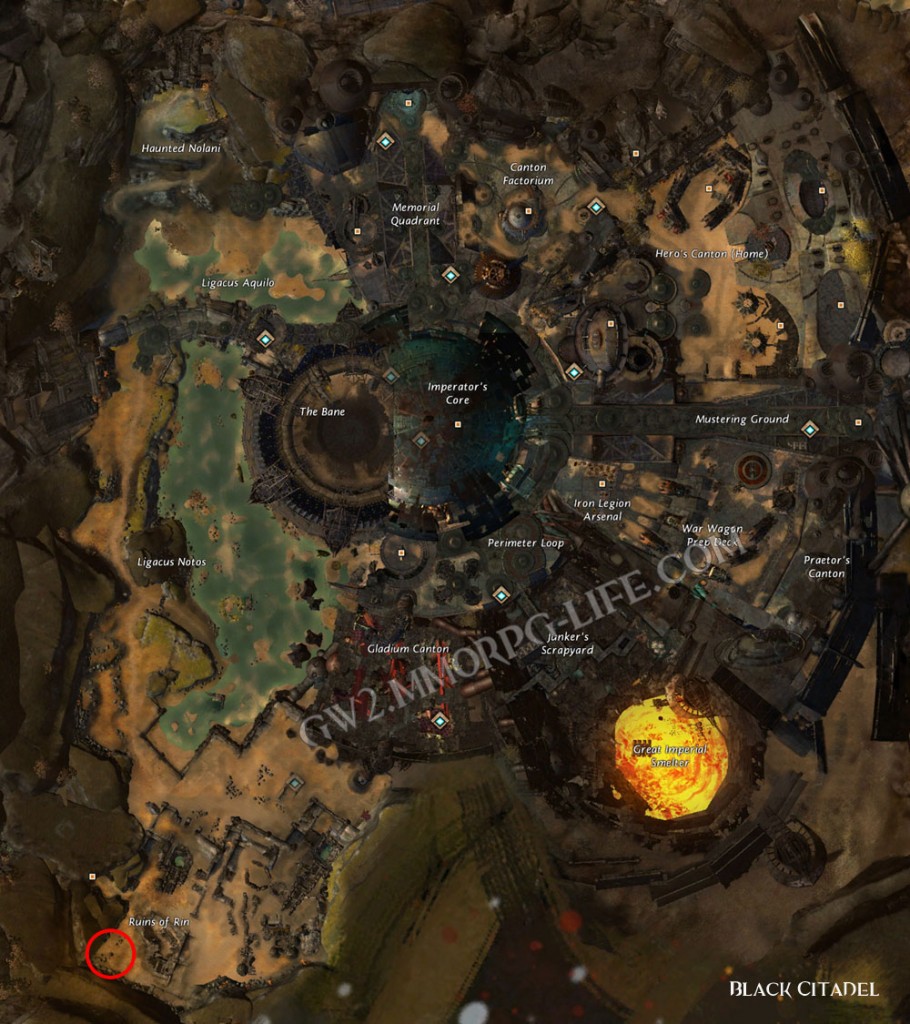
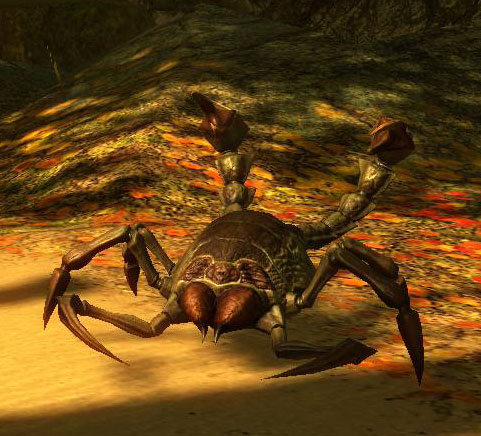
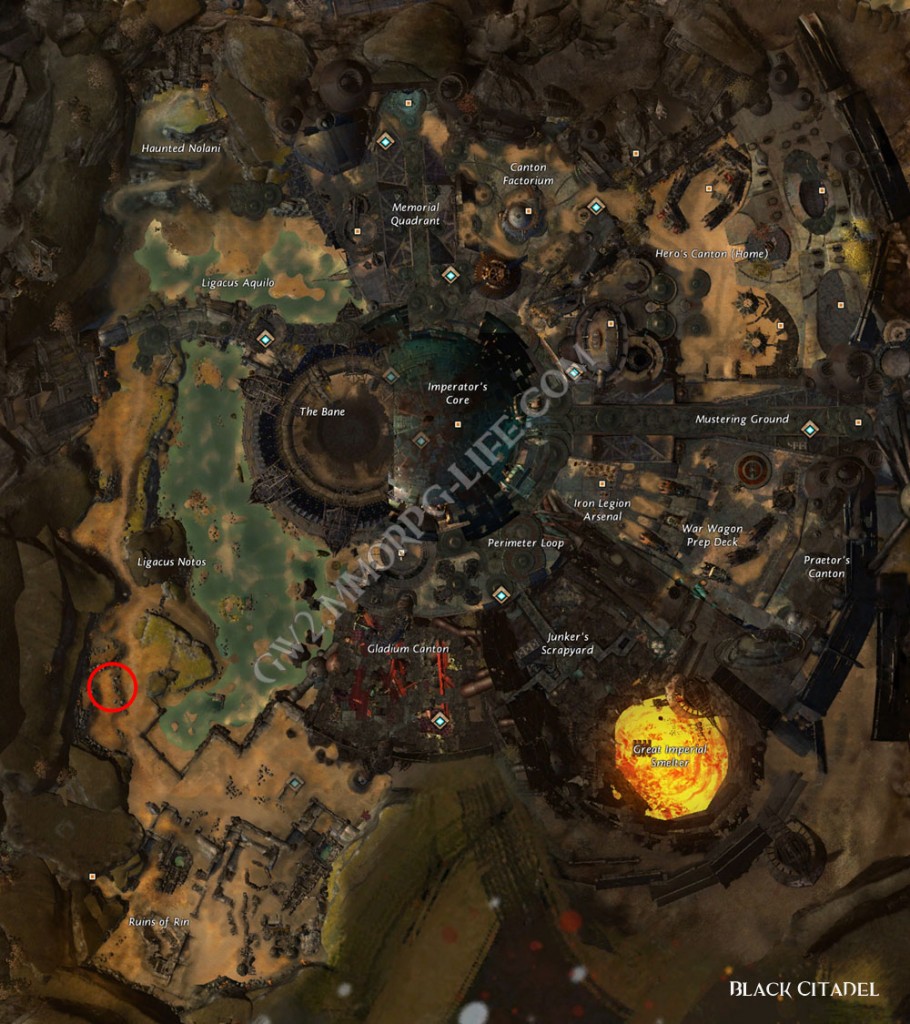
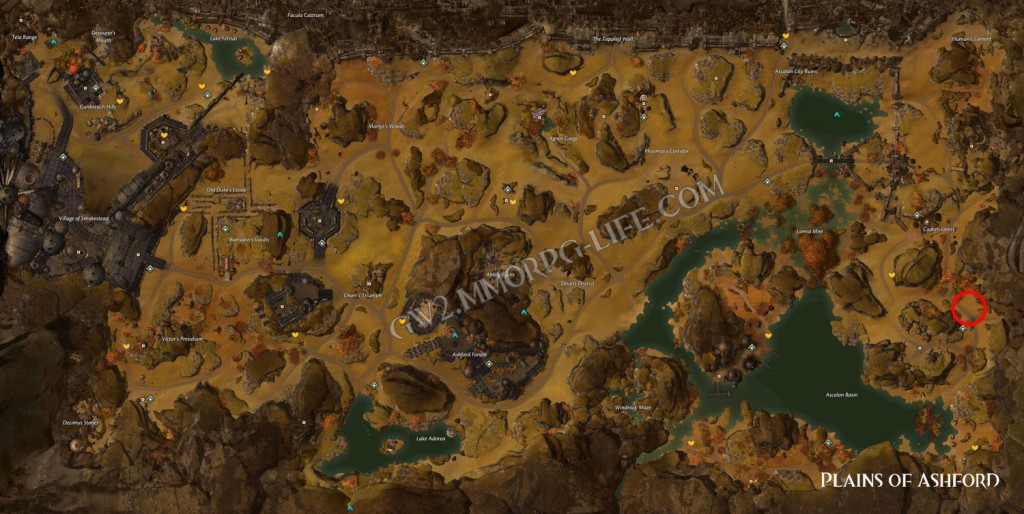
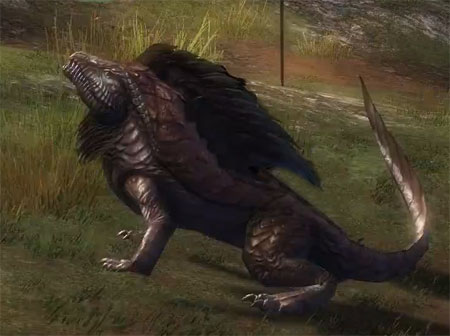
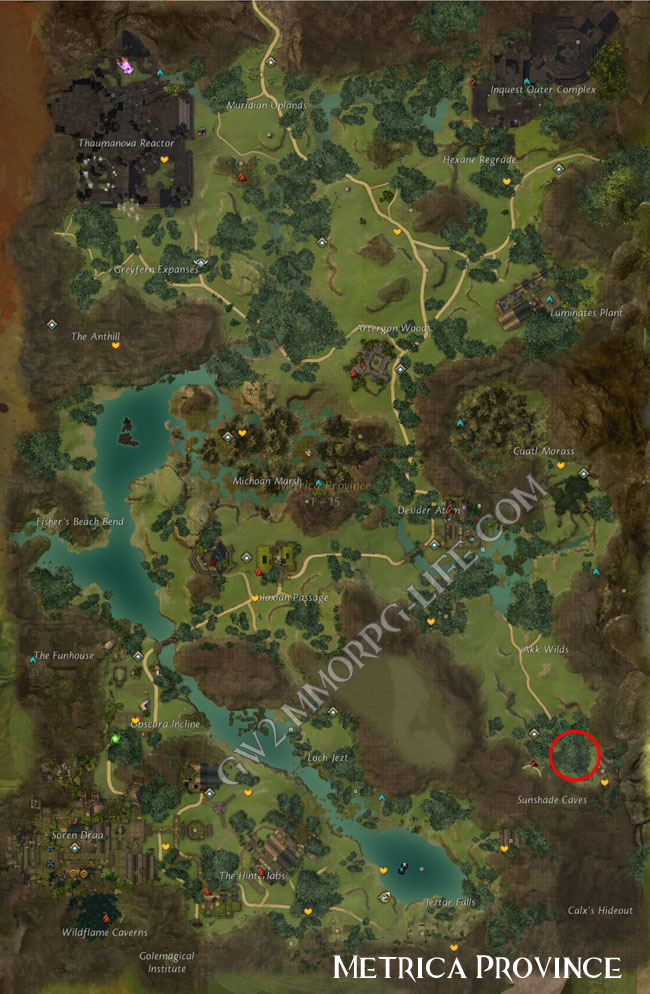
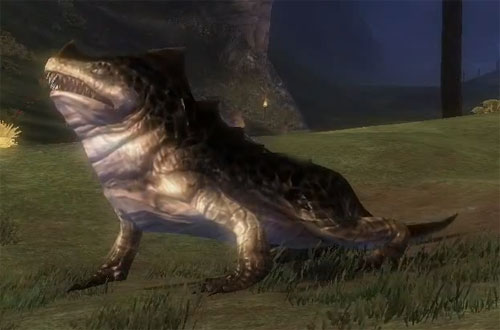
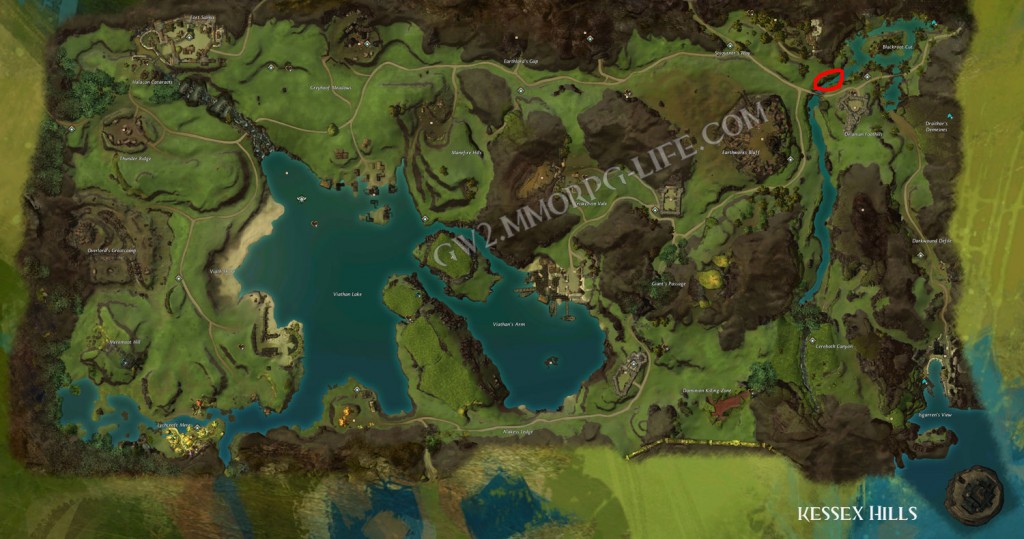
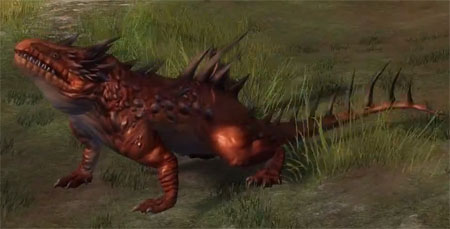
Family – Devourer – Ranged attacks, interrupting and poisoning nearby foes.
–Carrion Devourer – Appearance– Location unknown
–Lashtail Devourer – Appearance– Location
–Whiptail Devourer – Appearance– Location– Location
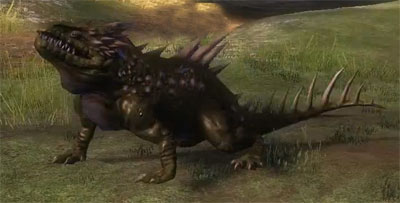
Family – Drake – Your AoE Pet.
–Ice Drake – Appearance– Location
–Marsh Drake – Appearance– Location – Location
–River Drake – Appearance– Location
–Salamander Drake – Appearance– Charr starting Pet & Eternal Battlegrounds
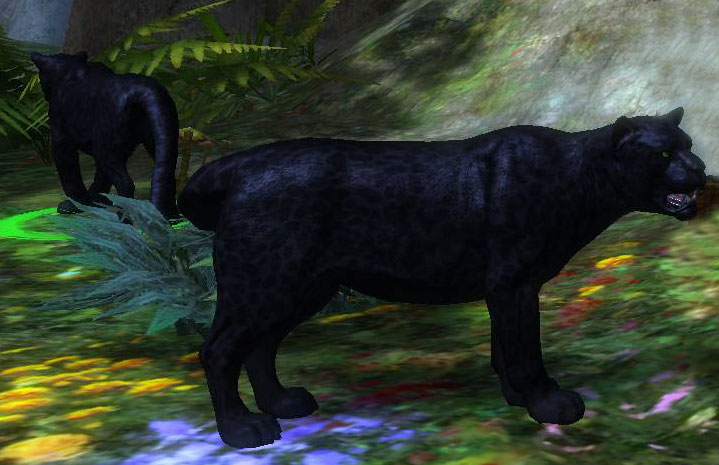
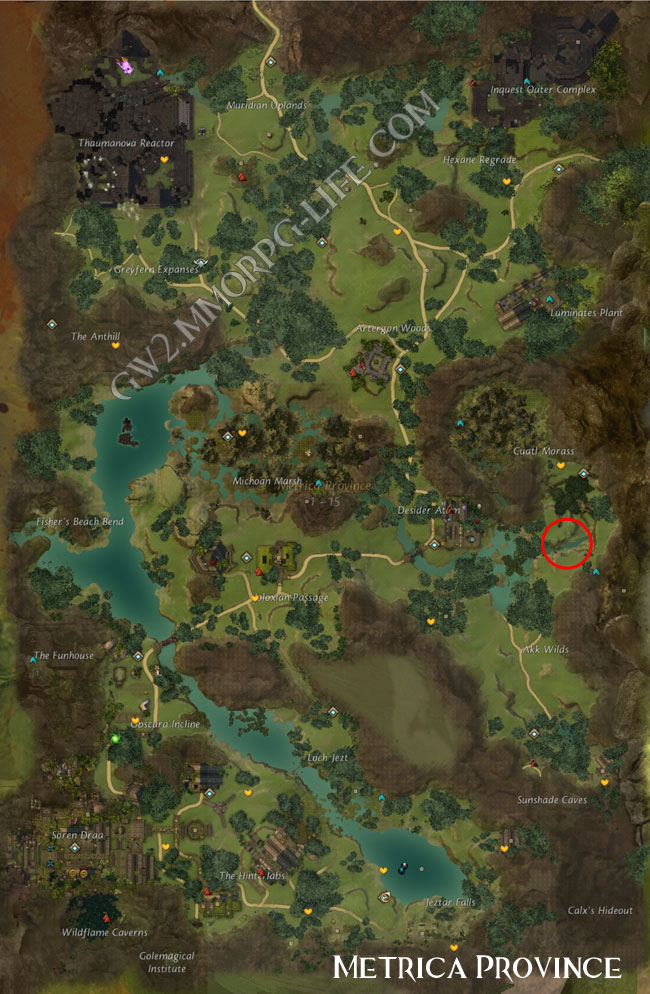
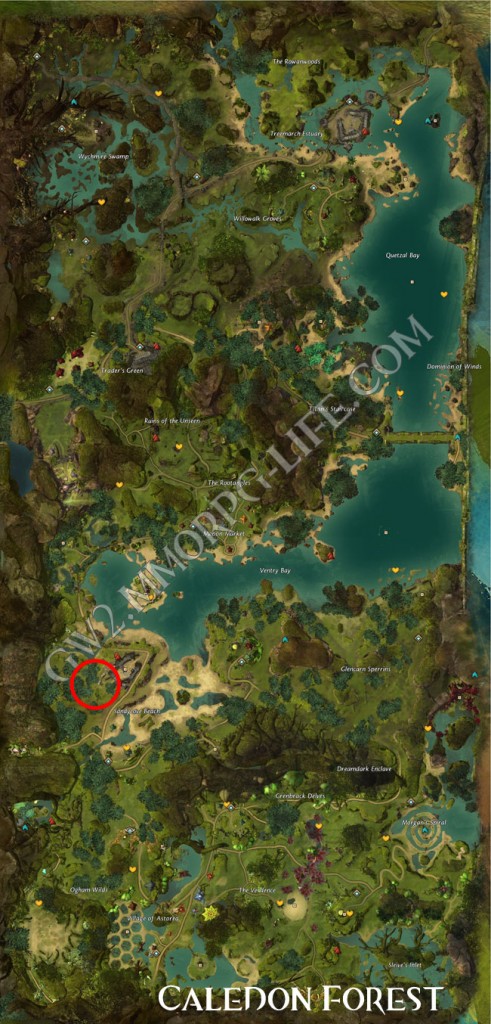
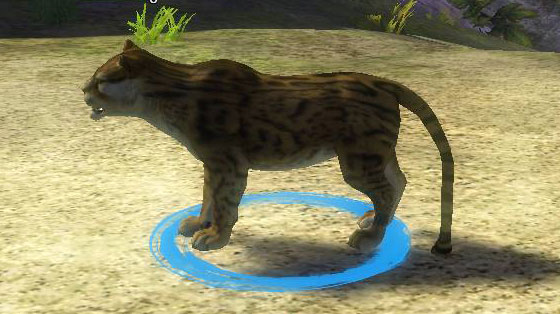
Family – Feline – Lowers target’s defence and deals large damage.
–Jaguar – Appearance– Location– Location
–Jungle Stalker – Appearance– Location – Can be picked by Asura. Human & Sylvari
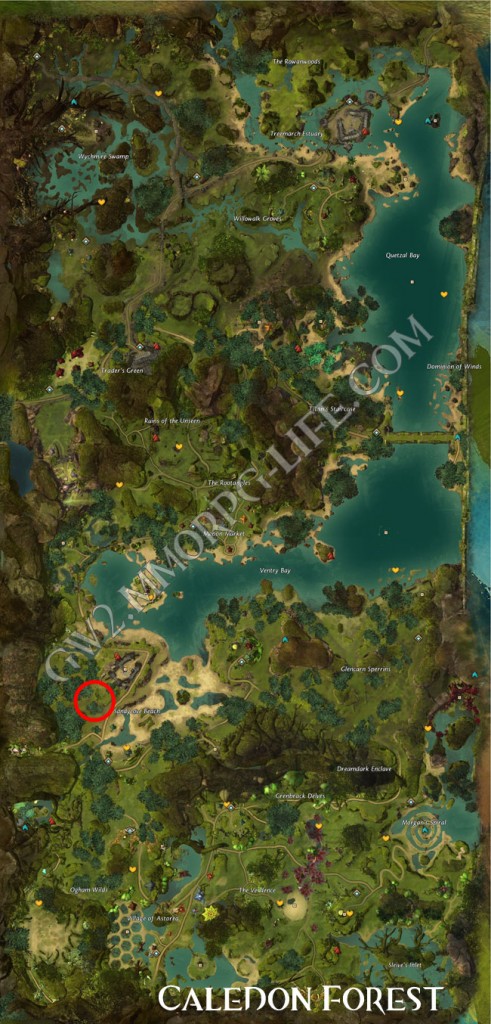
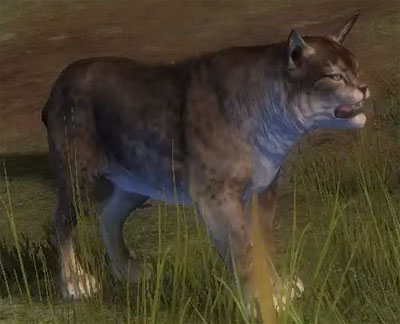
–Lynx – Appearance– Location
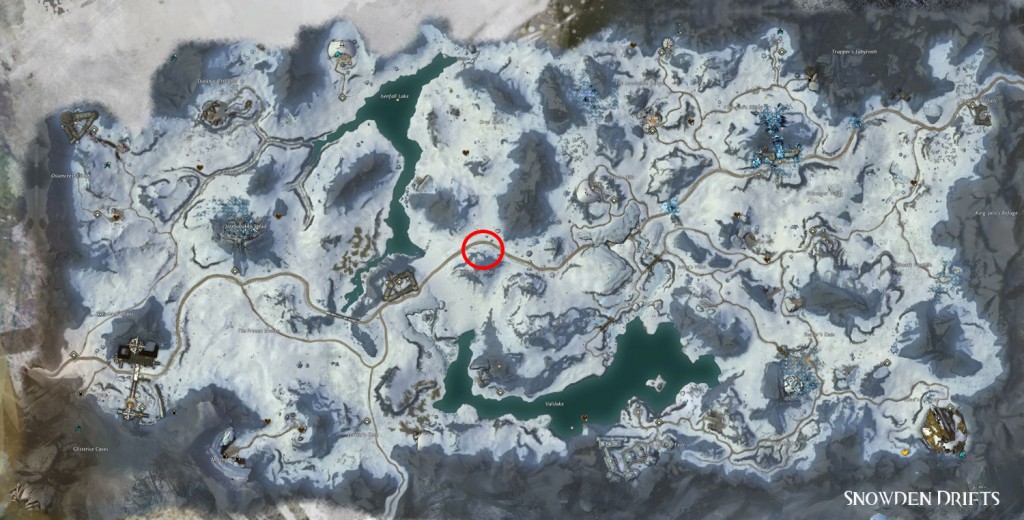
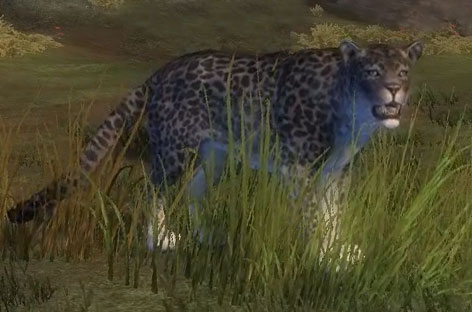
–Snow Leopard – Appearance– Location
Aquatic Pets
Family – Armor Fish – Stuns
–Armor Fish – Appearance– Location
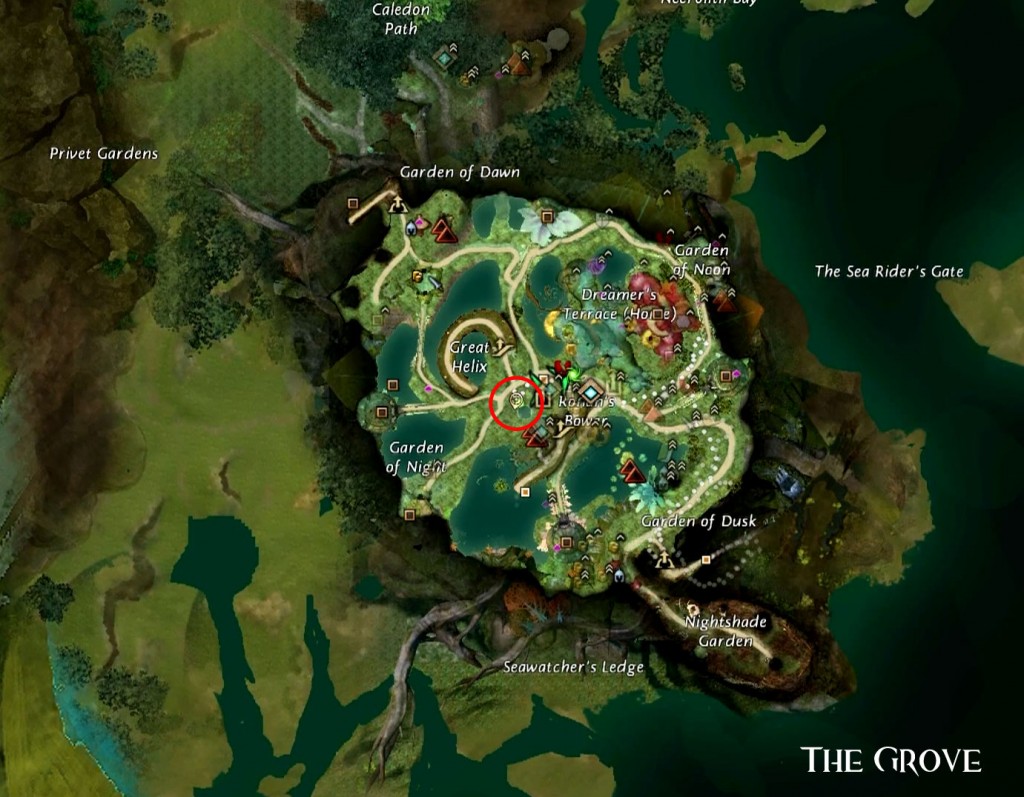
Important Note: Start the journey near Trader’s forum waypoint. You can go down east of the trainers, entrance to the Bilge. Take the first left, head west, then right and you will find yourself at the end of the tunnel. Jump in the deep pool going down (dark green water) you will find yourself in the area full of tuna. The tunnel will be in front of you. Follow the tunnel. At the end of the tunnel look down and you will find a small tunnel going down. At the end you will see Juvenile Armor Fish.
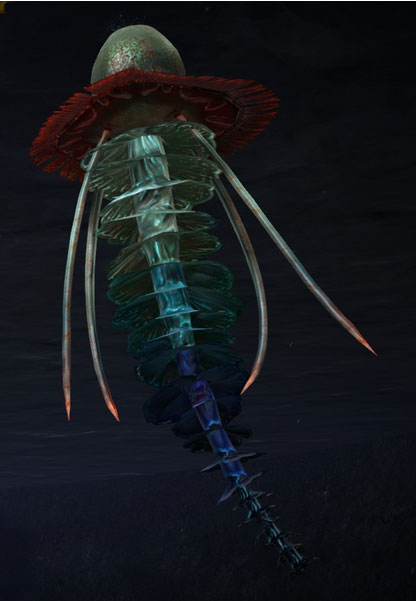
Family – Jellyfish – Regeneration and blinds.
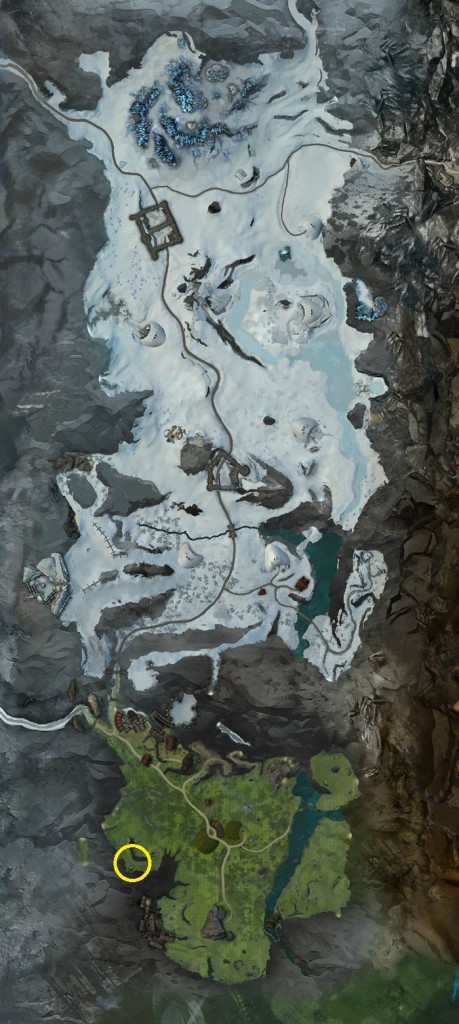
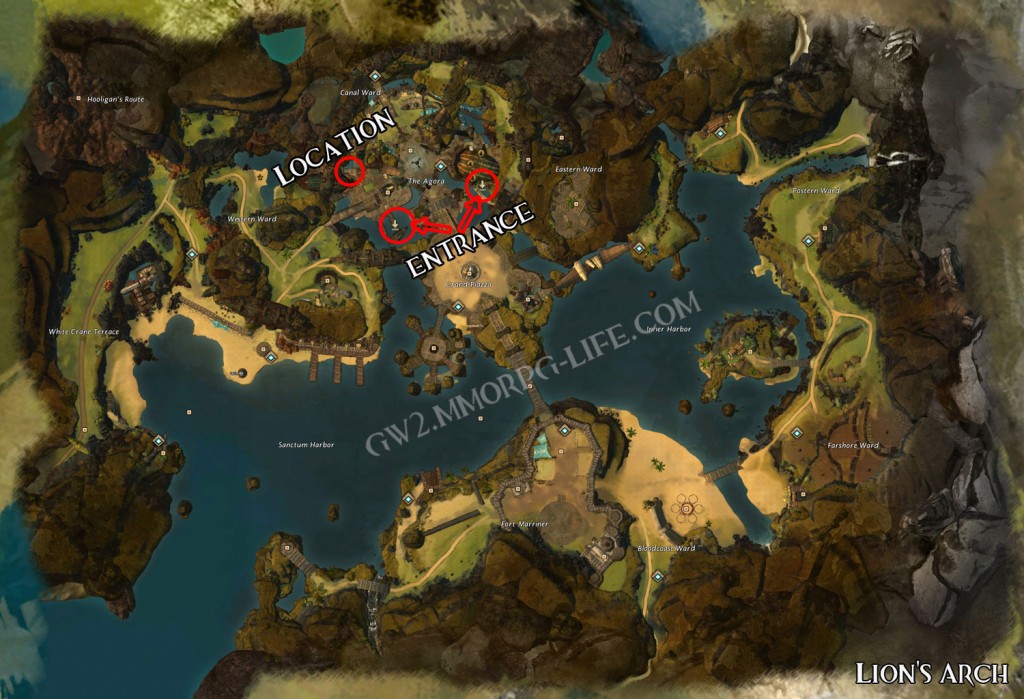
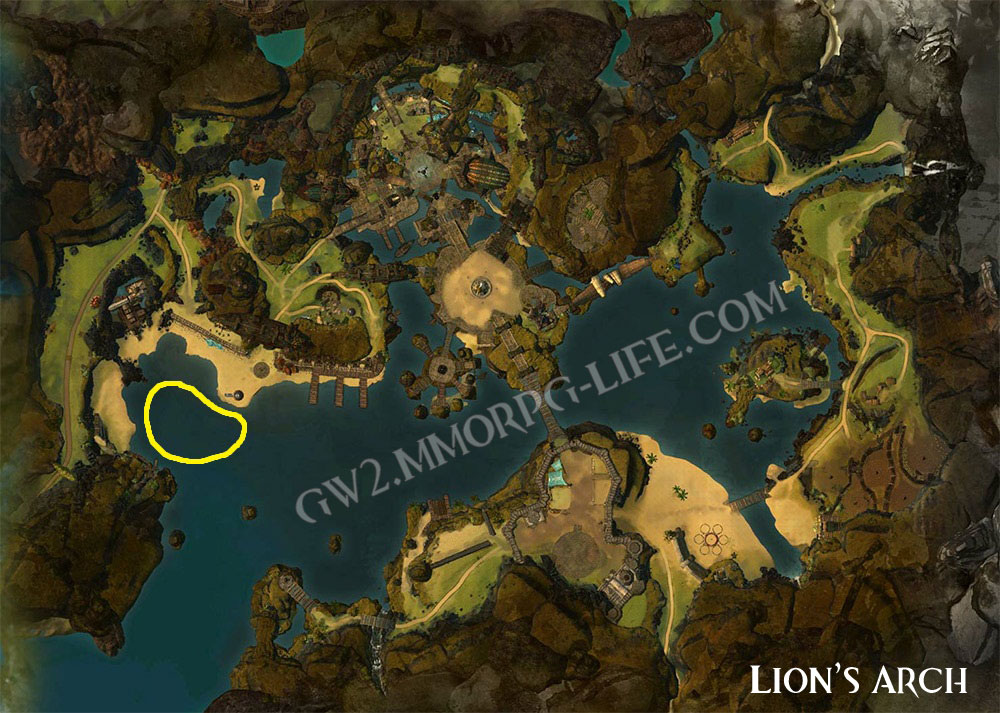
–Blue Jellyfish – Appearance– Location
–Rainbow Jellyfish – Appearance– Hall of Monuments (20pts)
–Red Jellyfish – Appearance– Location
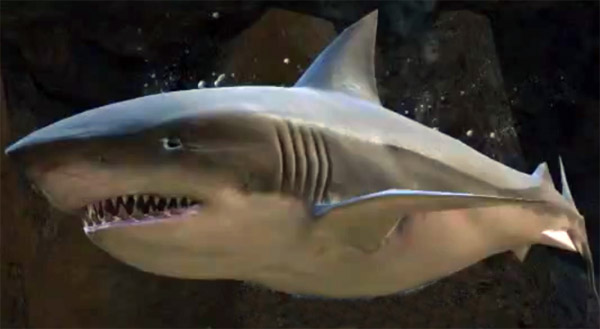
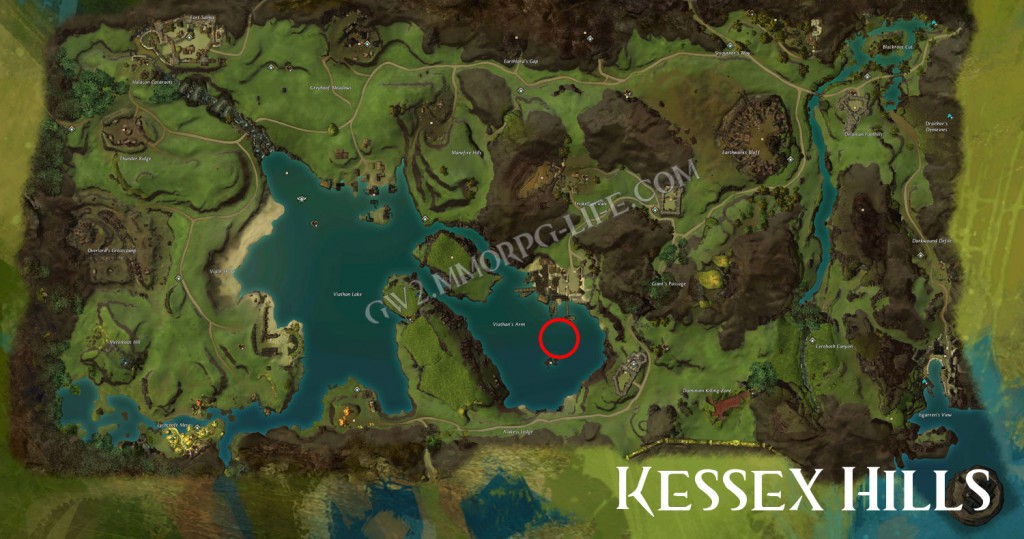
Family – Shark – A multiple striking pet with fear.
–Shark – Appearance– Location
Please note: The pet rewards are unique creatures, but they share identical skills and attributes with another pet of the same family.
Black Moa → Red Moa
Black Widow Spider → Jungle Spider
Rainbow Jellyfish → Blue Jellyfish
White Raven → Raven
For locations on Starter Pets you can check Here or for a interactive map you can go Here!
5. Pet Skills and Stats
– Birds stats: 1424 pwr, 2111 prec, 1424 tough, 2111 vit
– Spiders stats: 1424 pwr, 1424 prec, 1424 tough, 2798 vit
– Wolves stats: 1768 pwr, 1424 prec, 2111 tough, 1768 vit
– Feline stats: 1424 pwr, 2111 prec, 1424 tough, 1424 vit
– Moa stats: 1424 pwr, 1424 prec, 1424 tough, 2798 vit
– Bear stats: 1561 pwr, 1424 prec, 1424 tough, 4172 vit
– Boar stats: 1424 pwr, 1080 prec, 1424 tough, 3142 vit
– Devourer stats: 1424 pwr, 1424 prec, 2798 tough, 1424 vit
– Drake stats: 1768 pwr, 1424 prec, 2111 tough, 1768 vit
– Jellyfish stats: 1424 pwr, 1424 prec, 1424 tough, 2798 vit
– Shark stats: 2454 pwr, 1424 prec, 1424 tough, 1768 vit
Terrestrial Skills

Aquatic Skills

6. Pet Synergy
Ok so now that we have all the basics out of the way, it comes down to Pet Synergy, and by this I mean how well pets synergize with one another and with your chosen build.
In this section I won’t tell you what pets to choose or what are best for what build but I can help guide you towards some viable options.
I personally run Hawk/Eagle & Black Widow Spider in sPvP, simply because of the low CD bleed from the bird and the 2 second Stun from the spider, this of course goes with my Glass Cannon/Condition Build but to be honest with you I have barely touched upon Pets in the BWEs but after this guide I have better knowledge of them all and their skills and I will probably be working more on Support/Healing Pets just to help keep my player alive with my current build.
Another good sPvP Pet Combo based more on a Power Build would be running something like Feline & Canine, so this could mean something like a Jungle Stalker and a Wolf. You can see where I am going with this, a nice Might boon from the Feline and a 2 second Fear from the Wolf, why the fear you ask? Well even when we are in our downed state we can swap our pets and using the F2 skill to fear our enemy for 2 seconds could act as giving your team a better chance at killing the enemy, or those extra seconds needed to come to your aid, or even still cap a control point so never forget about these type of things when looking in to what pet’s to choose.
There are multiple sPvP Pet Combos out there and each are more down to what you, the player wants to get from their little friend(s) so hopefully this guide will give you the knowledge and understanding of what you want to choose.
As for PvE type Pet Combos I would personally go for something like Bear & Canine, specifically the Black Bear and the Fern Hound mainly for the Tank & Healer combo they give, the Bear has high HP and can weaken enemies while the Fern Hound can regenerate lost HP to yourself and your nearby allies.
I have not done much PvE so this will need to be updated as time goes on.
Traits that help our Pets
Beastmastery – 30 Points = 300 Healing & 30 Pet Attribute Bonus
5 – Zephyr’s Speed
10 – I – Speed Training
10 – II – Master’s Bond
10 – IV – Compassion Training
10 – V – Commanding Voice
10 – VI – Mighty Swap
20 – VII – Rending Attacks
20 – VIII – Stability Training
20 – IX – Intimidation Training
20 – X – Vigorous Training
30 – XI – Instinctual Bond
30 – XII – Natural Healing
Nature Magic
10 – II – Concentration Training
15 – Fortifying Bond
20 – X – Enlargement
25 – Bountiful Hunter
Wilderness Survival
10 – III – Master Trapper changed to incoming Disables are transferred to your pet. (90secs)
10 – V – Expertise Training
15 – Companion’s Defense
30 – XI – Empathic Bond
30 – XII – Bark Skin
Skirmishing
10 – I – Pet’s Prowess
10 – V – Companion’s Might
10 – VI – Agility Training
20 – VII – Carnivorous Appetite
Marksmanship
10 – II – Malice Training – Increased Condition Duration of your pet’s attacks
10 – VI – Beastmaster’s Bond
15 – Alpha Training
30 – XI – Signet of the Beastmaster – Affects you more than our pet but it’s still beast.
7. FAQ
Is there any tricks I can use with my pets?
Why yes there is, according to Misterdevious on the Guru forums, we can do these;
Birdspeed F1+F3 (or F1+Behavior Cycling) Tell your bird to attack a ranged opponent, causing it to use Quickening Screech, then cancel the attack. 10s of Swiftness every 20s is nice. Range should be between 130 and 1200.
Pocket Moa Keep a Moa on passive near you at the start of a fight. After it gets injured, it is ready to use. Order it to attack a target between range 130 and 1500 to force it to stop where it is and do a Harmonic Cry (immobile pulsing Heal over 3 seconds that heals 1340 per second, 1398 with Compassion Training). A 4k AoE heal on-demand, where you want, when you want.
Bear Traps F1+F1+F1+F1+F1+F3 Order a tanky pet to attack multiple NPC’s at range, wait until they are clustered up nicely aroud him, and then order him to run straight towards you, directly over a pile of traps and/or AOE barrage you have waiting. A PvE tactic.
Bear Baiting F1+F1+F1+F1+F1+F4 Order a tanky pet to attack multiple NPC’s at range, and then order him to attack the thing you want to kill. Then swap pets leaving you and your new pet at a safe distance from the chaos you caused. Your victim is now surrounded by NPCs. If they are naturally hostile, then proximity will get them to aggro on your target. If they are naturally neutral, then you may need to call your pet straight back from your target to you to encourage your opponent to hit them and aggro them on himself. A WvW tactic.
Three-Tailed Devourer Once your ranged pet has decided where to set up shop to fire ranged projectiles, you position yourself behind it. You can shoot through your pet, but your opponent can’t (and your Devourer has 3k Toughness.) When the opponent reaches your pet, it will either retreat (meaning you should move) or do a knockback (moving your opponent). You may have to repeatedly reposition yourself and your pet during combat against some enemies.
Running Interference F1+F3+F1+F3… By sending a tanky melee pet in and pulling it back out repeatedly, you are attempting to keep the pet between yourself and your target to absorb some projectiles shot at you. Won’t work if there is not a straight line path to your target.

Recent Comments