Rainbow Six Siege Defense Wall Destruction Strategy Guide
by Kaytronik
As a long time Smoke main i realized how many different ways i was using the destruction in Siege. So i decided to collect and categorize everything and then give some short pros and cons for each method.
This can help you while creating your own strats or simply in ranked. Just keep in mind these different methods and think about when to use what. Of course you have to evaluate what you need in a defensive setup.
Do you want to extend the defense aggressively? Then make some of the rotation holes. Do you want to deny entry into the bombsite? Use some of the holes for impact tricking. So think before simply opening up every wall.
And remember that i am only showing one case for each of the different types of destruction. So of course you could create a simple crouch rotation hole on the left, middle or right side of a soft wall.
Explanations:
I split up a single soft wall into 6×4 parts to visualize the different areas and roughly how many shots you need for the different holes.
-  Soft Wall
#  Reinforced Wall
%  Hard Wall
@  Shotgun Shot (1 @ equals roughly 1 Shotgun Shot)
°  Punch Hole
.  Bullet Hole
Rotations
Crouch Rotation

------   Pros:
------     - gives some cover
@@----     - enemies have to crouch through
@@----   Cons:
           - you have to crouch through
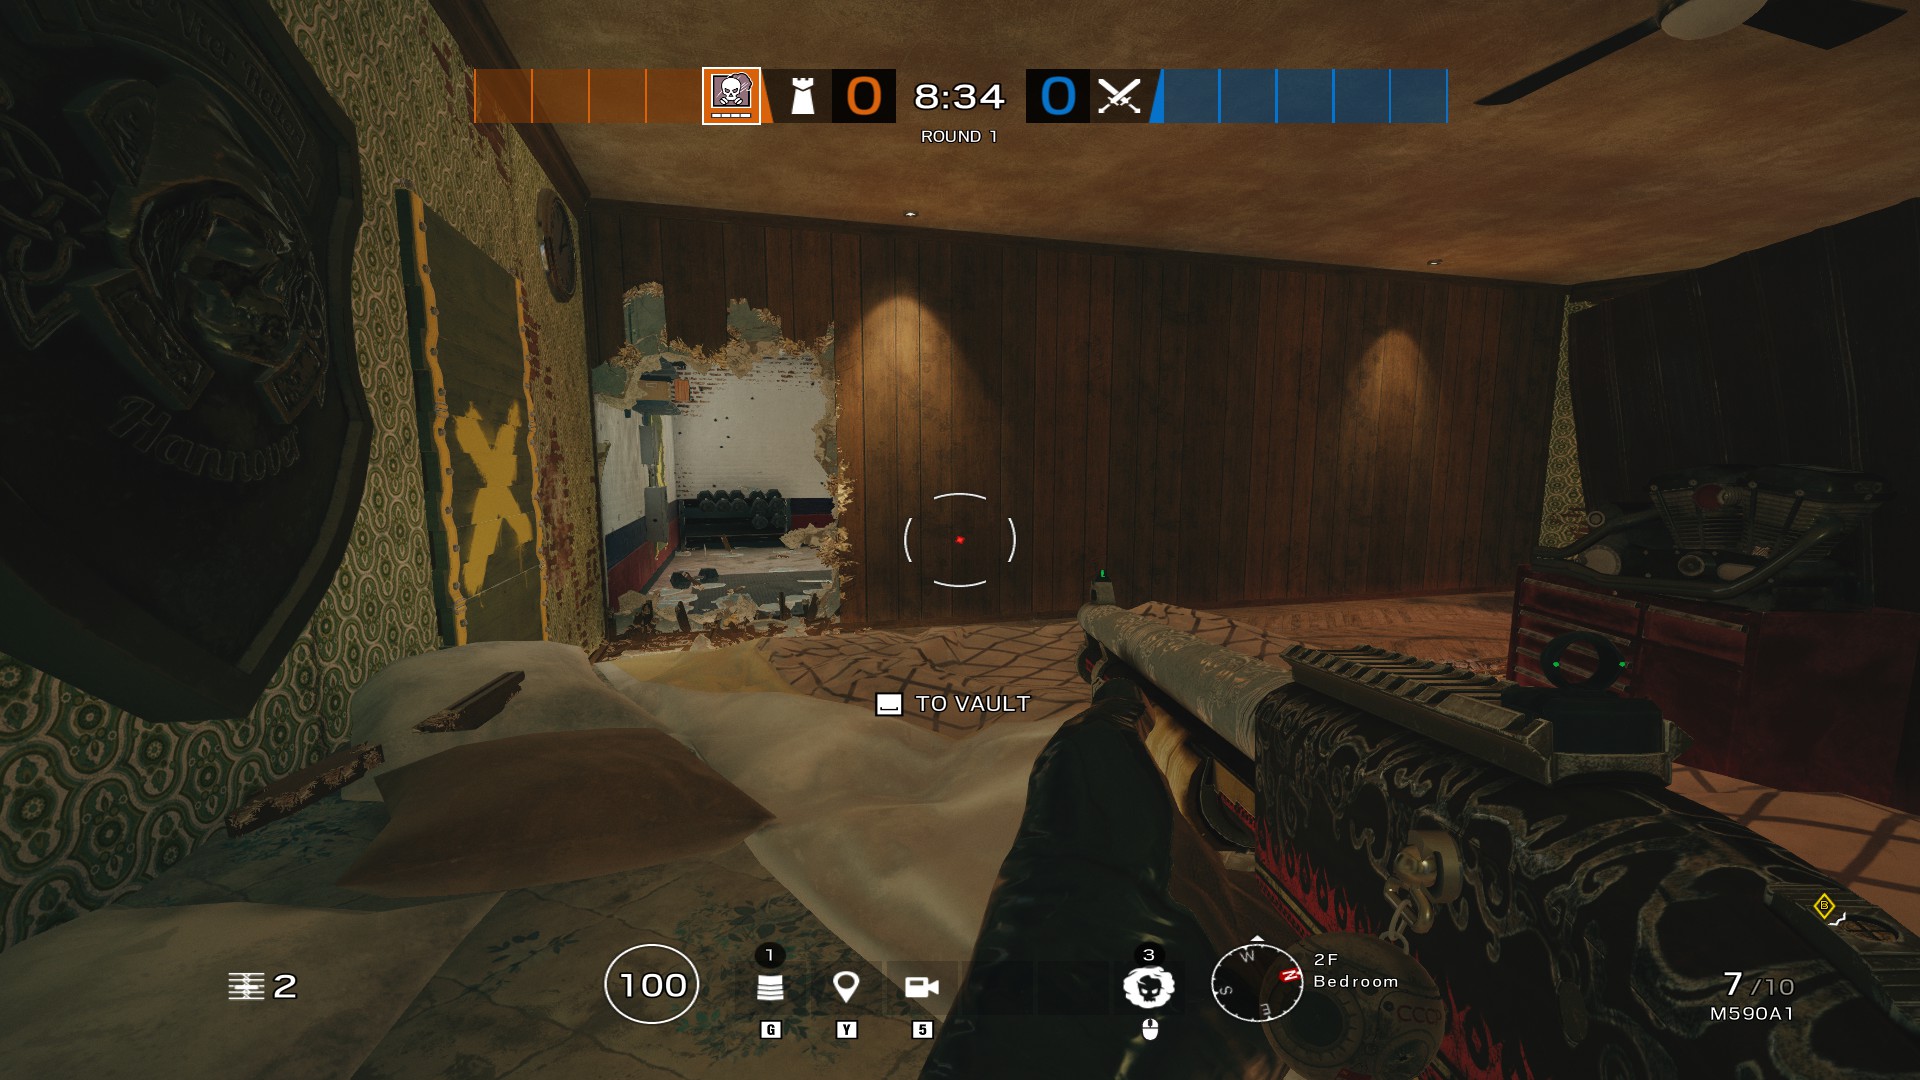
Vault Hole
------   Pros:
@@----     - gives more cover (prone under it)
@@----     - enemy is exposed while vaulting
------   Cons:
           - you are exposed while vaulting
6-Shot standing Rotation
------   Pros:
@@----     - faster rotation by running
@@----   Cons:
@@----     - enemy can do the same
           - less cover towards the site
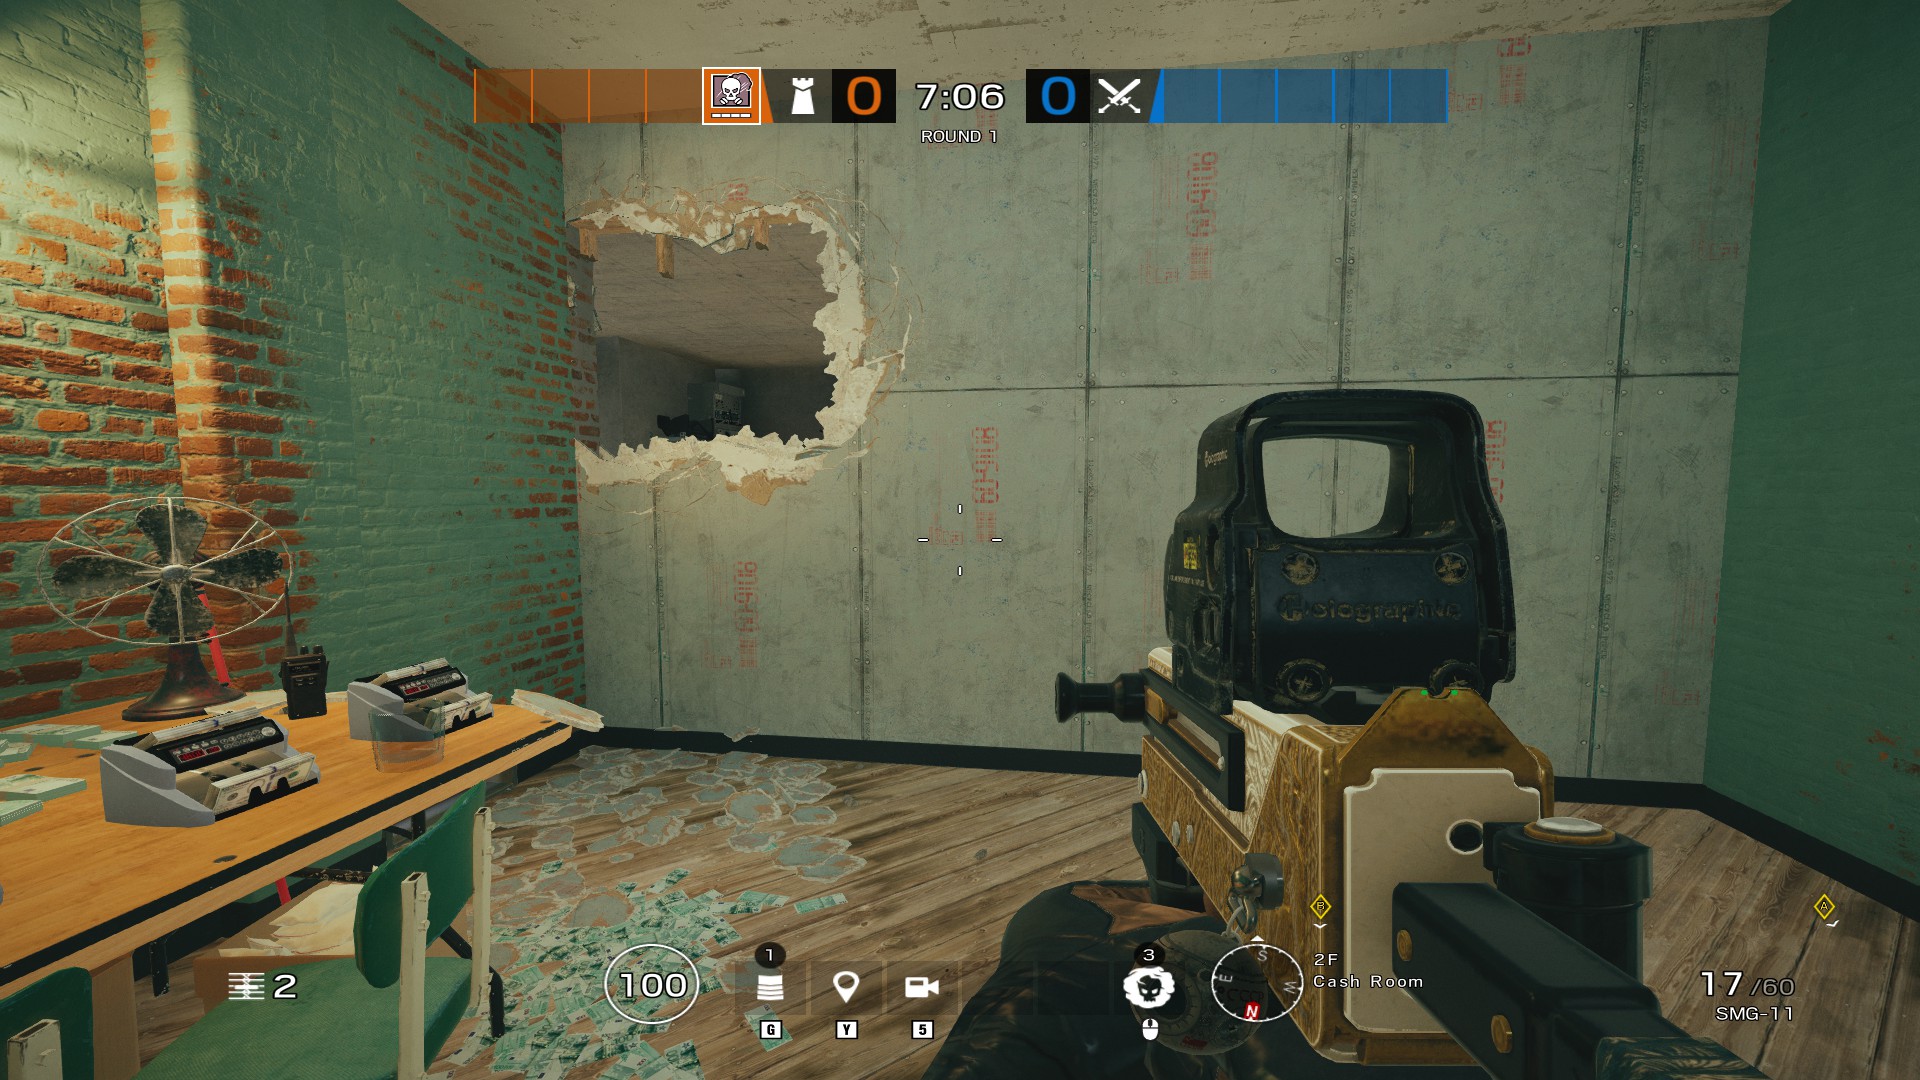
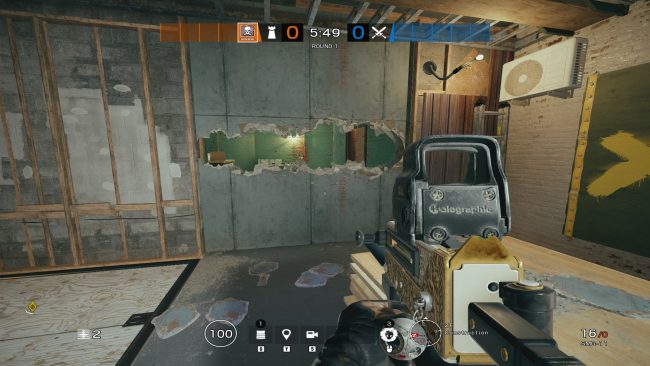
Destroying the whole Wall
         Pros:
@@@@@@     - easy rotates
@----@     - easy shield placement
@----@     - long angles with ACOG
@@@@@@   Cons:
           - exposes the whole site
           - enemies can hold long angles
Sight Lines
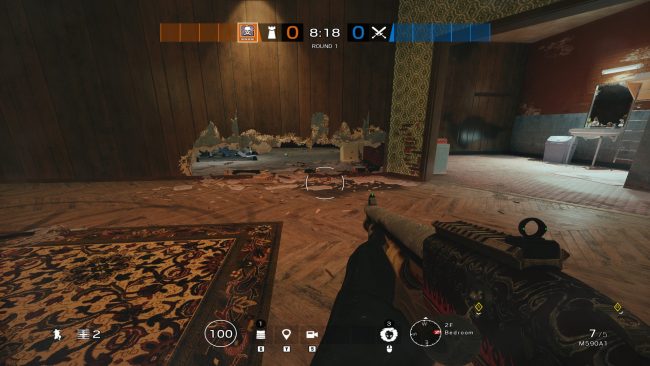
Throwing Line or Holes for Impact Tricking
Impact Line     Impact Line      Throwing
+ Soft Wall    + Reinforced        Line
  @@@@@@          @@@@@@          ------
  ------    OR    ######    OR    @@@@@@
  ------          ######          ------
  ------          ######          ------

Pros:
  - save way to throw C4, Gas or Impacts
  - offers a lot of cover
Cons:
  - enemies can throw Grenades, Flashes, Fire Bolts etc.
Halfway Line
         Pros:
------     - offers cover
@@@@@@     - can contest enemies in a room
------     - enemies can't rotate
------   Cons:
           - you can't rotate
           - enemies can shoot back
Prone Line
------   Pros:
------     - denying entry or plant
------   Cons:
@@@@@@     - bad once enemies go prone
Special
Punch Holes
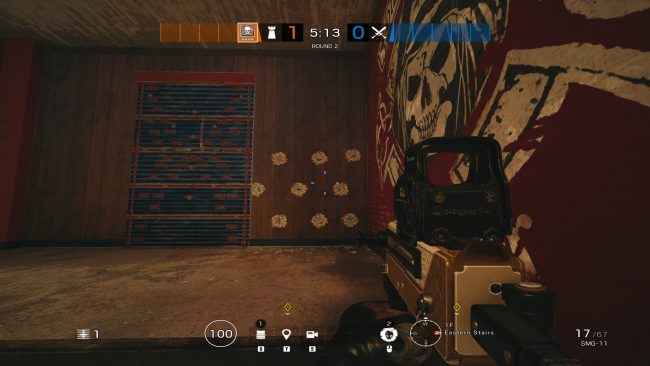
###### ------   Pros:
###### -°-°-°     - denying entries
###### °-°-°-     - confuse enemy
###### -°-°-°   Cons:
                  - you get easily killed when
                  droned out (keep moving)
Bullet Holes
###### ------   Pros:
###### .-----     - almost invisible
###### .-----
###### .-----   Cons:
                  - you get easily killed when
                  droned out (keep moving)
Punch Holes + Bullet Holes | View from receiving end
Floor Holes for Impact Tricking
Top Down View   Pros:
  --%%%%%%        - deny hatch breaches
  ---@##--      Cons:
  ----##--        - enemy can shoot down
  --------        - enemy can throw grenades
Recent Comments