Destiny Crota’s End Raid Leader’s Guide
Destiny Crota’s End Raid Leader’s Guide by thebignaj
A nice summary of how to lead your fireteam through the raid cheese-free based on countless raids with my own friends as well as plenty of experience helping other people on LFG or elsewhere. If executed well you can lead a ~25 minute Crota’s End run from start to finish including all chests. This guide does not go over very basic raid mechanics and is tailored to the guardian who has a little experience and wants to lead his/her team through a clean run. I lead this three times back to back at the reset every week.
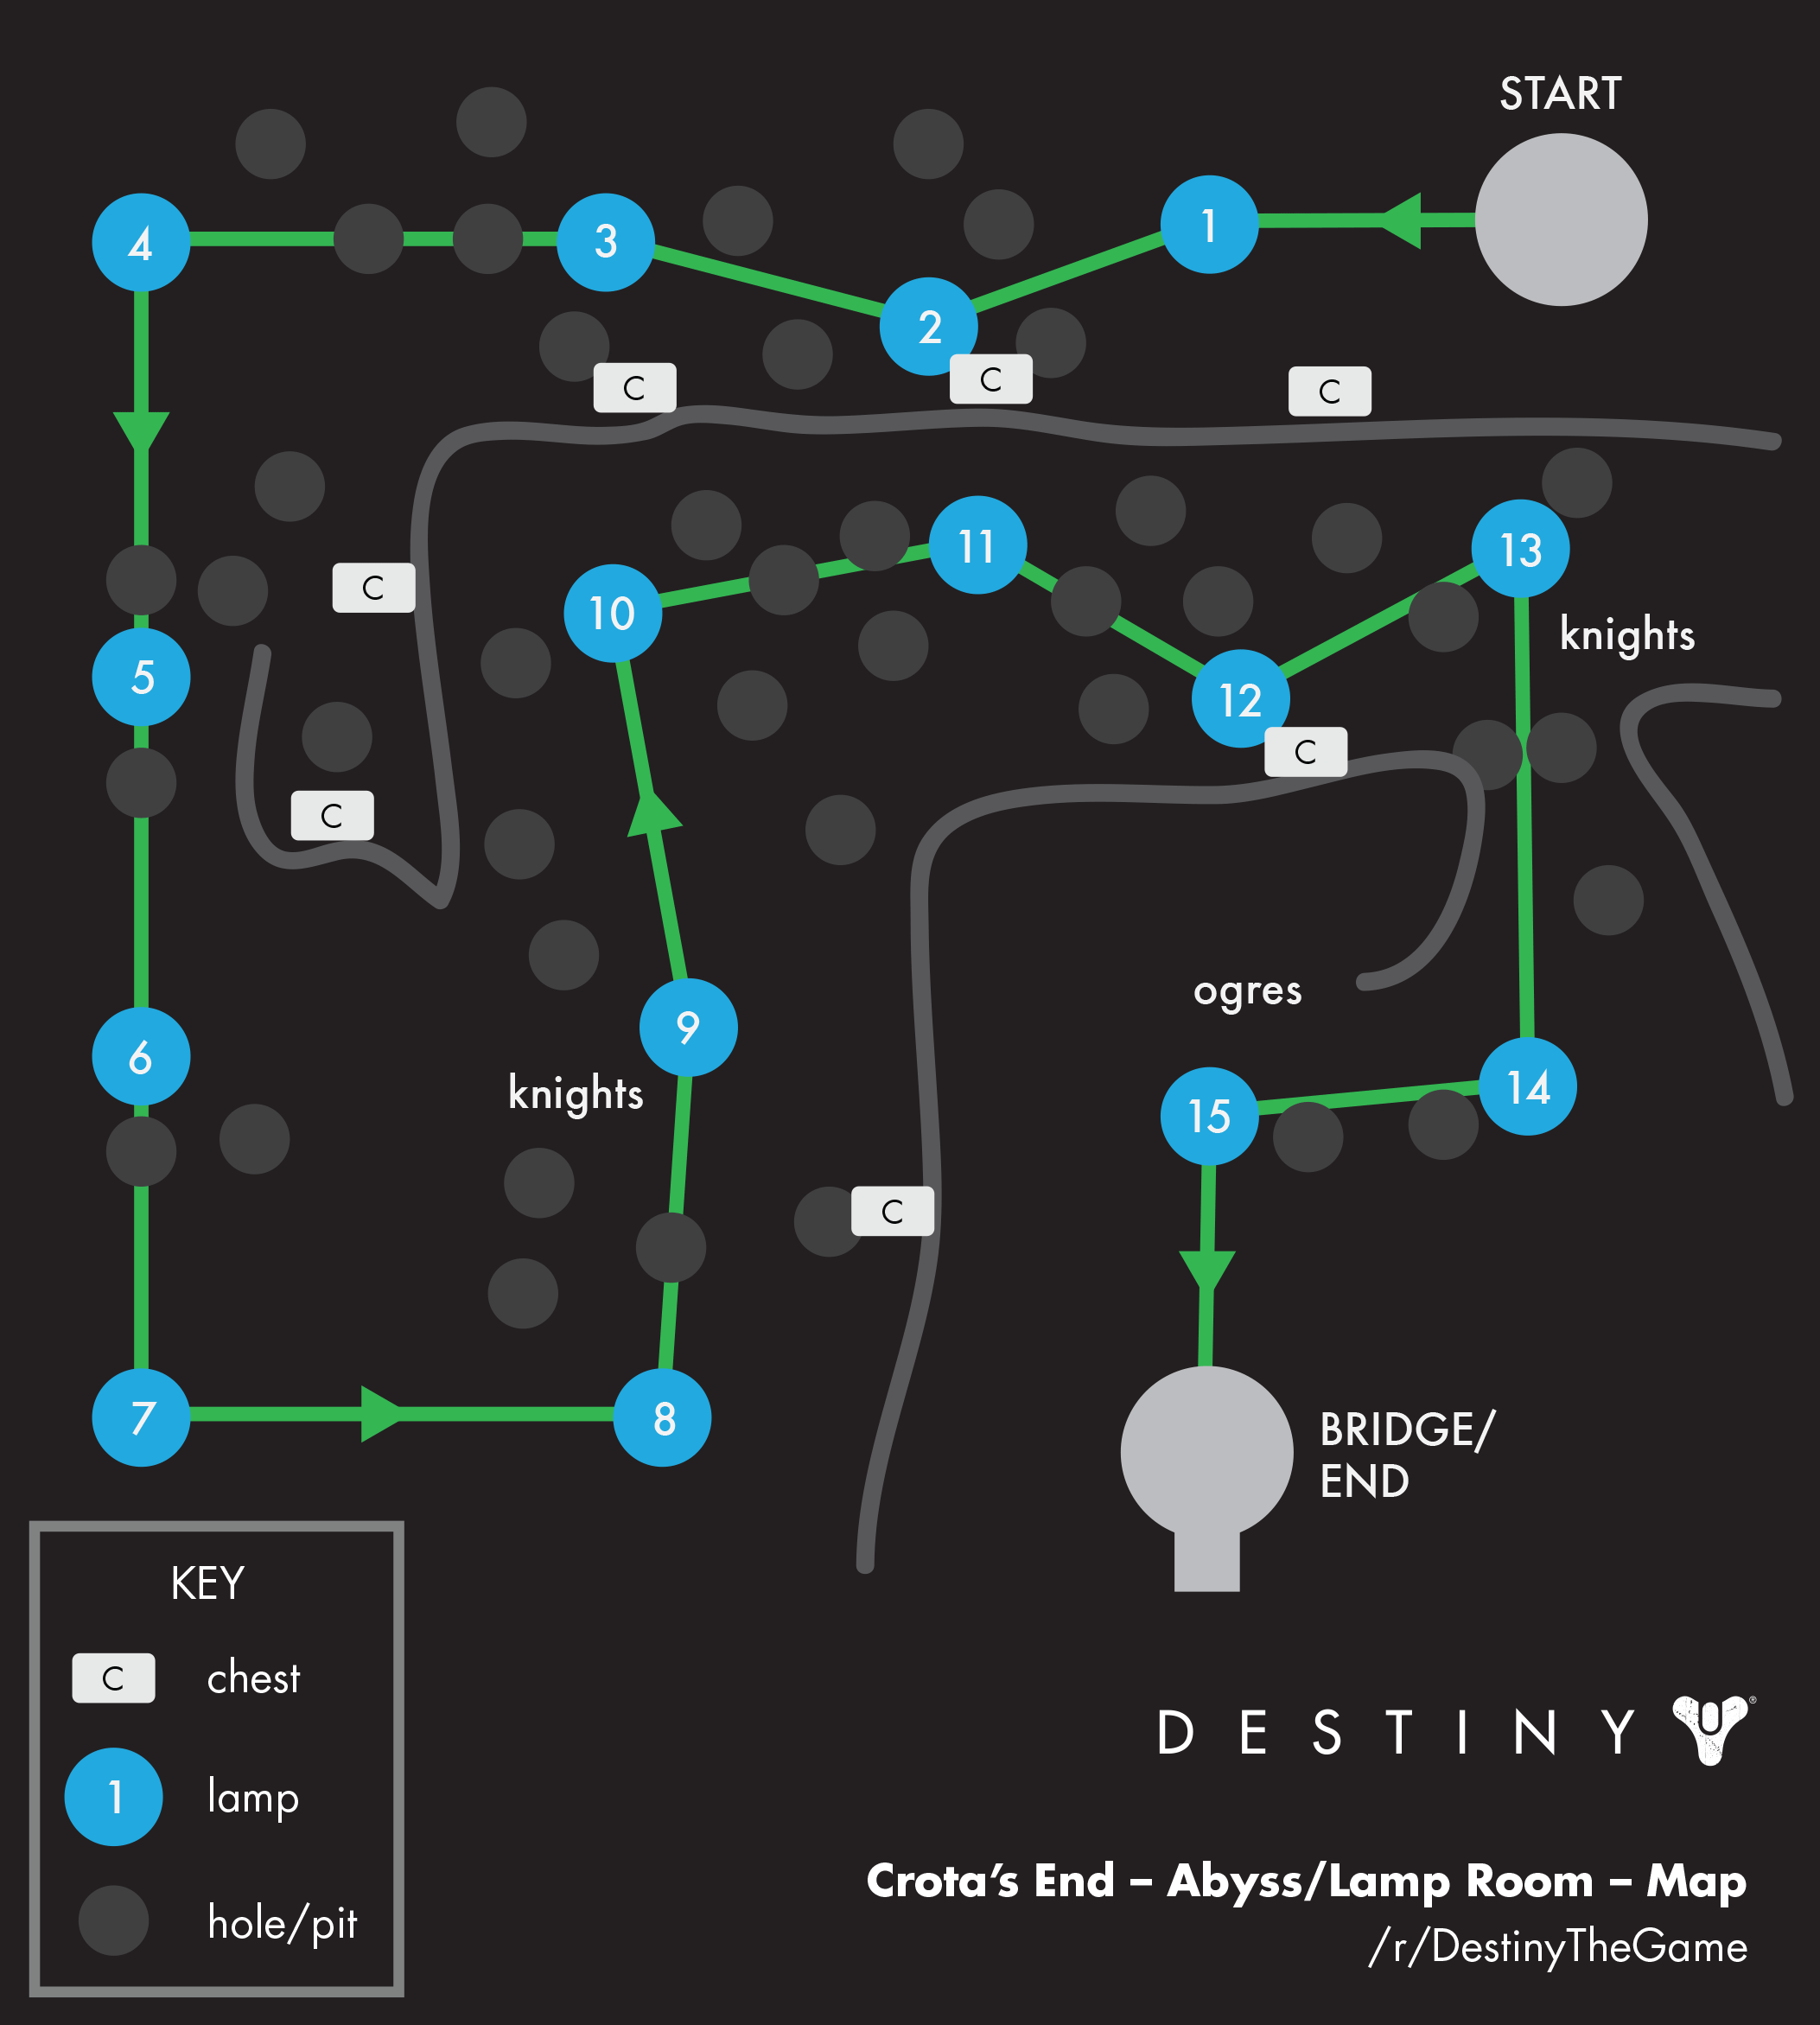
Lamps (aka thrall maze, abyss etc.)
The lamps section is all about coordination and staying together. Everyone is in the same group.
- Get the first chest together, searching through the first 1-3 doors then wiping to reset as necessary.
- Group up together on the starting pad and ask if everyone is ready.
- Call out the direction of the next lamp, then count down “Three, two, one, go!” On “go!” all run to the next lamp. Time the “go!” so you’re leaving when all of your Weight of Darkness is off. An ideal call-out should sound like “Next lamp is left … three, two, one, go!” Hip-fire and use AoE grenades to fend off thralls as needed.
- Skip the second to last lamp going right-ish to cut through to the final one. Let the last one take your Weight of Darkness off then activate the bridge pad.
- After the lamp blows, get up on the two rocks to the left of the last lamp (left as you’re facing where you came from) and snipe Ogres. Or just defend at the pad.
Here’s a map:
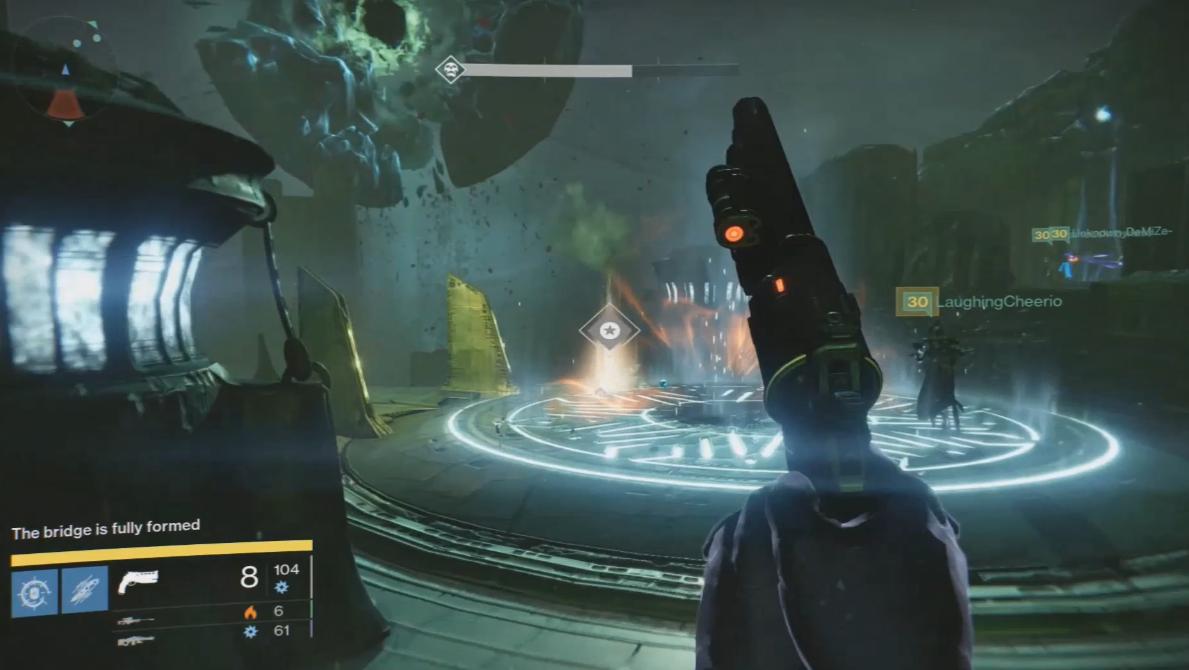
Gatekeepers (aka bridge, totems etc.)
The gatekeepers section is all about execution and leadership by the raid leader. There are four teams to start in this section:
- 1 guardian on the left totem
- 1 guardian on the right totem
- 1 guardian to stay on the bridge-building pad
- 3 guardians in the “swordbearer hunting party” that are mobile and will be the first three across with the sword. Decide which order you will do beforehand.
Once you call out gamertags and everyone understands their role, you should call out/guide the following sequence of actions:
- Hop on the bridge pad to kick the fight off
- Totem guardians defend their totem while the bridge-building guardian builds the bridge by standing on the pad
- The three hunting party guardians hunt down the swordbearer wherever he is and kill him
- The first guardian in the hunting party runs across and runs forward into the gatekeeper spamming strong melee (default = RT) kill their gatekeeper. Keep running forward into the gatekeeper while swinging to help stun and keep it simple.
- Repeat for the next two guardians in the hunting party. The guardians in the hunting party that have already made it across can go to the ledge spot on the far right and snipe to help the last hunting party member.
- After three are across, the near side leaves their positions and becomes the hunting party. The far side divides up into a bridge builder and two totem holders
- Hunting party hunts down the swordbearer and goes across one by one.
- Fourth guardian across goes to the left far side totem as that’s where there are more mobs to kill
- Fifth guardian across just helps the last guardian take down his swordbearer to come across
- Get in a safe spot like on a pillar or on the right side ledge and kill the two Ogres
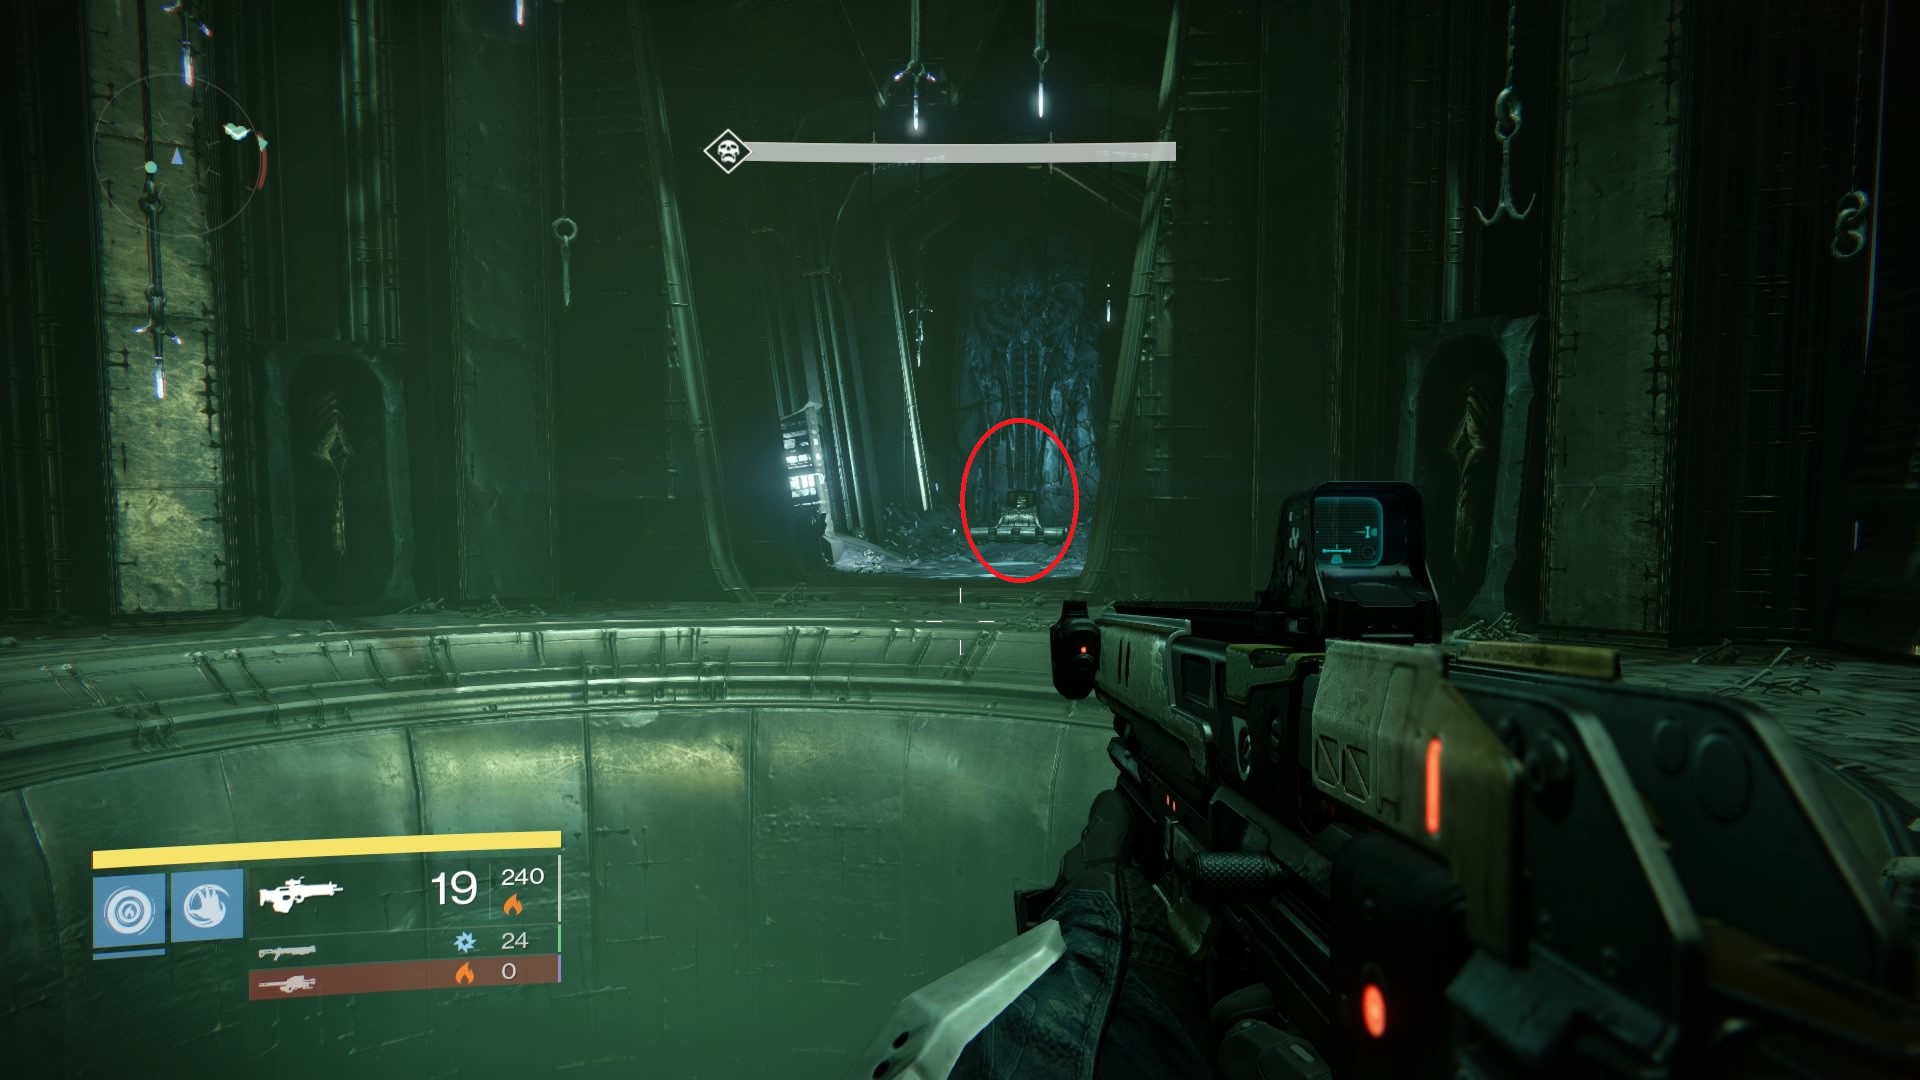
Thrall hallway (aka thrallway, second chest, Indiana Jones etc.)
The thrall hallway section is about teamwork and speed. It’s over in less than 30 seconds. There are two teams for this fight in order to get the materials chest:
- 3 guardians on the kill team, responsible for killing shriekers.
- 3 guardians on the run team, responsible for making it through the door.
After you’ve decided who is who, group everyone up. Some teams wipe before attempting this fight to “reset the timer” and some just run in there — up to you. Then:
- The kill team rockets/snipes the two shriekers while the run team focuses on making it to the end alive and making it through the door. The trigger for the door is the first shrieker (confirmed by solo run)
- At least one person needs to make it through the door for everyone to get the chest
- The trigger for the next checkpoint or the “point of no return” is leaving the hallway and entering the circular room. If you’re not going to make it, don’t go past this point and just wipe in the hallway for another try.
Some teams switch to other characters while they have the chest open if they aren’t confident they can run this successfully again. Up to you. You’ll need to keep someone in the room in-game while other players fly in and are revived by another player way back at the bridges section.
Deathsinger (aka wizards, Ir Yut, Ir Loot etc.)
The deathsinger section is about pure DPS. Powerful weapons and a solid team are the key for this one. There are two teams for this fight which should be equally balanced:
- 3 guardians on the left side team
- 3 guardians on the right side team
It’s simplest to visually form these teams by walking to the side of the room corresponding to the side you’re going to do. After you’ve decided who is going to which side and called out gamertags, have a guardian with solar grenades or any AoE grenade lure the wizards out by walking forward and throwing a grenade just to the side of the summoning crystal and beneath the wizards on both sides. Splash damage hits them and you’ll get hit markers if you did it right.
When you’re ready to start killing wizards:
- Sprint out and jump up to the boomers area on your respective side
- Take out the wizard on your respective side as quickly as possible. Rockets and snipers work well and anything with solar damage is nice
- Help out the other side by shooting cross-map if necessary
- Run in towards the crystal room and rocket/snipe the shrieker on your respective side as quickly as possible
- Leave the room and go back to the main area to avoid the shrieker death blast
- Run back in on the side with fewer adds and everyone puts DPS on Ir Yut as fast as possible. You can stand on elevated areas, coffins or anything to stay out of reach of the sword knights
- After Ir Yut is dead, stay in a safe spot and clean out the rest of the enemies
Crota, Son of Oryx (aka the final boss, the headless guy, flaming green bear etc.)
Crota is all about execution, teamwork and DPS. This can be one of the quickest sections if done well but also has the most complicated sequence of events and can be miserable if executed poorly. There are three teams for this section:
- 1 guardian who is the designated sword leader. Level 32 is best but 31 is perfectly fine too, just will take a few more swords to down Crota
- 1-2 guardians with a 300+ ice breaker or powerful sniper to clear boomers/runners
- The rest of the fireteam on DPS duty
Divide your team up visually into left side and right side for the initial mob clear by standing on the side of the room you will clear. Swordbearer is always on the left so he/she can run to get the chalice right after clearing out enemies. Decide who has powerful sniper rifles and assign boomer duty. When you’ve decided roles:
- Start the fight and throw grenades as the glass breaks to get multi-kills (heavy ammo drops) on the acolytes outside then clear out both sides
- Ensure both sides are ready, then everyone run left to the top of the outer stairs and get ready as the sword leader runs out to get the chalice.
- Call out “Boomers!” and the boomer team immediately clears out boomers. 1-2 headshots from a powerful sniper rifle will take one out. Be ready every ~15 seconds to keep clearing them out and call out “boomers” again when you see them to alert other guardians.
- Boomer team will also be responsible for “runners” or the knights that jump to the left side bridge and run towards you. Call out “runner” when you see one to alert other guardians.
- Pass the chalice to heal health very quickly if necessary, then return it to the sword leader
- DPS the swordbearer to get a quick kill then sword leader runs out to pick up the sword and calls out “get ready to DPS!”
- Swordbearer runs towards the stepping rock on the left side of the center platform and calls out “light him up!” “DPS now!” or something similar
- DPS team hits Crota with a lot of damage quickly using rockets or snipers, lowering his shield until he kneels
- Simultaneously, the sword leader must jump up to the stepping rock, jump to the main platform, run in and hit Crota with 3 (conservative) or 4 (aggressive) strong melee (default = RT) hits, then return back to the stepping rock using quick melee (default = RB) to escape quickly through the air. You can also use quick melee (default = RB) to get to Crota quickly on the attacking end of this sequence if you like.
- DPS team waits until Crota changes color back to green, then lights him up again with as much damage as possible
- Simultaneously, the sword leader repeats the same process described in #10 and then escapes back to the main fireteam
- Crota will move to the right
- Don’t forget about boomers! Call out “boomers!” and keep taking them out even though you’re excited about Crota.
- Slowly lower the swordbearer’s health to about 25% and then keep “tickling his pickle” with a few primary shots every couple seconds to prevent his health regeneration.
- When Crota moves back to the center, leader calls out “kill, kill, kill!” and everyone puts DPS on the swordbearer
- Repeat steps 7-12 again the same way. With a level 32 swordbearer, you will usually kill Crota here
If you don’t kill Crota at the end of this sword run:
- Everyone goes to the middle lower room way in the back and preps snipers for the ogre round. Call out “Ogres, everyone to the middle!”
- When ogres pop up, stun lock them with sniper headshots for an easy kill
- Wait just inside the doors to the back room until you see Crota clearly back in the middle. There is zero need to venture out early
- When you see him back in the center, everyone run out and left back to the stairs you were on before and focus immediately on 1) cursed thralls from the back 2) boomers from the front to clear the area. A good call-out is “Crota in middle, run left and focus on cursed thralls in back and boomers in front!”
- Repeat the DPS/sword steps again and Crota will die
Enjoy and happy raiding. GT: thebignaj

Recent Comments