Forge Game Modes Introduction
Forge Game Modes Introduction by Pelican
With all the new players I figured it may be good to have a readily available post detailing the game modes. As people adjust to maps, the next step will be to learn how to effectively play a part in the various objective games. Hopefully this mini-guide will ease some of the pain for newcomers.
Team Deathmatch

- Size: 6v6
- Time Limit: 15 Minutes
- Maps: Forest Ambush, Ymil’s Throne, Capital Market, Capital Sewers
- Rounds: 1
- How to Win Outright: Get 25 team kills within the time allotted
Each teams starts with 25 total lives. The goal is simple, kill more of them than they kill of you. That’s it.
- Auto balance will not cost you deaths.
- Manual team switching will cost the team you were on a death.
- Leaving will cost your team a death.
- Changing classes while still alive after the warm up timer ends (20 seconds before match) will count as a death.
- Changing classes while dead will not count as a death.
- Respawn timer is in 30 second waves.
Protip: In general it is a good idea to stick with your team. If you have a shaman, do what you can to peel for him when he is being attacked. Peeling is the concept of creating distance between him and his attacker. Untilize CC to keep him happy, and as a result he should be willing to keep you healthy.
King of the Hill

- Size: 6v6
- Time Limit: 15 Minutes
- Maps: Forest Ambush, Ymil’s Throne, Capital Market, Capital Sewers
- Rounds: 1
- How to Win Outright: Deplete the opposing team’s score to zero
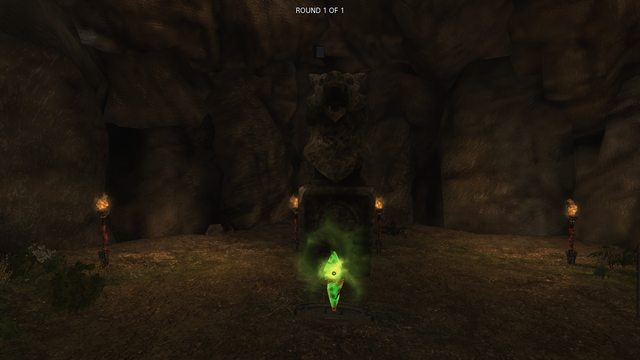
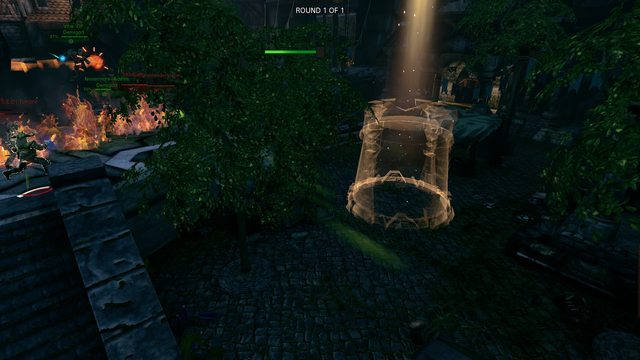
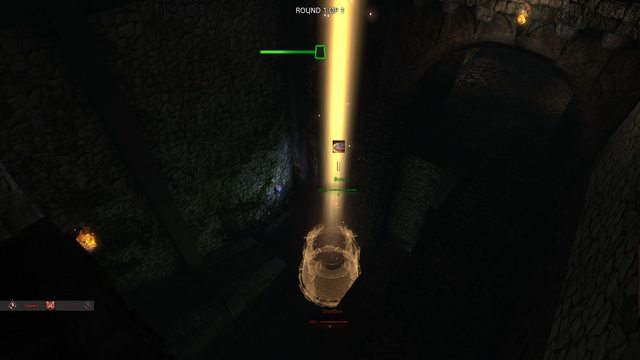
Each team starts with 1500 points. There is an icon at the top of your screen that shows you who currently is controlling the tower. As you capture a tower (via more of you being on the node than them), you will see the bar slide to the left, and their score will deplete. You want it to look like this,
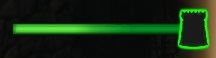
as the green glow around the icon indicates your team is in full control of the tower and is depleting their score as fast as possible. The opposite (to the right of the icon and glowing red) is no good, and will not make your team score happy. Every 2 minutes the tower will change location. As far as the clock goes, this will occur during the odd minutes. 13, 11, 9, 7, 5, 3, and 1. 10 seconds before, you will see the icon begin to flash. This means the tower will soon be moving and reset to neutral, so be ready to seek out its new location.
- Kills/Deaths do not modify the score in any way.
- The more people you have on the tower, the faster the bar will slide to your advantage.
- You cannot assist in capping the tower while stealthed, both as an Assassin and Pathfinder.
- There is no decay for leaving the tower once fully capped. The only way for it to shift power from your control is to have more enemies on it than you.
- The tower’s location at the start of the match is random among the predefined spots where it can be. Each time it changes, the new location will be random among the other possible spots.
Protip: Assassins make excellent location scouts due to stealth and high mobility.
Capture the Relic

- Size: 6v6
- Time Limit: 15 Minutes
- Maps: Forest Ambush, Ymil’s Throne, Capital Market, Capital Sewers
- Rounds: 1
- How to Win Outright: Score 12 points via capturing Relics before time runs out
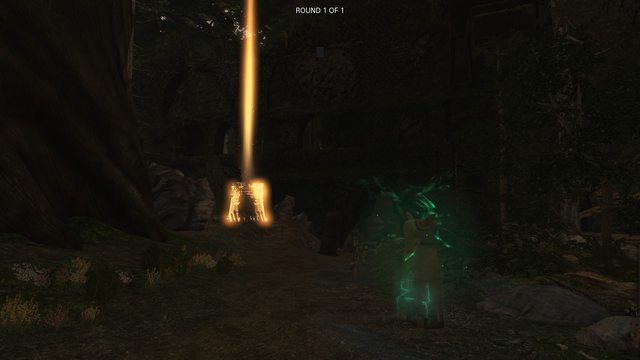
Capture the Flag, with the addition of the towers used in King of the Hill. The goal is to grab the opponent’s relic located near their spawn point and bring it back to your relic location. The towers will effect how many points your team receives for a capture. Full tower control = 3 points. Partial tower control (the bar is green but the icon does not have the green glow) = 2 points. Neutral or enemy tower control = 1 point. Due to this scoring system, it can be vital for your team to maintain control of the tower both to gain as large a lead as possible, and to stop the opposition from gaining the maximum points for each capture. From any location in the map, you can see where the relics are, along with the capture points.
- If the person on your team carrying the relic is killed, the relic will fall where he died. After a short amount of time, it will vanish and respawn in the opposition’s base if not picked up by another player from your team.
- The relic can be thrown by the carrier to try and pass it to a teammate. You can find this keybind under the control options.
- Stealth can be activated while carrying the relic, however it will remain visible to everyone.
- As with all other indicators, the relics are colored Red for opposition, and green for your team.
Protip: Utilize your wall jumping skills when carrying the relic. Dodging attacks and decreasing the distance between you and the capture point is key. Also, if you have built up a substantial lead, keeping the tower capped in your favor can be less risky then trying to chase down the enemy carrier.
Arena
- Size: 6v6
- Time Limit: 10 Minutes, 6 minutes for tower spawn
- Maps: Hall’Vak Arena, Ymil’s Throne (Modified)
- Rounds: 3
- How to Win Outright: Kill all of the members of the opposing team, or capture the tower that spawns after 6 minutes
Team Deathmatch, but each player only has one life. Upon death you will be able to spectate your team for the rest of the round, but cannot respawn. The fastest of the game modes, once every player has died, the opposing team wins. If the battle continues after 6 minutes, a tower spawns. The team who captures it first then wins. This is to reduce stalemate and stealth frustrations.
- Dead is dead.
- The modified version of Ymil’s Throne is the outdoor area only. All entries into the bases are sealed.
- Hall’Vak Arena is where you did your tutorial when first starting the game.
Protip: *insert 80s teamwork montage song here*
Tower Locations for KotH and CtR
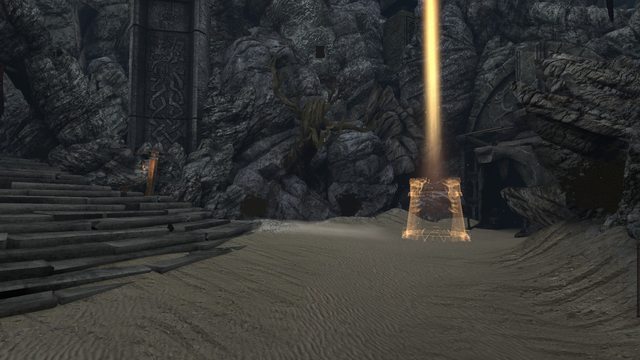
Ymil’s Throne
- 3 possible locations.
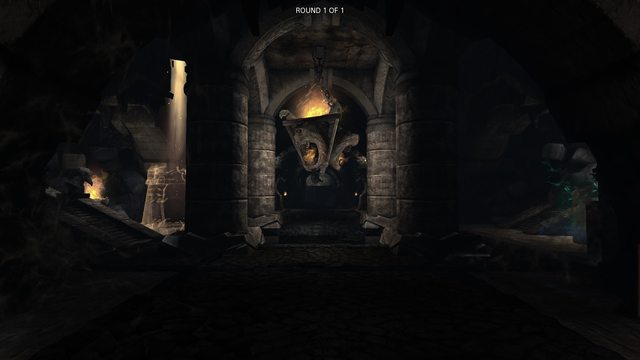
- Two are bottom level of the outdoors, in front of the dragon mouth opening for either team. From your spawn, your’s would be bottom right, their’s would be bottom left.
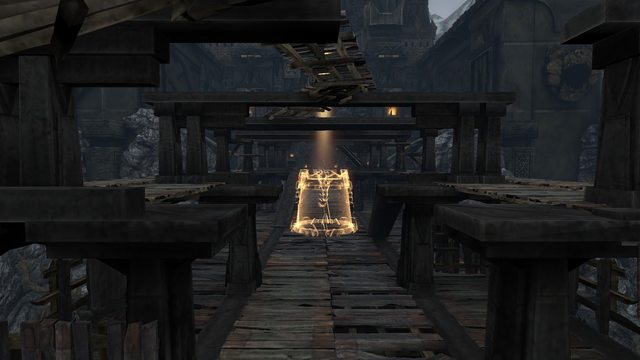
- The bridge right in the middle.
Capital Market
- 2 possible locations.
- Opposite corners of the center market area, the corners without the health shrines.
Capital Sewers
- 3 possible locations.
- 2 are bottom level, near the troll bridge. One on each team’s spawn side.
- The other is located on the top level in the middle.
Forst Ambush
- 3 possible locations.
- Two are the far ends of the map. From your spawn “your’s” would be to the left on the near side of the great wall. “Their’s” would be to the far right, on the other side of the wall. You will be able to see your’s from the spawn area.
- The last one is, you guessed it, right in the middle.


Recent Comments