Drift City Beginner’s Guide
Drift City Beginner’s Guide by Selebii
This guide is here to assist beginners or anyone who still has questions for a certain arena of Drift City.
Driver Dome -:

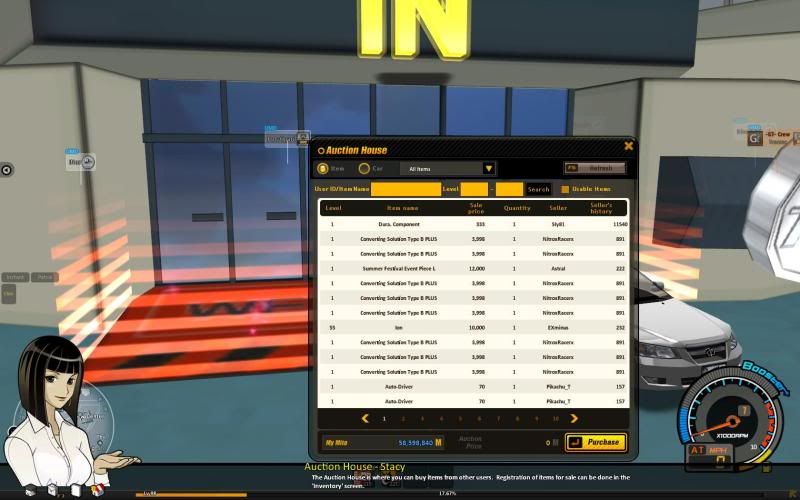
Auction House -:
This is a place where you can sell your parts/most items in your inventory that are allowed to be auctioned by the game. You are also allowed auction cars during the period that the ‘Car Auction’ is open and that period will be announced on the main page when it is going to be opened. The Auction House is also a place where you can find items that you may not have and that you need, if you have the amount of mito you can buy the item if you please.
Quick Tips:
1) When looking for an item use the User ID/Item Name slot and type in either the username of the person selling the item or the name of the item itself. You can also look for a part by entering a level in the space left blank after the word level, between levels 1-80 and search for the item you are looking for
2) You can switch Auction tabs, the ‘Item’ Tab by selecting the Circle immediately infront of the word Item (Item is the default Auction tab when you enter the auction house) or you can select the Circle immediately infront of the word Car for the Car Auction tab.
3) You can arrange the Auction House by Item name by clicking on the phrase ‘Item Name’ in the headings, if you want to start at the bottom of the Alphabet or, currently right now Question Marks (?) hit it once, if you want to start at the top of the chain with numbers first, hit it twice.
4) You can arrange the Auction House by Seller’s Name by clicking on the word ‘Seller’ if you want to start at the bottom of the Alphabet hit it once, if you want to start at the top of the chain with numbers first, hit it twice.
5) You can also arrange by ‘Sale Price’,’ Level’ and ‘Seller’s History’, hit it once if you want the highest price/level or Seller’s History. Hit it twice if you want the lowest price/level or Seller’s History.

Part Shop -:
You may select a tab in the part shop:
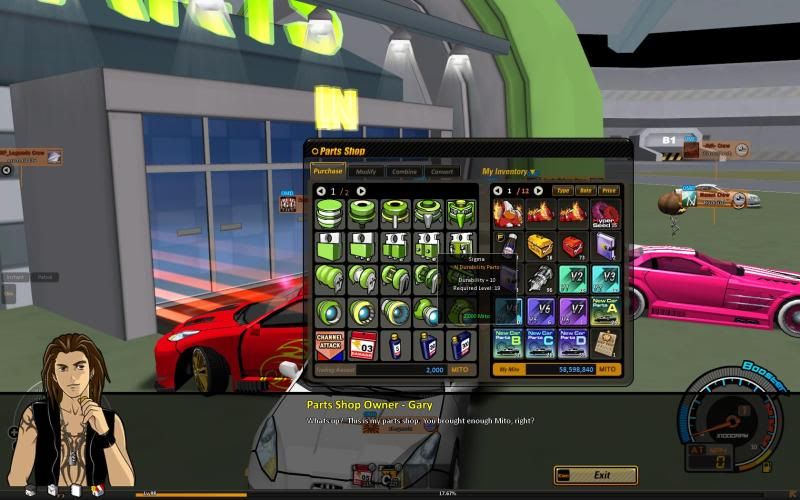
‘Purchase’ Tab:
– Allows you to purchase level 1-25 parts, which may seem convenient if you are a new comer or may be convenient for Grinding Parts to get Modified Part Pieces to use in the Manufacturing Shop which you can open by pressing the ‘K’ key.
-You are also allowed to sell items within your inventory to this shop if you so desire.
‘Modify’ Tab:
– Allows you to enhance the status of a part.
E.g.: You bought a level 1 part and you have a Mittron Enhancer (which you can buy from Auction House if someone is selling) you click the Modify tab and place the level 1 part in the small box marked “Parts” and place the Mittron Enhance in the other small box marked “Mittron Enhancer” then click modify and you will see a +1 on your part if it is successful, if it however is not successful, your part will stay as it was before, you may continually do this until your part is to your satisfaction, however note that the highest is +12 and it is extremely hard to get +10 or above.
‘Combine’ Tab:
-Allows you to combine three (3) of the same type of part and 1 Seed which fits the class of your parts (Normal/Super/Hyper). Simple way of putting it, the Green ‘Seed’ is for the Green parts, the blue is for the blue and the red is for the red.
-Place the parts in the slots 1 by 1 (order doesn’t matter) and then place the seed which matches in colour with your parts in the ‘Optional Material Slot’.
– http://www.youtube.com/watch?v=HYWSvrhqWyU
‘Convert’ Tab:
-Allows you to add an option to your part:
1) Buy either A/B or C bottles from the Purchase tab, A = Speed options, B = Acceleration options, C = Durability and Boost options.
2) Choose the part you wish to add options on to and place that in the small box labeled ‘Option parts’ and then place the converting formula you bought (Either A/B or C) into the small box labeled ‘Option Converting Solution’ and at the bottom press ‘Convert’ and there you have an option attached to your part.
Driver Dome -:
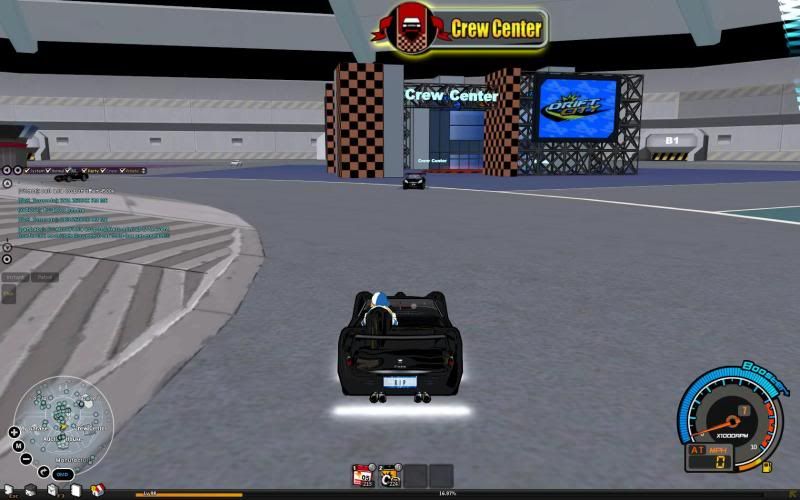
Crew Center-:
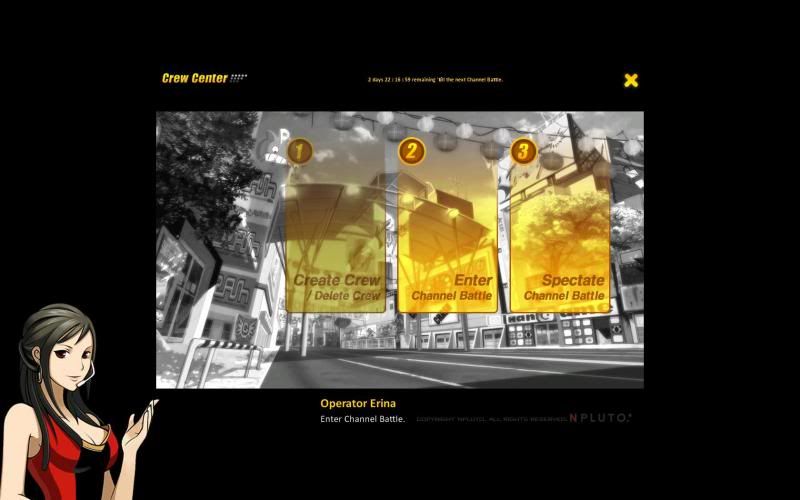
You can create a crew here (Select 1 when entering Crew Center) but you need to be level 20 or above and have 10,000 mito in your inventory. Disbanding a crew will cause you to lose 50% if your experience bar is already over the 50% mark however if your experience bar is lower than 50% this will not cause you to decrease in level.
Every Saturday from 11:00 AM PDT to 12:00 PM PDT, an event called channel battle (Select 2 when entering Crew Center to participate in Channel Battle) would take place and respective crews would race each other for claims of a channel. There are a total of 13 channels total. If you race in major channels 1 and 2, you would risk a chance of you losing a part shall you lose the race. As said before, there would be a risk so you can’t see the maps already in place there. From channels 3-10, you can see the maps as well as traffic settings. Semi channels have the same format as channels 3-10 but there is a level restriction placed.
1) Semi Channel 1 = Lvl 40 or Lower
2) Semi Channel 2 = Lvl 60 or Lower
3) Semi Channel 3 = Lvl 70 or Lower
You may only attack a channel once so choose when you want to attack. There are a total of two rounds and to win a channel, you need to win both rounds if you are attacking and if you are defending, you just need to win one round. The race is a team format similar to the battle zone. There is also a spectating mode (Select 3 when entering Crew Center) and you can also use Mittron Fireworks to add a little amount of boost to the racer you choose to cheer for.
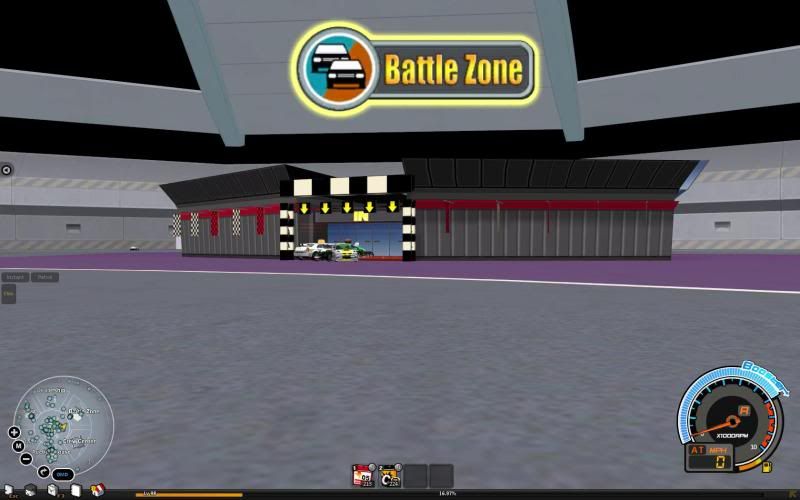
Battle Zone -:
There are a total of four arenas where you can race in, racing people who are on your level of competition/racing, whether that be new people or old pros. In each Arena you can adjust traffic from none to light, normal or heavy traffic when you get into the room. There is also a limited speed or unlimited speed option above the Traffic Selection when you are in the room. Many maps are available to choose from if you are the room host, you may choose ‘Recommended by Duffy’, this is a selection of maps chosen by Duffy or if you get bored you can select the ‘Random’ option and be able to play any map selected at random. 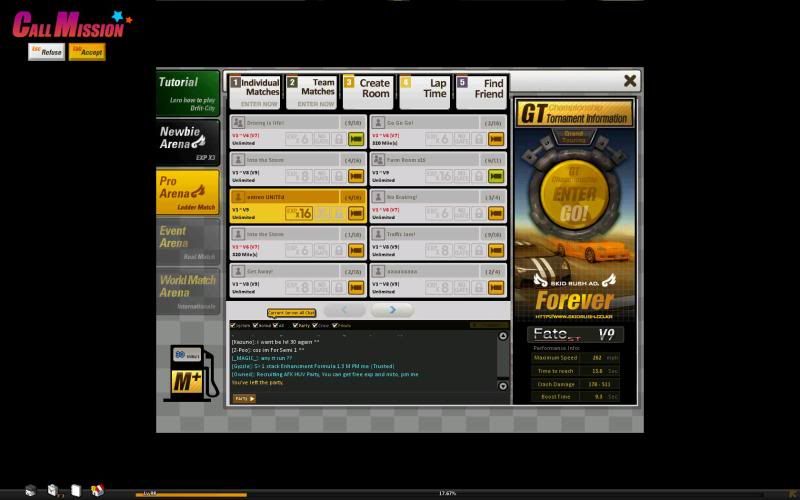
Newbie Arena:
– Newbie arena is for people under the level of 30 and under 260km. You can use V1-V4(V5) cars in this arena and have fun racing people in your level range!
Pro Arena:
– The second arena is the Pro Arena which means everyone over the level of 11 in any V car can participate. You can adjust the amount of experience. The higher the experience you pick the higher level you have to be to participate. There are a total of four levels you can adjust the experience to:
1) x4
2) x6
3) x8
4) x16
Event Arena:
-This is an Arena for Real Match which is simply racing in Duel cars, everyone going the same speed with the same accel time/boost time and durability points. There are scheduled times for this Arena. -To be posted later-
World Match Arena:
-Not opened yet.
GT Championship:
– Gt Championship is a tournament held every Friday starting at 8:00 PM PDT. Every week there would be a different map chosen and in order to win the tournament, you need to pass each round until the final round where you need to earn the most points in order to win. The first round would last for 30 minutes and then the semi-finals would be two rounds in which you need to get as many points as possibly to move on. The finals are also made up of two rounds also needing to gain as many points as possible. Winner of gets prizes depending on the arena they choose. They can choose from Rookie, Touring B, Touring A, or GT master. Rookie is for level 70 and below. Touring B is for duel cars (Everyone uses a duel.) Touring A restricts your speed and GT Master doesn’t limit speed at all nor levels.


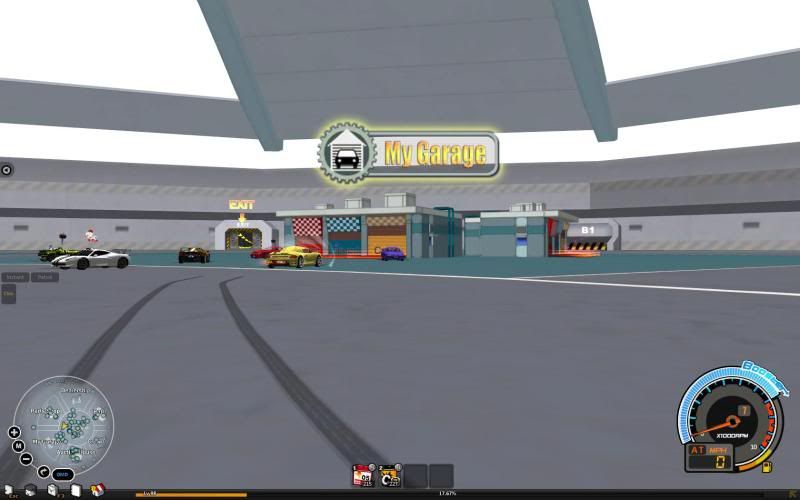
My Garage -:
This is a place in which you store your cars, you are given 1 garage floor when you begin the game and in order to expand your garage you must purchase a ‘Garage Expand’ from the Drift Shop (F4) then hit the blue ‘Misc.’ Tab, select the ‘Function Expansion Tab’, click on the word ‘Buy’ directly under Garage Expand, a popup menu will appear and then select Purchase and press Enter. Each one you buy is another floor added to your Garage; you are allowed 10 floors maximum. Each Garage Expand cost 190 CC ($1.90 USD).

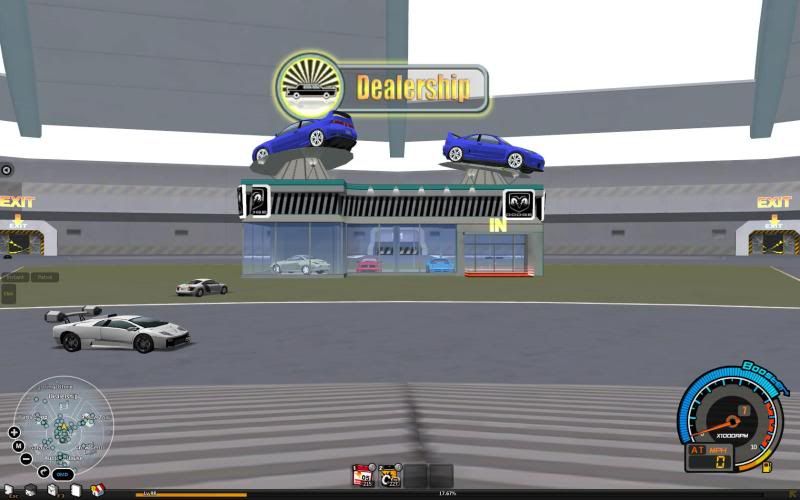
Dealership -:

‘Purchase’ Tab:
– Allows you to buy any car from V1-V9 providing you meet the requirements to purchase the car, if you do not meet the requirements the car will be locked so you may not purchase the car. Some cars need coupons to be purchased which recently resulted in the decrease of the price of the car. You may only buy a car if you have the amount of mito needed, the coupon for the car if it needs one and the required level for the car version.
1) V1 = Level. 1 +
2) V2 = Level. 5 +
3) V3 = Level. 11 +
4) V4 = Level. 21 +
5) V5 = Level. 31 +
6) V6 = Level. 41 +
7) V7 = Level. 51 +
8) V8 = Level. 61 +
9) V9 = Level. 71 +
‘Sell’ Tab:
-Allows you to sell any car in your possession, aero kits on the car may be sold, any parts on the car will be automatically placed back into your inventory if you sell the car.
Exit -:

This is the place you use to leave the Driver Dome, you may select the gate you wish to enter and press ‘Enter City’ you will then appear in the city where you were last, for new comers you will appear in Moon Palace, the first city.

The First Basement -:

This is currently closed to prepare for the Neo City update.
City -:
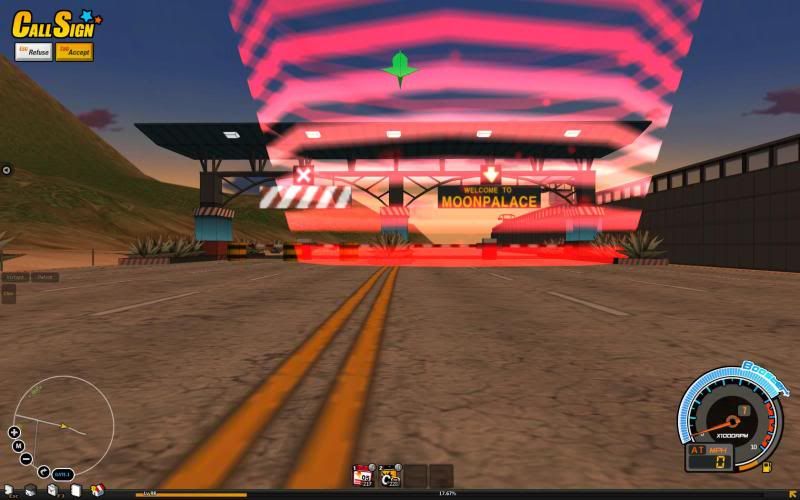
Moon Palace -:

This is the very first city you are allowed to access, you must complete the missions in order to move on to the next station, you can pull up your map by pressing the key ‘M’, once you have completed all the missions are each of the four stations in this city you will be eligible to move onto the next city, Koinonia.
Moon Palace Guide:

1) The Yellow boxes on the map are the Stations you must go to complete missions, starting at station 1, moving onto station 2, then 3 and finally 4.

2) The Purple boxes on the map are places to do repeatable quest for those of us who have completed all the missions in all 4 cities and wish to do more missions.

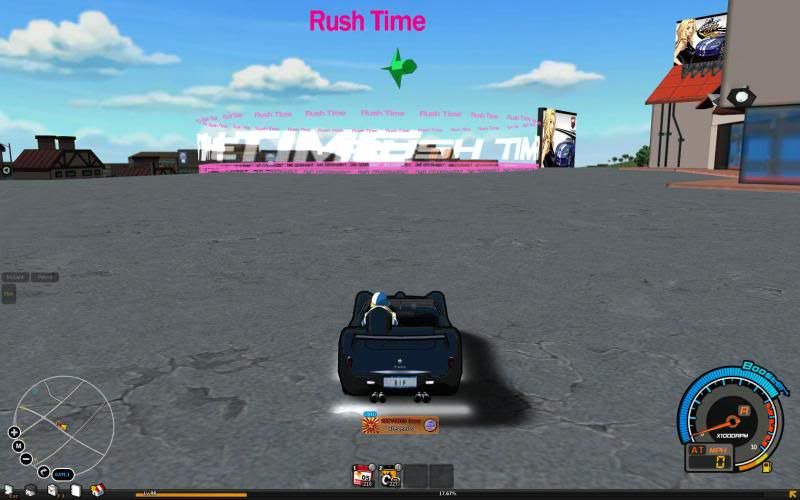
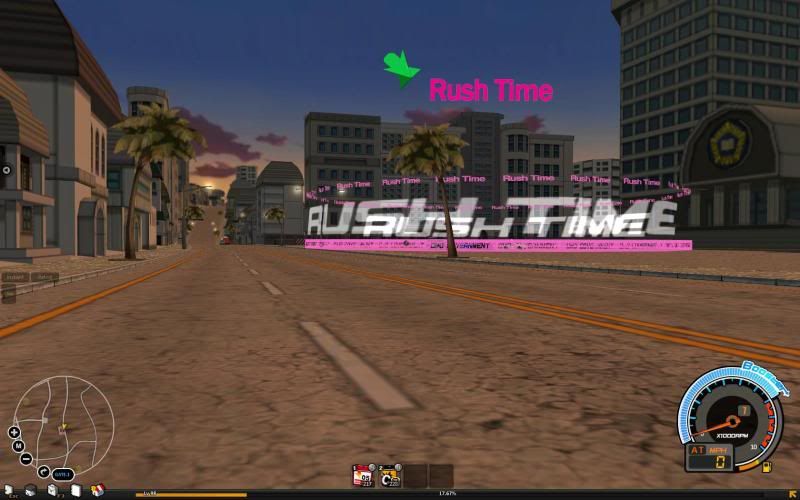
3) The Red ‘R’ on the map means Rush Time Zone, you can participate in Rush Time if you drive to this zone and there are enough players to start one.

4) The Pink ‘U’ on the map is where you can find Under City, you can participate in Under City once you are in a party with another person, 2 or 3 other persons.

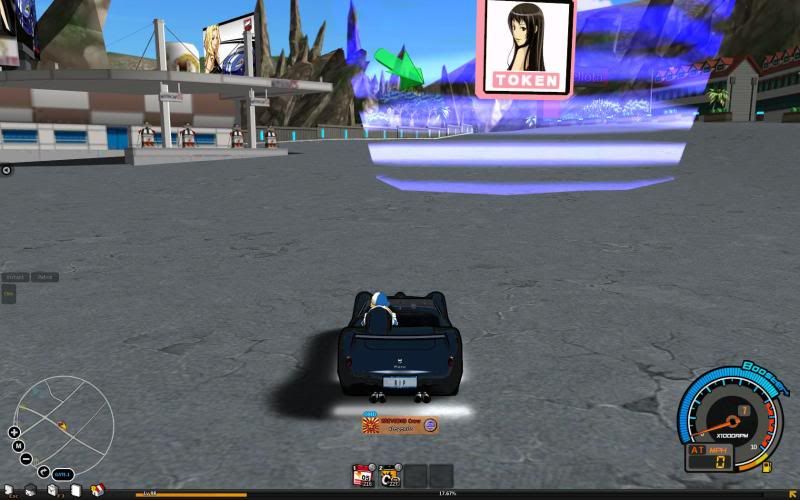
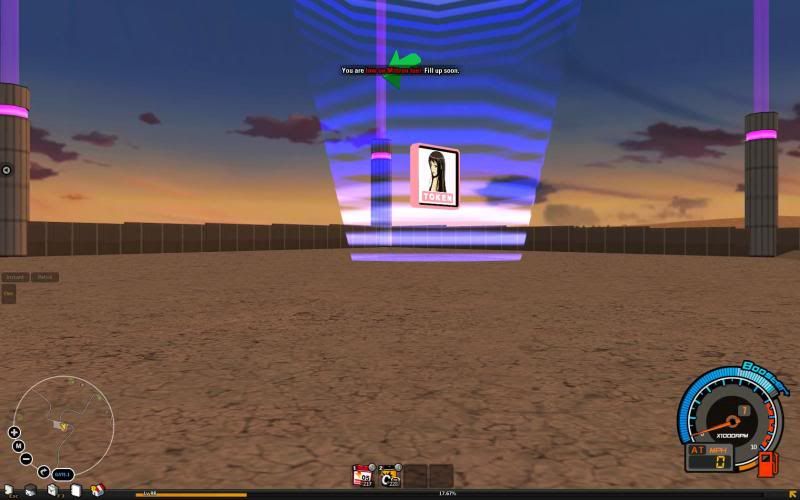
5) The Star on the map is Mission girl, you may exchange tokens gained from racing to her and be rewarded with prizes.

6) The Blue box on the map is where you will find the Item Exchange Attendant where you can trade Mittron Crystal Powder received from repeatable missions for items the Attendant has.

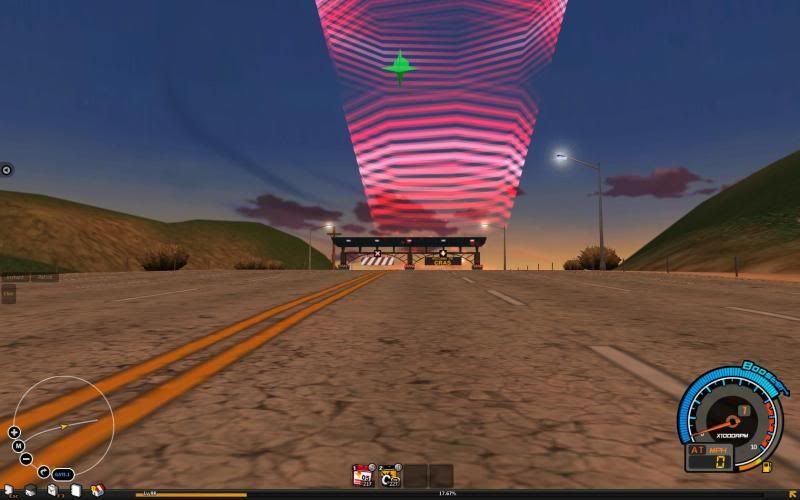
7) The Tollgate to Cras allows you to enter Cras if you have met the requirements to enter that city.

8) The Tollgate to Oros allows you to enter Oros if you have met the requirements to enter that city.

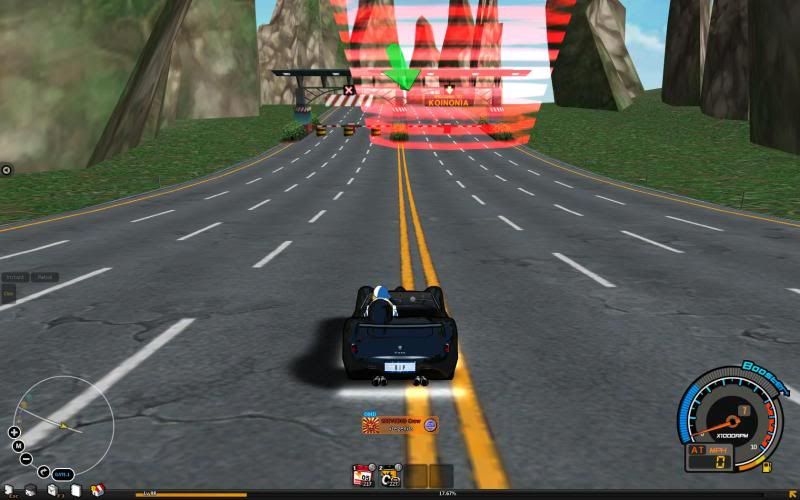
9) The Tollgate to Koinonia allows you to enter Koinonia if you have met the requirements to enter.
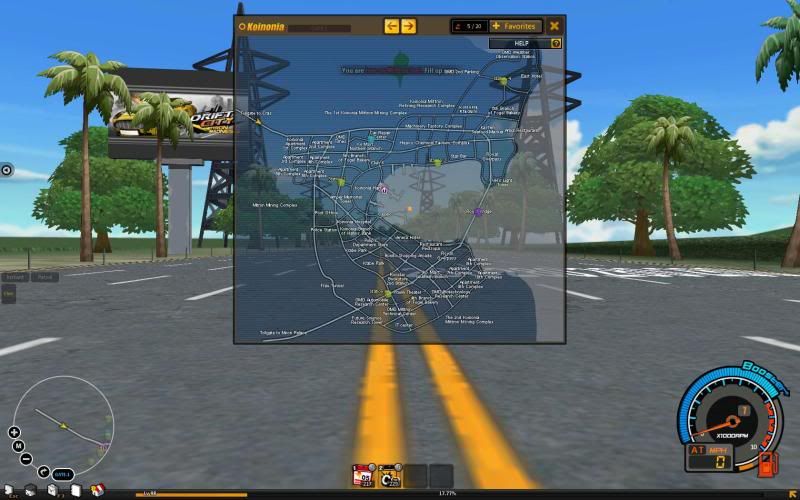
Koinonia -:
This is the second city, and after finishing missions in Moon Palace, your next set of missions awaits your arrival! You will continue to do things in the same format as MP, Station 1 through 4 until you are given the pass to the next city. You can open the map by pressing the key ‘M’. *Koinia has no tollgate to Oros, you must detour if you wish to return to Oros*
Koinonia Guide:

1) The Yellow boxes on the map are the Stations you must go to complete missions, starting at station 1, moving onto station 2, then 3 and finally 4.

2) The Purple boxes on the map are places to do repeatable quest for those of us who have completed all the missions in all 4 cities and wish to do more missions.

3) The Red ‘R’ on the map means Rush Time Zone, you can participate in Rush Time if you drive to this zone and there are enough players to start one.

4) The Pink ‘U’ on the map is where you can find Under City, you can participate in Under City once you are in a party with another person, 2 or 3 other persons.

5) The Star on the map is Mission girl, you may exchange tokens gained from racing to her and be rewarded with prizes.

6) The Blue box on the map is where you will find the Item Exchange Attendant where you can trade Mittron Crystal Powder received from repeatable missions for items the Attendant has.

7) The Tollgate to Cras allows you to enter Cras if you have met the requirements to enter that city.

8) The Tollgate to Moon Palace allows you to enter Moon Palace if you desire to return for whatever the reason may be.
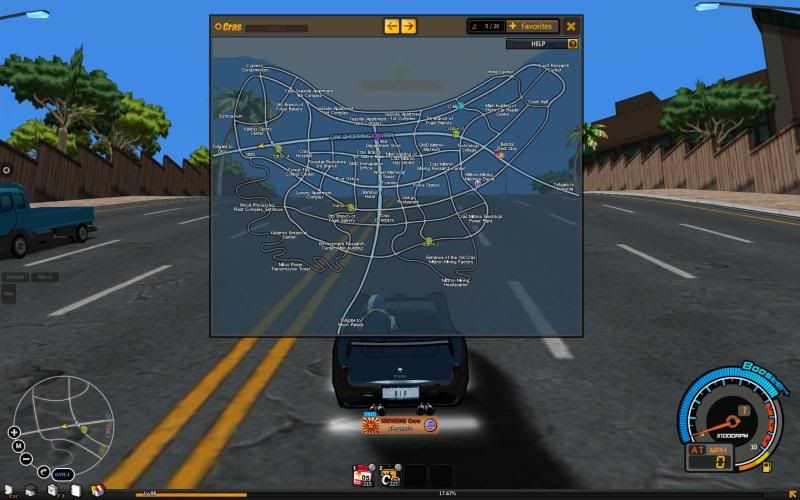
Cras -:
This is the third city, after finishing missions in Koinonia, your next set of missions waits your arrival! You will continue to do things in the same format was MP & Koinia Station 1 through 4 until you receive your pass to move onto the next city. You may open the map by pressing the key ‘M’.
Cras Guide:
1) The Yellow boxes on the map are the Stations you must go to complete missions, starting at station 1, moving onto station 2, then 3 and finally 4.
2) The Purple boxes on the map are places to do repeatable quest for those of us who have completed all the missions in all 4 cities and wish to do more missions.
3) The Red ‘R’ on the map means Rush Time Zone, you can participate in Rush Time if you drive to this zone and there are enough players to start one.

4) The Pink ‘U’ on the map is where you can find Under City, you can participate in Under City once you are in a party with another person, 2 or 3 other persons.
5) The Star on the map is Mission girl, you may exchange tokens gained from racing to her and be rewarded with prizes.
6) The Blue box on the map is where you will find the Item Exchange Attendant where you can trade Mittron Crystal Powder received from repeatable missions for items the Attendant has.
7) The Tollgate to Moon Palace allows you to enter Moon Palace if you desire to return for whatever the reason may be.
8) The Tollgate to Koinonia allows you to enter Koinonia if you desire to return for whatever the reason may be.
9) The Tollgate to Oros allows you to enter Oros if you have met the requirements to enter this city and continue your missions.
Oros -:

Oros, the fourth city, now gives you a chance to be a part of a new fraction called ROO, while completing your missions you will find out more about this, however if you do not wish to continue being a team ROO member, just keep going until you get to the mission where you choose the fraction of your choice. ROO or OMD?! (Permanent) Team ROO = Gives more EXP, OMD = More mito, the decision is yours! Press ‘M’ to get the map if you wish to see it. *Oros has no tollgate to Koinonia you must detour. Oros also has no repeatable quest as yet nor does it have an Under City*
Oros Guide:
1) The Yellow boxes on the map are the Stations you must go to complete missions, starting at station 1, moving onto station 2, then 3 and finally 4.
-ROO Outpost: 
– ROO Head Quarters: 
-OMD Stations 1: 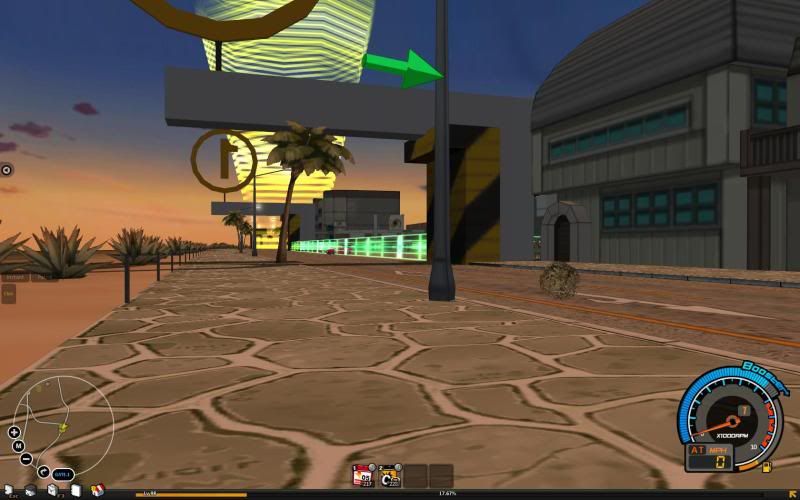
2) The Red ‘R’ on the map means Rush Time Zone, you can participate in Rush Time if you drive to this zone and there are enough players to start one.
3) The Star on the map is Mission girl, you may exchange tokens gained from racing to her and be rewarded with prizes.
4) The Tollgate to Moon Palace allows you to enter Moon Palace if you desire to return for whatever the reason may be.
5) The Tollgate to Cras allows you to enter Cras if you desire to return for whatever the reason may be.

Recent Comments