Fortnite Funneling and Trapping Guide
Fortnite Funneling and Trapping Guide by Reikyu09
Purpose
The purpose of this guide is to help players understand how the AI works with regards to funneling and how to efficiently build and trap. This will specifically be in regards to funnels and not SSDs or building a box around the objective.
Introduction
I love funneling and trapping, and love it when a funnel comes together. Early on I made plenty of mistakes but you learn through trial and error (and from watching other people do it better). Why are they breaking my walls? Why are they going that way? Rather than post all over with tips and advice I figure a PSA/guide post including all of my thoughts and observations might be useful.
Methodology
I’m from the school of thought that traps and funneling should be the first line of defense. Funnels should be placed as close to the spawn as reasonably possible. Funnels should be short and sweet (and cheap) and not a long straight hallway lit up like a xmas tree. Traps are used to weed out the trash and not to kill smashers. Players are positioned between the wall of traps and the objective, protected from bees, pitchers, and laser faces. Anything tanky that makes it through the line of traps is weakened with most of the trash dead. Players then clean up. I do not like placing DPS traps on the objective because if your players are doing their job the traps won’t get many chances to fire, and if something big is hitting the objective you’ll have to get involved to kill it.
Tools
Trash comes in waves and can be thick at higher levels or certain maps. Trash is best killed with fast reloading low damage traps rather than long hallways of hard hitting slow reloading traps. Ceiling Gas and AoE Ceiling traps are my preferred tools for cleaning out the trash. Electrical damage is nature which means reduced damage against fire creatures. Ceiling Gas is my favorite damage trap and I hope everyone is able to obtain a good one someday (or you can have a friend craft some for you). Wall launchers and floor launchers are invaluable both for defense and offense. As much reload as you can especially on wall launchers; even if you have to drop down in rarity. Wooden floor spikes with their slow are also invaluable and cheap. Stick with rare or under for their 1 duct tape crafting and hold onto any random ones that drop. I also recommend running the supply drop gadget. Extra materials add up over time and make life easier. I am not a fan of slow reloading hard hitting traps. They are expensive, are best used towards the end of a tunnel, and by then most things are dead or almost dead and they won’t receive much use. Unfortunately RNG controls what traps we have. If you lack an important trap try to get it either via the weekly shop rotation or keeping an eye out for alert transforms. Traps stack to 20 and can also be crafted by others. At least for DPS traps you shouldn’t be spamming them.
General AI Pathing
Husks tend to follow the path of shortest time to the objective. Is it faster to blow a hole in your wall or go through your windy maze? To visualize the path of the husks, start with no walls and look at where the spawn is and where the objective is. Imagine water flowing like a river from the spawn with your objective as the drain. You want to guide the river and not force it away from it’s desired path. If the objective is south east from the spawn, you want to guide the husks either south or east. The husks will funnel naturally as they head towards your objective, but as you don’t want to load up traps right outside the objective, you will want them to funnel closer to the spawn. Funnel the husks into a single tile, and hit the tile hard with your traps. Normal trash husks do not hit very hard and will not smash down walls very quickly which makes them easier to lead into a funnel. Huskies hit harder and are more likely to smash down walls rather than be lead away. Smashers even less prone to be diverted. I try to limit diversions away from the natural flow to a single tile, and I will be sure to fortify the walls in play when I do.
Also be aware that other players near husks or firing on them may become the ‘objective’ and draw their attention. If the quickest path to the player is through a wall rather than through the funnel, that wall will be attacked.
Sandwiches
For those not familiar with sandwiches, it involves a full wall, half floor, stairs, and another short/full wall all in a single tile. The main difference from a full wall+stairs defense is the addition of the half floor. Half floors are not as efficient but allow you to build compact. You often won’t need these for normal missions but they are fine for SSDs.
Wall Efficiency
Full walls provide the most HP per building material. This is closely followed by full stairs. Half floors are a substantial drop in efficiency, but so does upgraded walls. A single T2 full wall will require 30 building materials normally and add 1 to the build limit. A T1 full wall, half floor, and stairs will require 30 building materials normally and add 3 to the build limit, but provide more HP than the T2 wall. I typically like to go with T2 full walls and T1/2 stairs when I need to create a solid barrier. The initial T2 full wall if attacked can hopefully be saved. The stairs provide utility, can be built in a different material than the full wall, and be quickly upgraded if needed. Ideally you don’t want your walls to be attacked at all, and it’s finding that balance between HP, build, and materials on hand.
Smashers and Propanes
Smashers on an objective defense do NOT charge players. Exception for miniboss smashers and roaming smashers on the map. Objective smashers do NOT charge players; they charge objectives (or more accurately the walls of/around the objective). Assuming you don’t have your reverse stairs/angled roofs out, smashers will start their charge around 4 tiles out. You do not want the smasher charging through your funnel walls because you placed your funnel too close to the objective. Propanes will toss their propanes when they get about 4 tiles out. You do not want them lighting up in your funnels because you placed your funnels too close to the objective. Distance is important.
Weather Reports
Pay attention to these because apparently no one else does. Weather reports include important information like moving storms or the kind of element that is attacking. I like to type out the weather report in team chat so that everyone can see and get confused. “What was that?” “How do you know what’s attacking?” Why is this important? If storms are moving then you need to consider potential attacks from other directions and possibly prepare funnels ahead of time. The element is important because nature husks will chew through metal. Water husks will chew through stone. Fire husks will chew through wood. Your funnel walls of metal will be less effective against a nature wave and more prone to being breached. Pay attention because other map events will also have weather reports that can distract you. Encampments, siphons, etc. If someone just walked by an encampment wait for the weather message to clear before you insert the bluglo. Atlas missions will display the weather report right after you insert the goo. Van missions will display the weather report right after you insert the goo, but each wave might be slightly different in element or location. The second wave tends to be more lobber heavy with most of the smashers on the first wave. Data missions will display the weather when you get close to the landing point. Upon first approach Ray will say that you found the landing spot. The weather report will not show up until you step a bit closer. The weather report will also display 1 minute before the balloon drops, but by then your base should already be built. The bomb weather report will show up after the escort is done. Bomb waves do not move and do not have lobbers (but can have flingers), and come in very thick waves. Evacuate the shelter missions will display the weather report with about 8 minutes remaining to shelter recharge. You can spend the first minute or two clearing the area before building. Repair the shelter missions you have to build blind. The final wave gives no warning on where the spawns might be or the element. The first wave you should probably be searching rather than building.
Scenarios
I’ll go through 5 scenarios when it comes to funneling and trapping. I’ll address these in order of importance and effectiveness. Sometimes it’s just too much work to set up an effective funnel.
Scenario 1: Pits and Cliffs
If you can push or bounce husks into a pit or off a cliff WITHOUT diverting them too far away from their natural course, do so. Wall launchers are cheap and effective. Can be combined with floor launchers and an angled roof or wooden floor spikes to slow their movement. You can also snake the path using alternating 1×2 walls to increase their travel time. I prefer wooden floor spikes as they sometimes appear in supply drops and are overall not too expensive to craft with duct tape that you naturally come across. Floor launchers fit better on turns, but when the path turns make sure the path winds with 1×2 walls to maximize the travel time or the floor launcher might misfire. Working with pits and cliffs are cheap and quick (unless you are demolishing a building) to set up and should be the first thing you look for. Depending on the pathing you can get by with t1 or t2 walls and usually wood.

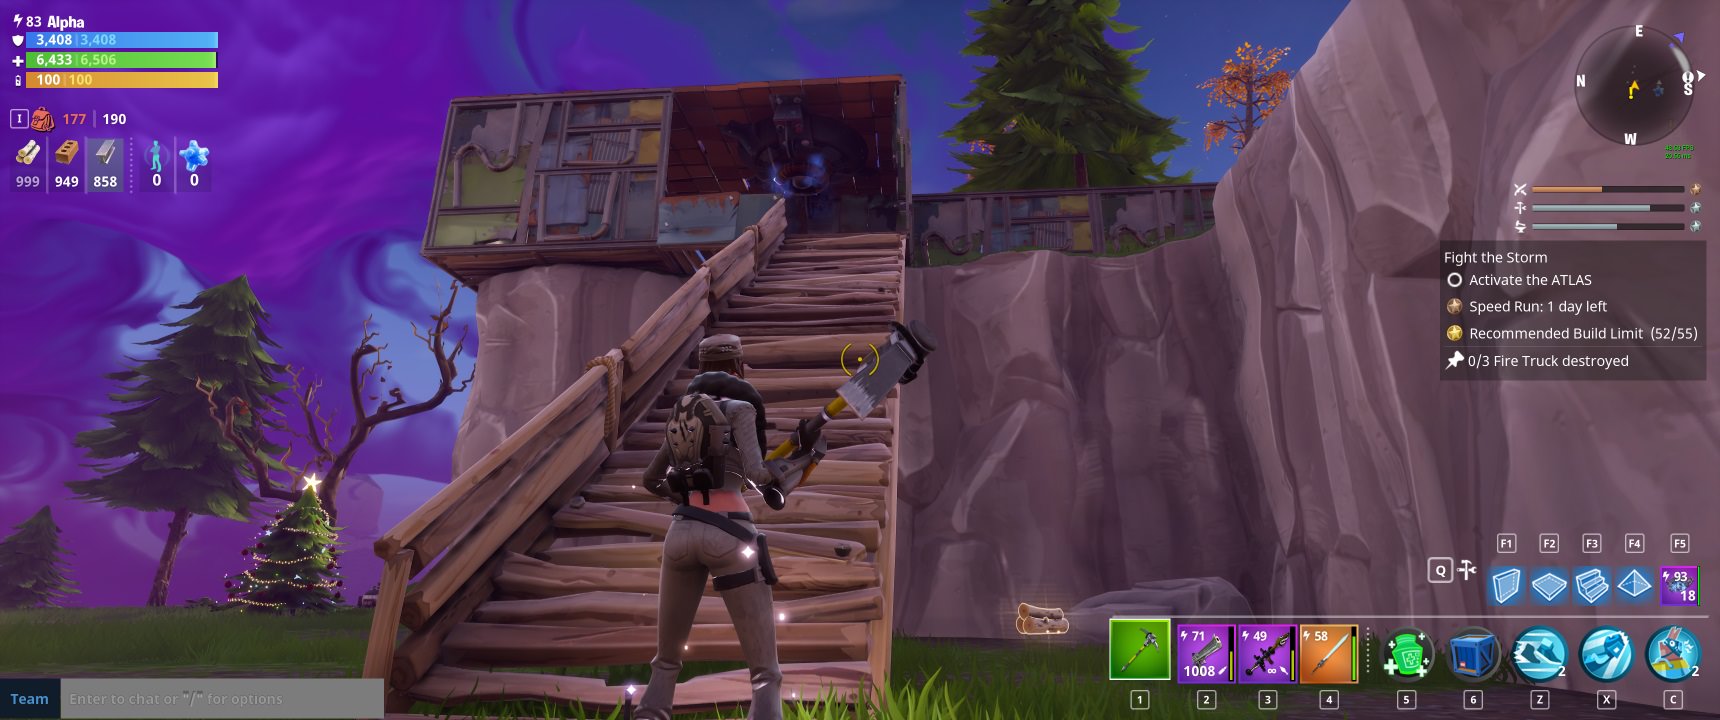
Scenario 2: Ramps
There will often times be spawns at lower elevations that must climb a ramp to approach the objective. You might also be able to push other spawns into lower elevations with wall launchers, or wall their progress and require them to take a slight diversion. Ramps are hard choke points where the terrain funnels everything into a single tile either at the bottom of the ramp or the top of the ramp. I prefer building at the top of the ramp, but if that results in building too close to the objective you might be better served to build at the bottom of the ramp. My trap setup consists of a ceiling gas, a wall launcher, and wooden floor spikes. The ceiling gas kills most of the trash. The wooden floor spikes slows the pathing so that they are more likely to be launched away by the wall launcher. A husk launched back down the ramp they came has to climb back up only to be launched again. With a fast enough wall launcher very little will survive or sneak by without being bounced. I also use a 1×2 wall to require the husks to path all the way to the wall launcher before they can turn and escape the trap setup. For better coverage you can expand to a second tile consisting of another 1×2 wall, a full wall with a wall launcher pointed towards the previous tile (with the gas/wall launcher/wooden floor spikes), and a ceiling trap of your choosing. You could also place tires over the ramp if that’s your thing. Ramp scenarios require little building mats to set up because the funnel is already done for you. T1 or T2 walls if the wall is of the appropriate element. More if you fear your team will be doing silly stuff like blowing up your funnels.

Scenario 3: Open fields
A lot of the times the spawn will be on the same elevation as the objective, and across a wide open field with no natural choke points. The goal is to create a wall with a single opening that leads to your traps. This opening should be positioned close to a direct line N/S/E/W from the objective. For example, if the spawn is over a wide area to the north of the objective, you will want to draw a line straight north from the objective, and around there will be where you want the opening in your wall. This way those spawning to the NW will still be forced to travel SE to the funnel opening, and the objective is SE as well. Those spawning to the NE will be forced to travel SW to the funnel opening, and the objective is SW as well. Build the wall of an appropriate element, upgrade it, and throw down some t1 stairs as a second layer. Upgrade as needed (unless the rest of your team does it). Something to keep in mind is the closer the wall is to the spawn, the sharper the change in the angle of approach it will be for husks that spawn on the far edges. Building the wall closer to the spawn will require thicker walls than building about 5-6 tiles away from the objective. For the hole in the wall, I use a similar setup as the ramp. A gas ceiling, a wall launcher to push the husks back the way they came, and wooden floor spikes to slow their progress. If a wave is particularly thick or high level I can extend the funnel to a second tile with another wall launcher pushing them back onto the gas if they sneak by. I can also place an AoE ceiling extension in front of the gas where everything is funneling. If you haven’t noticed by now I am only using a single gas trap in these setups. You often times don’t need to use more than 1 unless you are against fire (resistant to electrical traps like the AoE ceiling) or against really high level husks.
Scenario 4: Elevation
Sometimes the objective spawns near a tall cliff and on top of that cliff is a wide spawn area. Shucks. Did you know that husks do not like taking fall damage? They will take fall damage if the safe pathing alternative is too far out of the way, but why not give them a hand? Build your wall and funnel as in Scenario 3, (if the space above the cliff allows for it) but build a staircase or landing platform for the husks at the end of your funnel. The fact that there is now a safe path (lined with traps) that allows them to drop elevation and approach the objective will help to funnel them.
Scenario 5: Bad terrain
A few things will show up here, but at least they aren’t as common. Instead of ramps some maps will have husks walk up steps. Be warned that if you use floor tiles the husks might not be able to walk up the steps without first smashing the floor tile. If you can’t walk up the steps, neither can they. If a husk has to move out of the way to smash a floor, they might rather smash your wall instead. Water slows husks and husks don’t like longer paths through water or sidestepping through water. In some situations a nice bit of flooring over water will allow a husk to walk to the entrance of your funnel rather than breach a wall. You can also use floors over edges to provide husks a more convenient path to your objective if it allows you to combine spawns. There are also some terrains which just can’t work. Large sloped hills where you can’t effectively wall or trap. There’s always the aoe ceiling cheese method over the spawn (which is expensive) or it’s time to do some shooting.
In Closing: Thanks.
Least I could say after putting you through all that reading. Hopefully most of it is accurate and helpful.

Recent Comments