Clash of Clans Hogging in Wars Guide
Clash of Clans Hogging in Wars Guide by maxwellj02
Hello! I’m a TH8 who loves to hog.
The following paragraph will be opinionated. Very opinionated. Let’s face it. Dragon strategies don’t always work. Before anything else, let me say that hogging is hard to learn, but easier to maintain. It depends less on luck and more on skill. I’ve seen mass dragon raids ruined by skeleton traps that were otherwise doing pretty well. I’ve had more personal success with hogs, but hogging is not for everyone. Also, it will be unlikely that you 3-star on your first try. End opinions.
I carry 33 hogs (level 4 is best), 7 wizards, 4 barbarians, and 3 archers. Also (mandatory), I carry 2 witches and 1 barbarian in my clan castle. In bases where luring cc with 2-3 giants instead of 3 hogs seems feasible, I’ll substitute just enough giants. Also, I sport 3 heal spells.
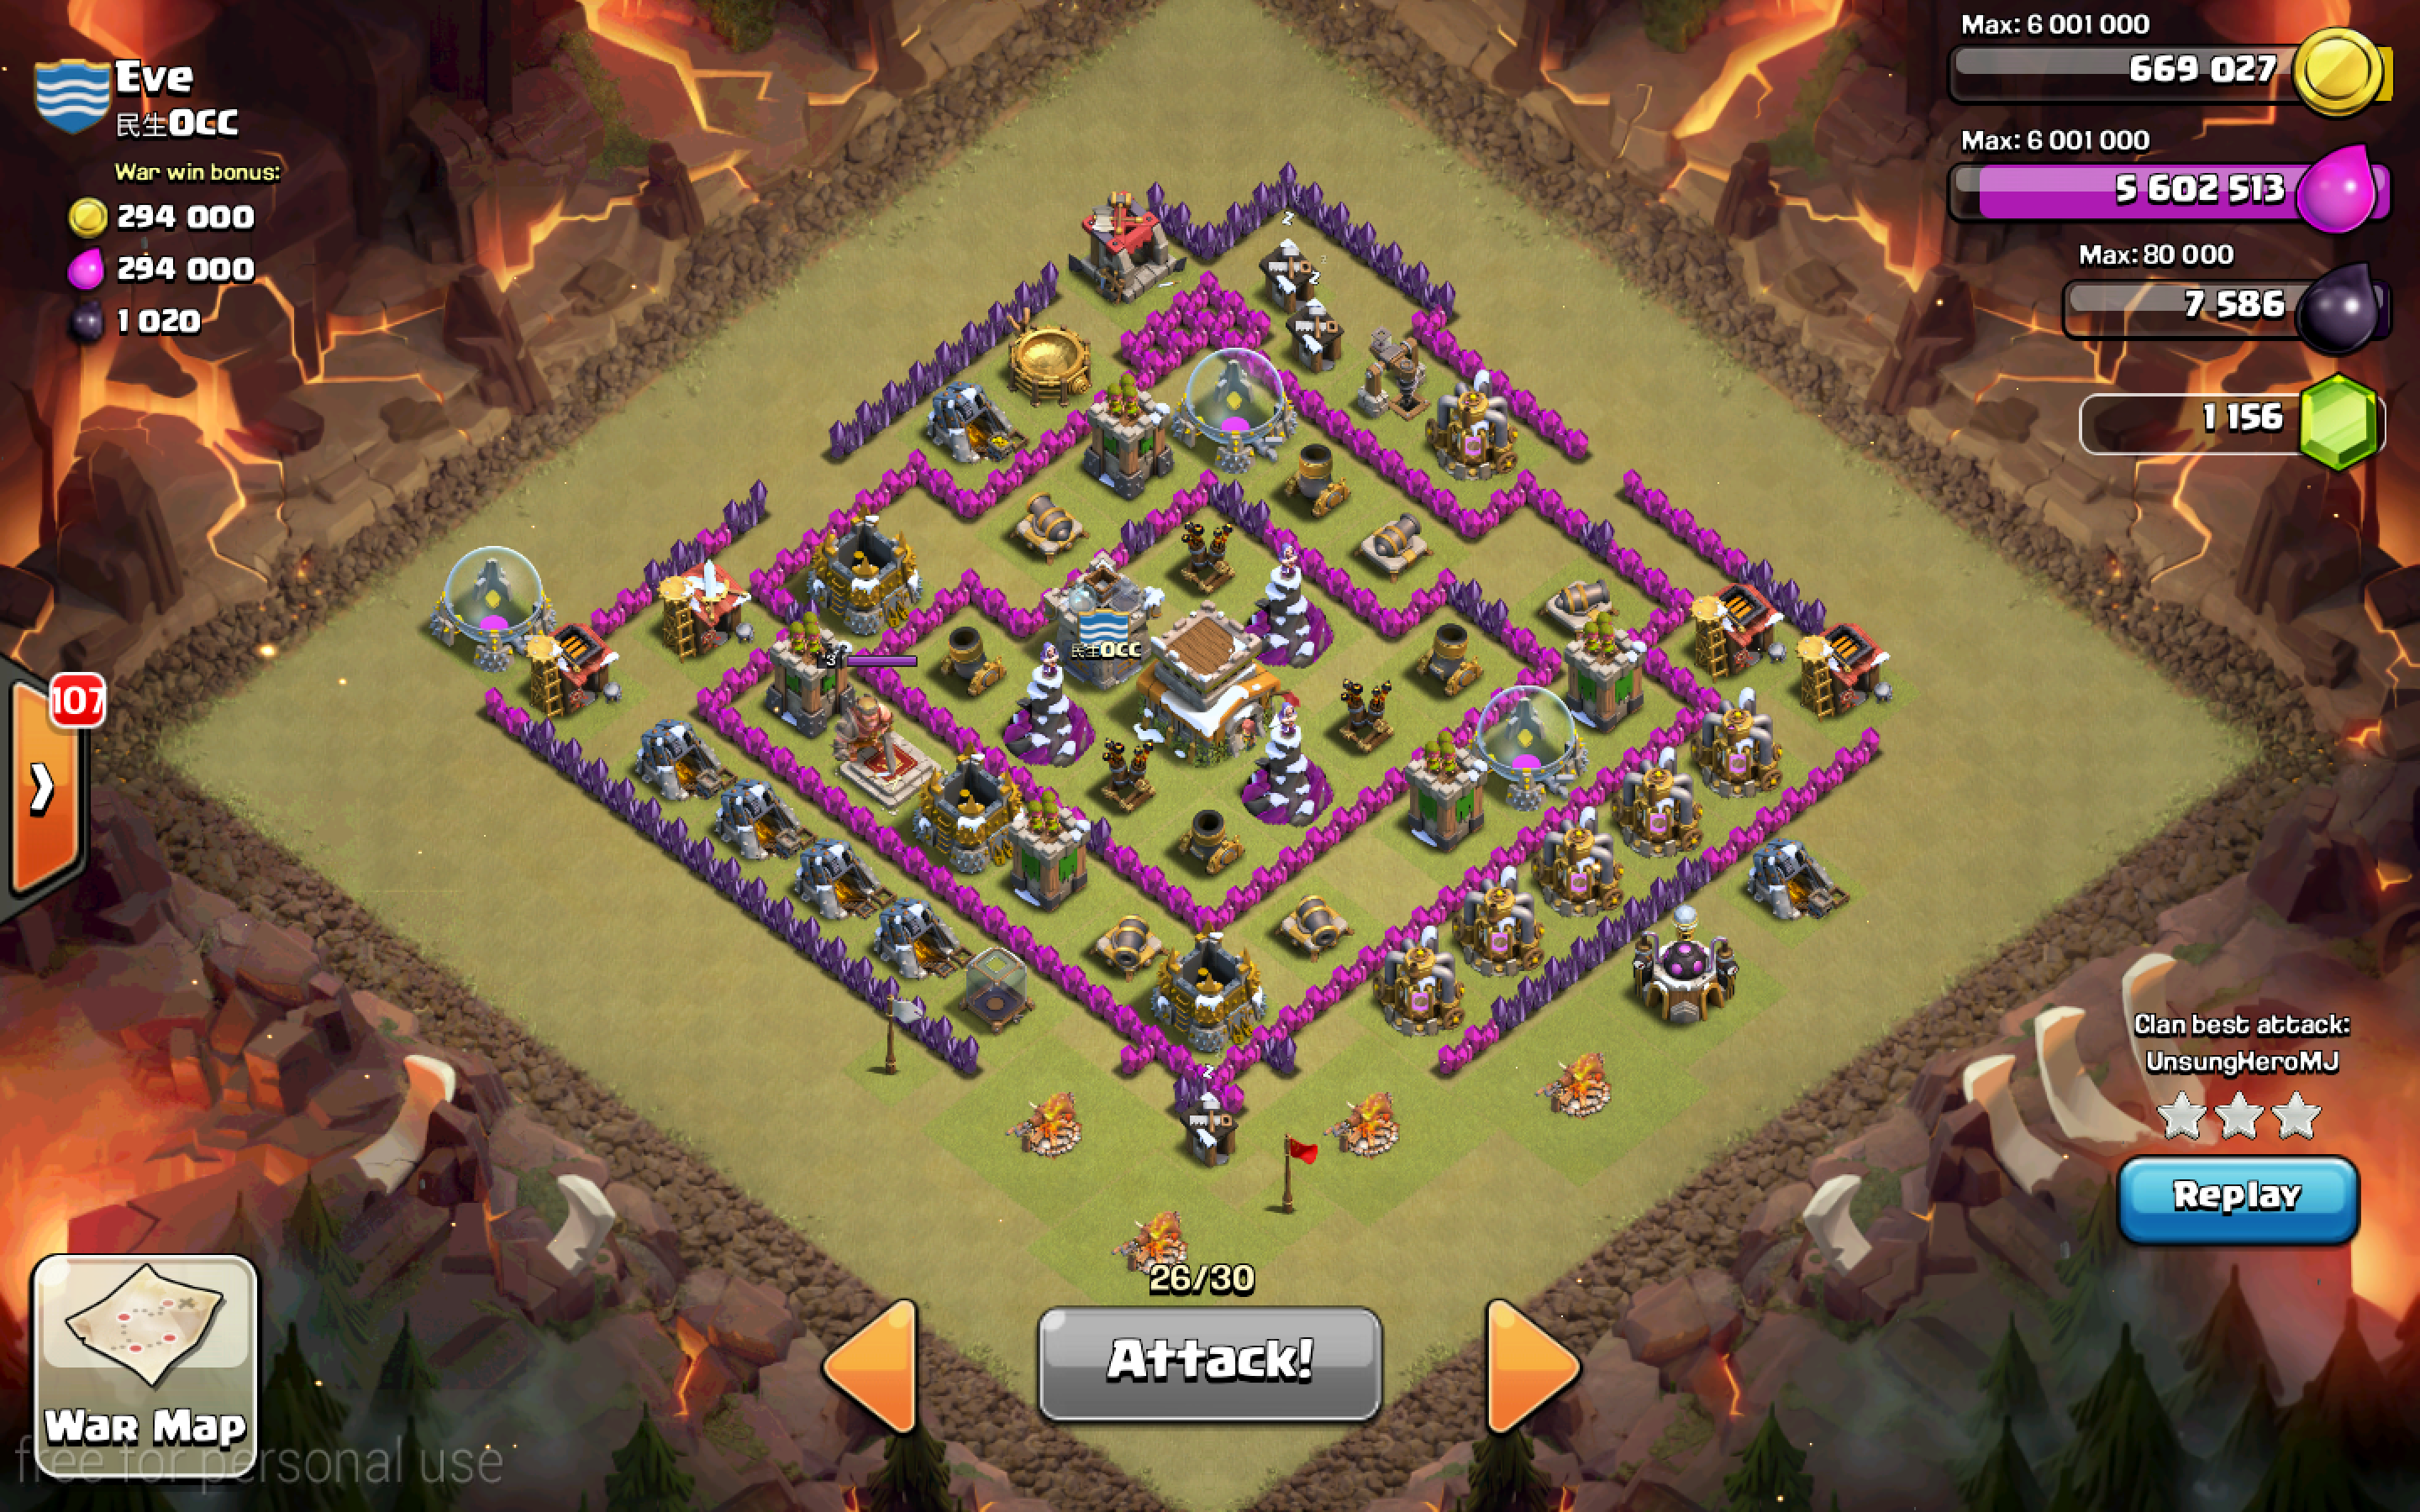
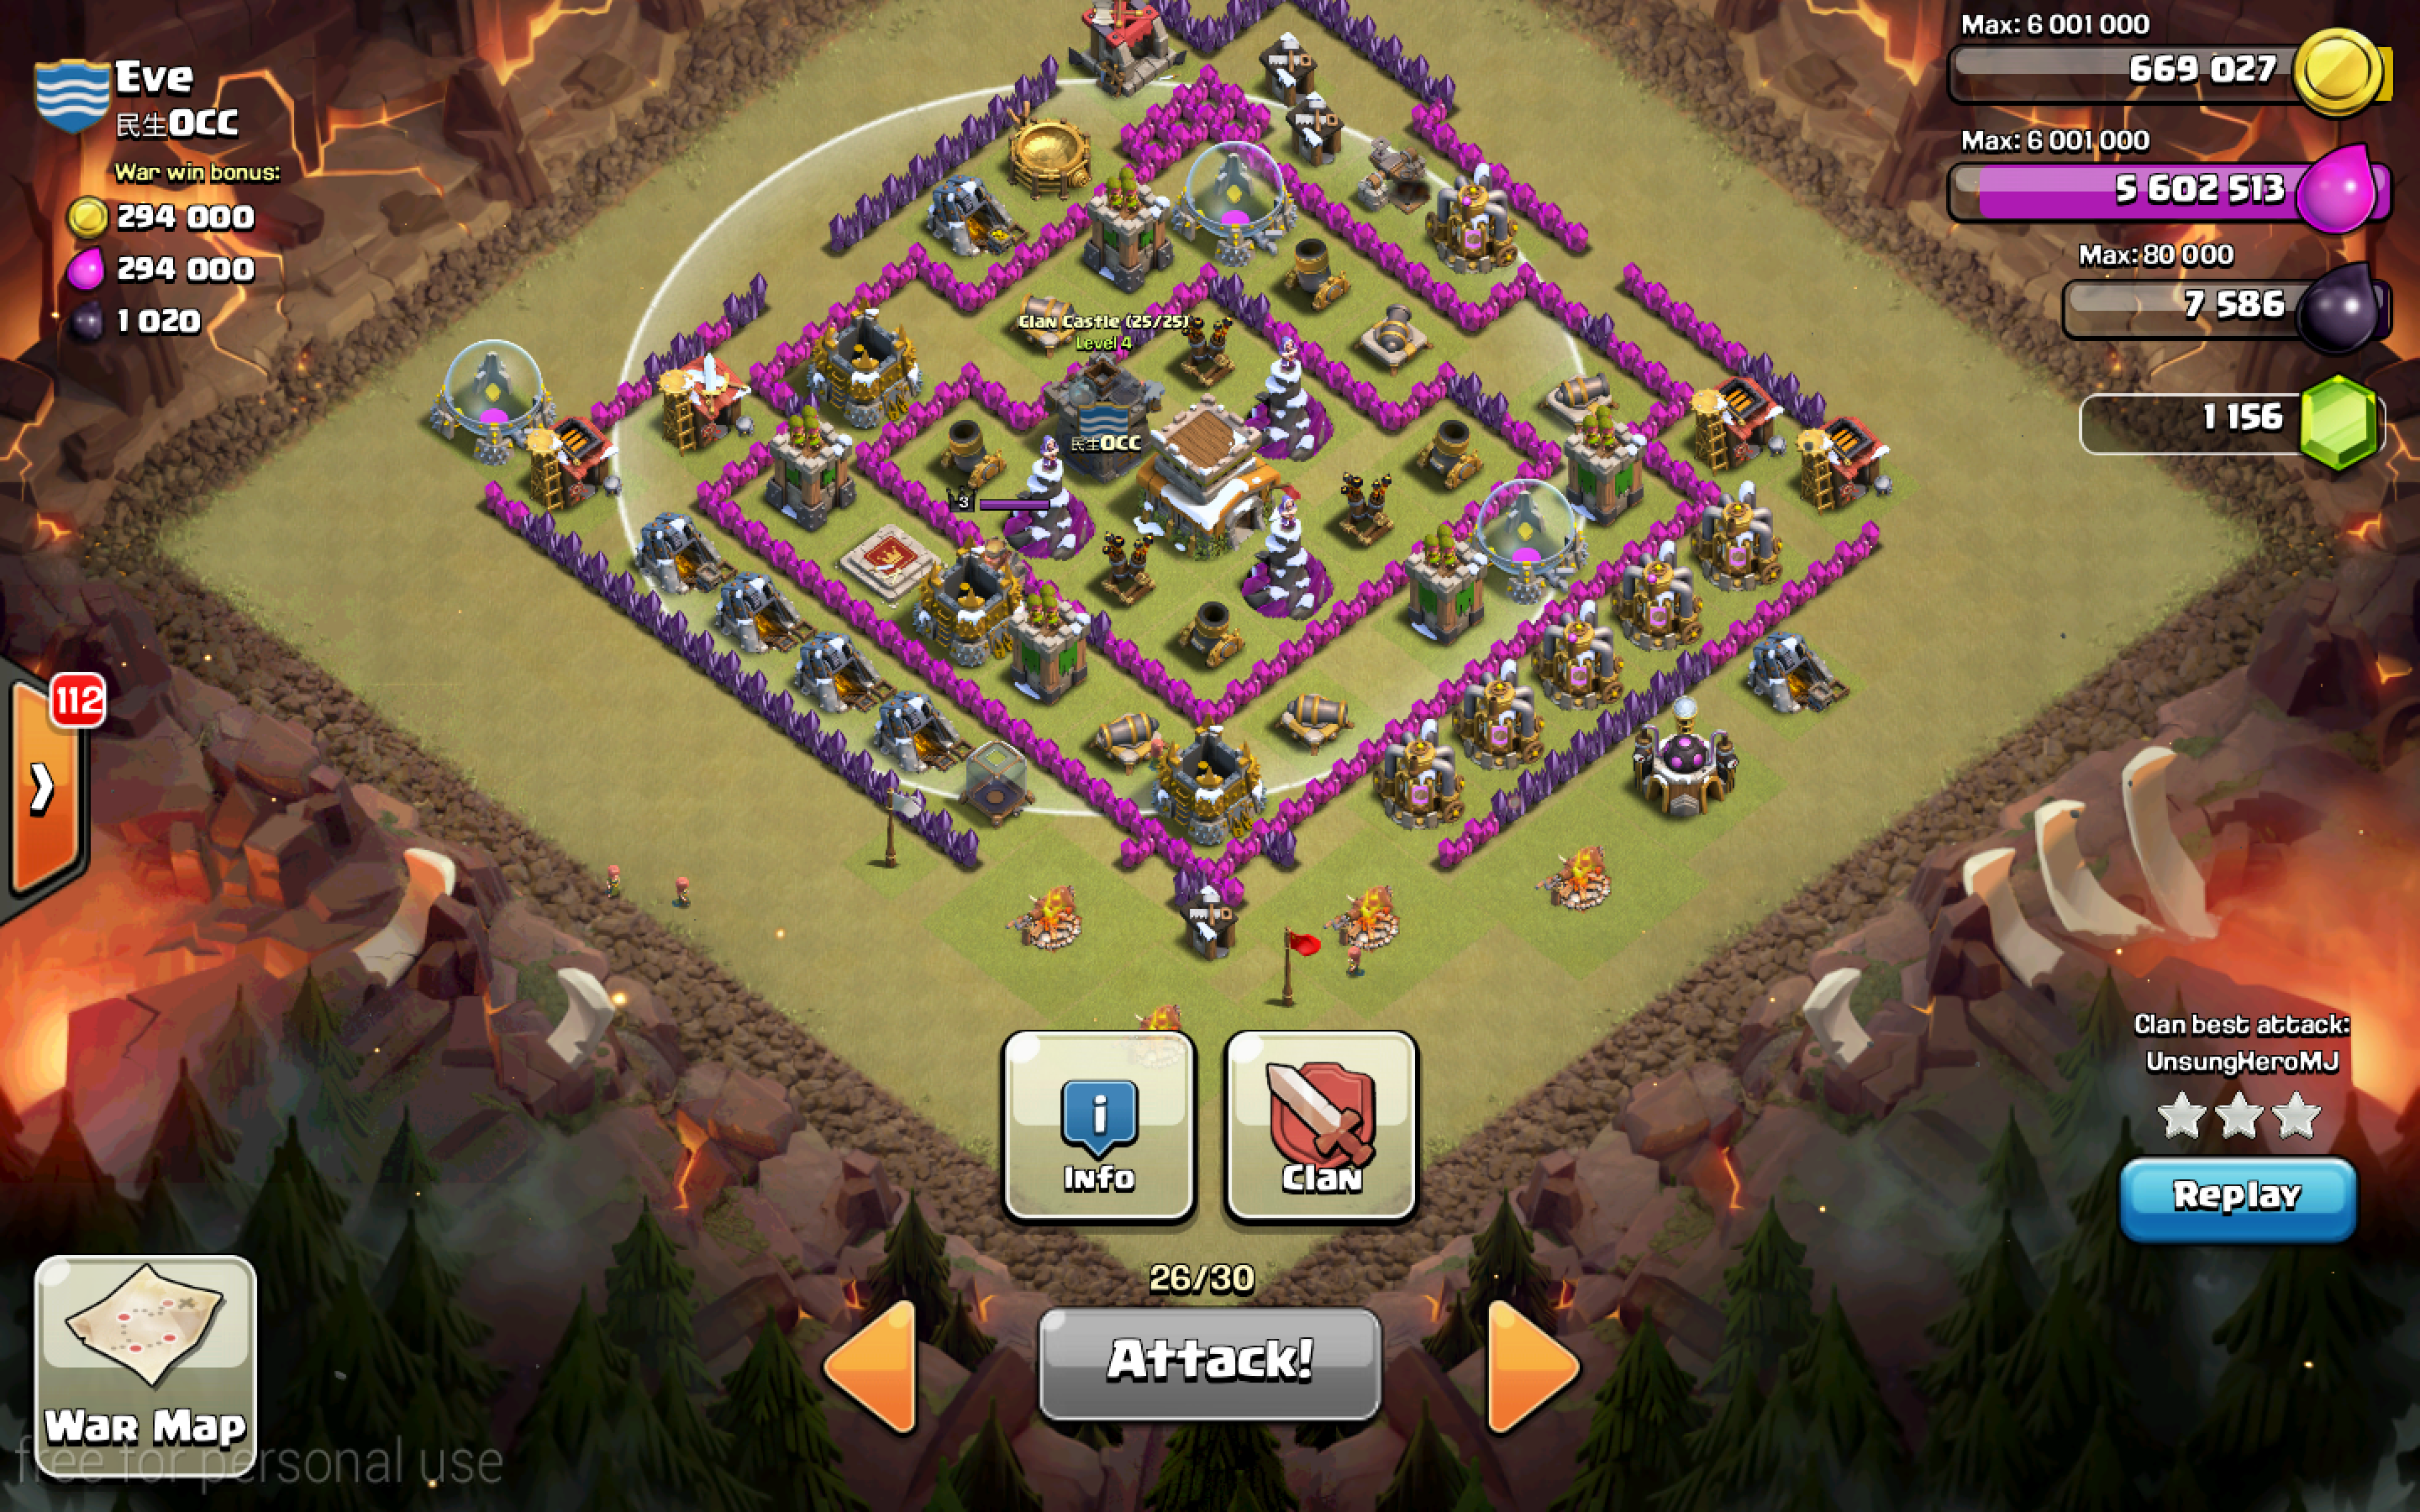
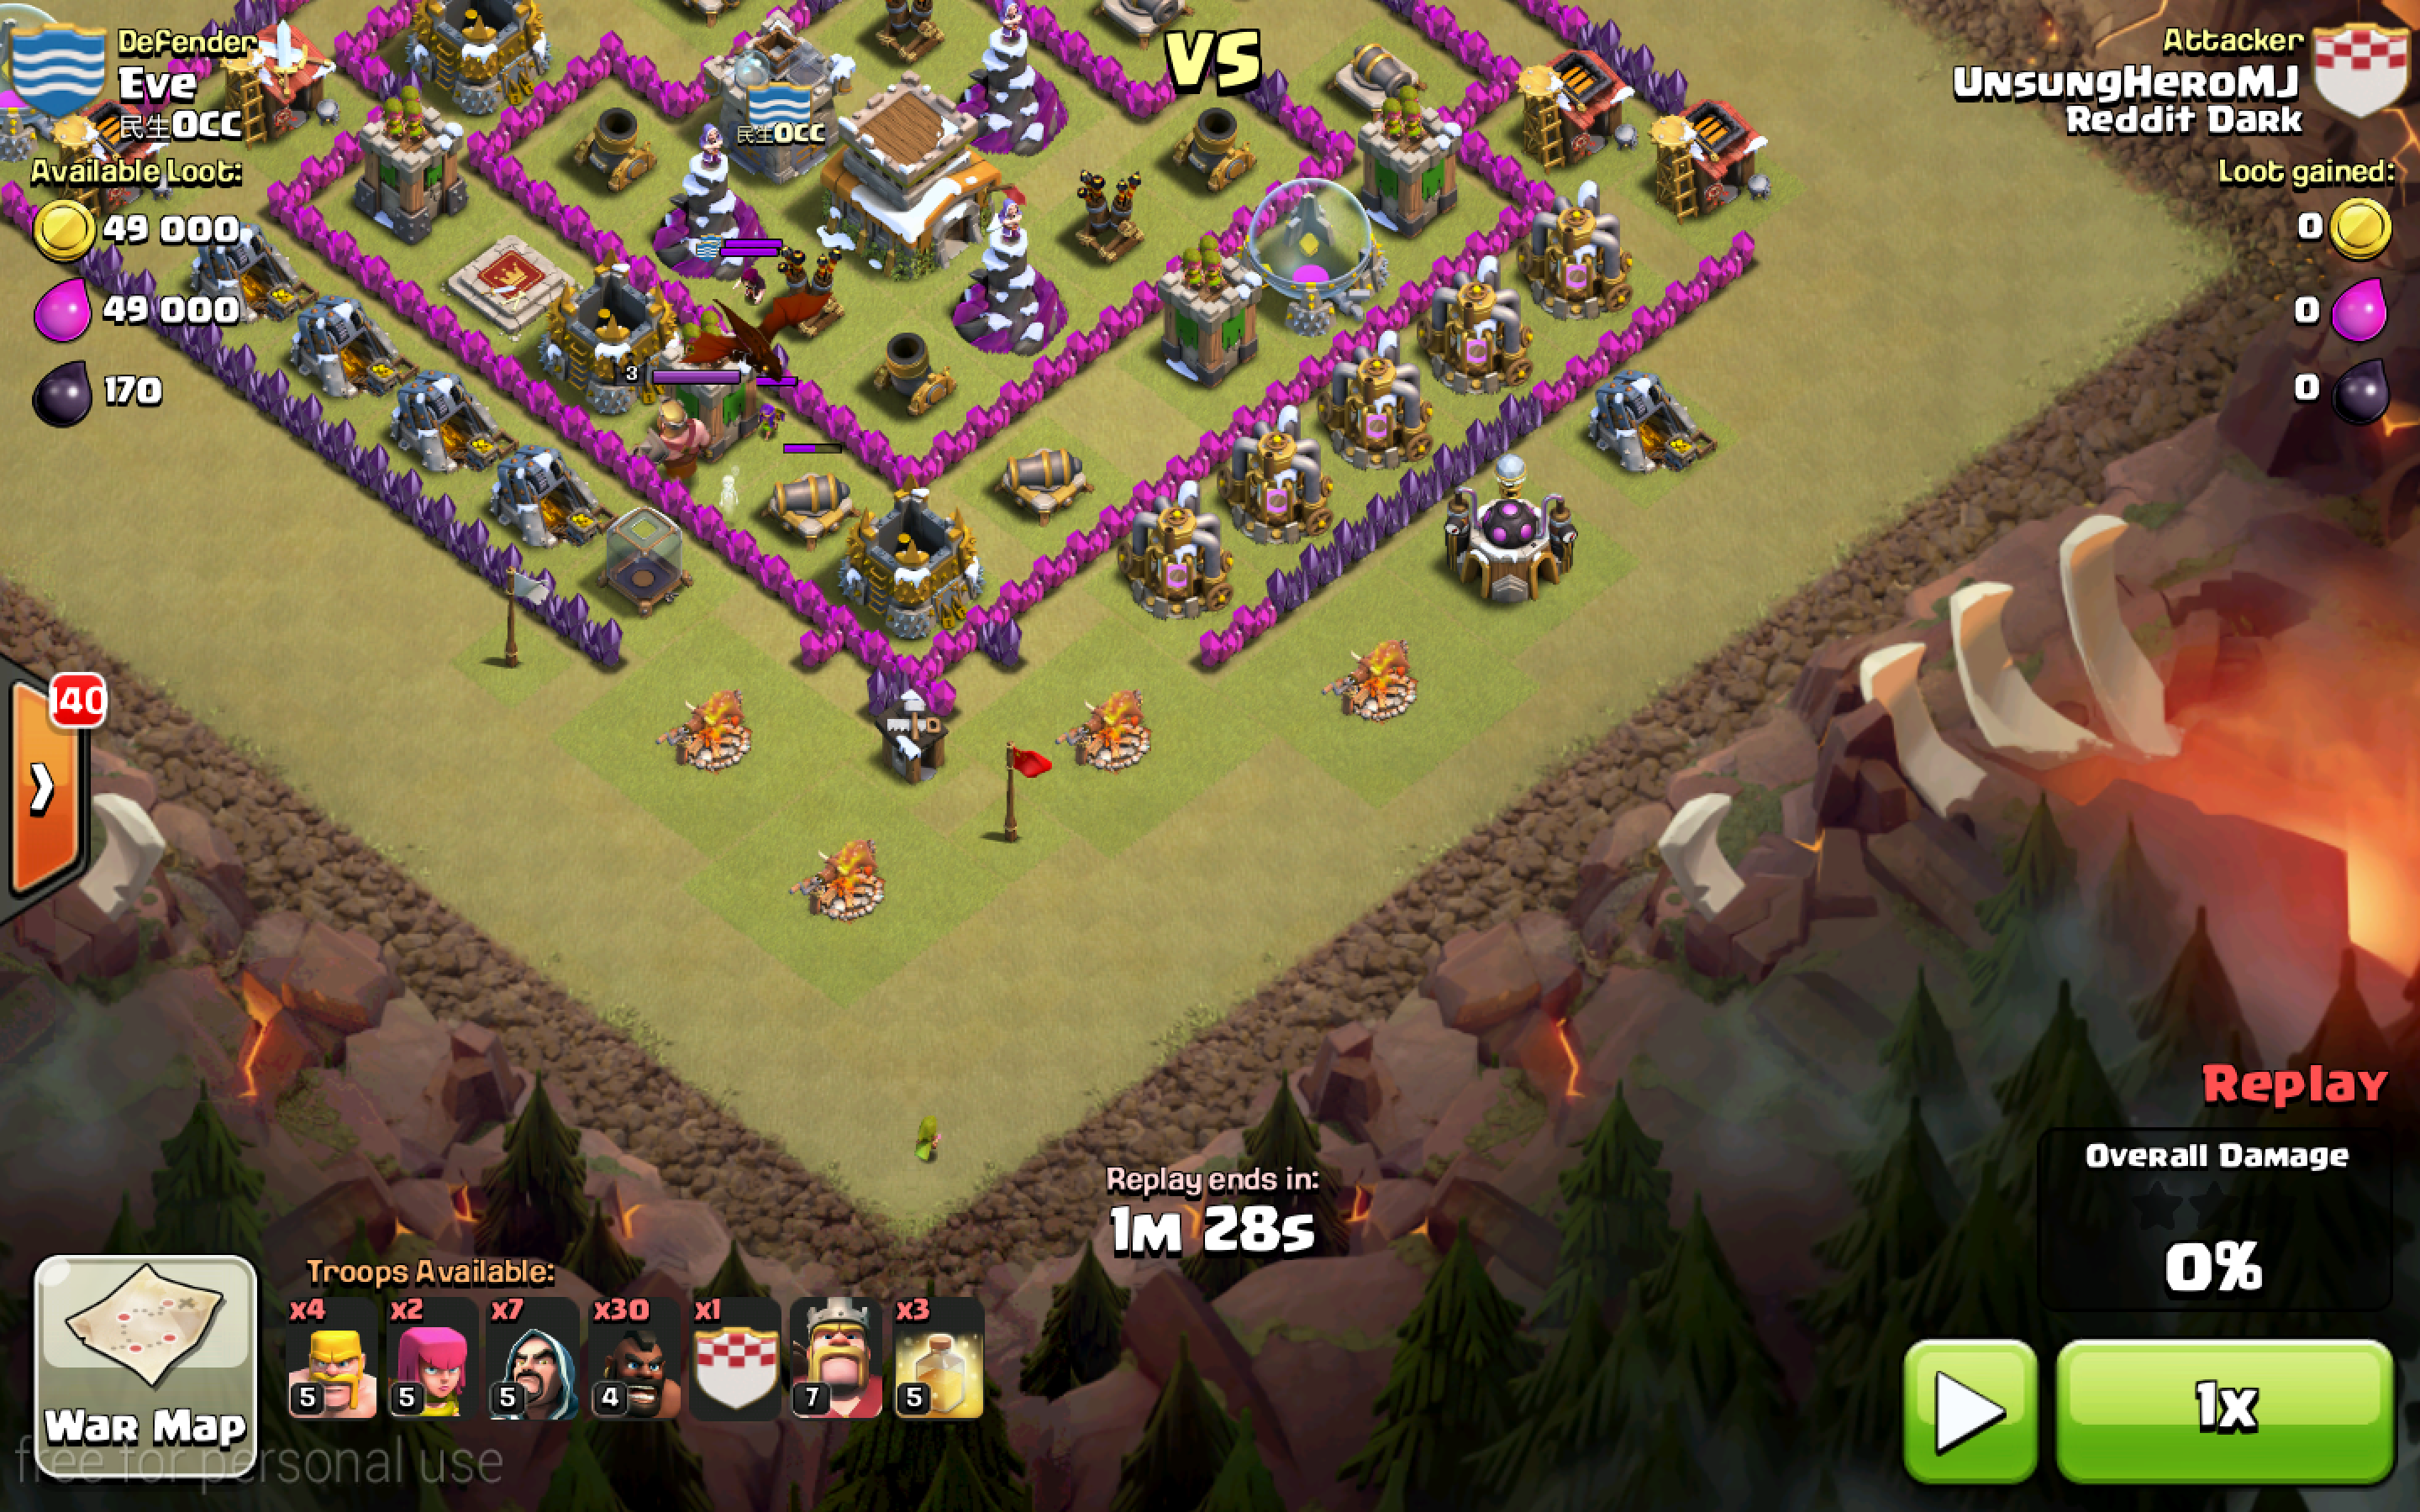
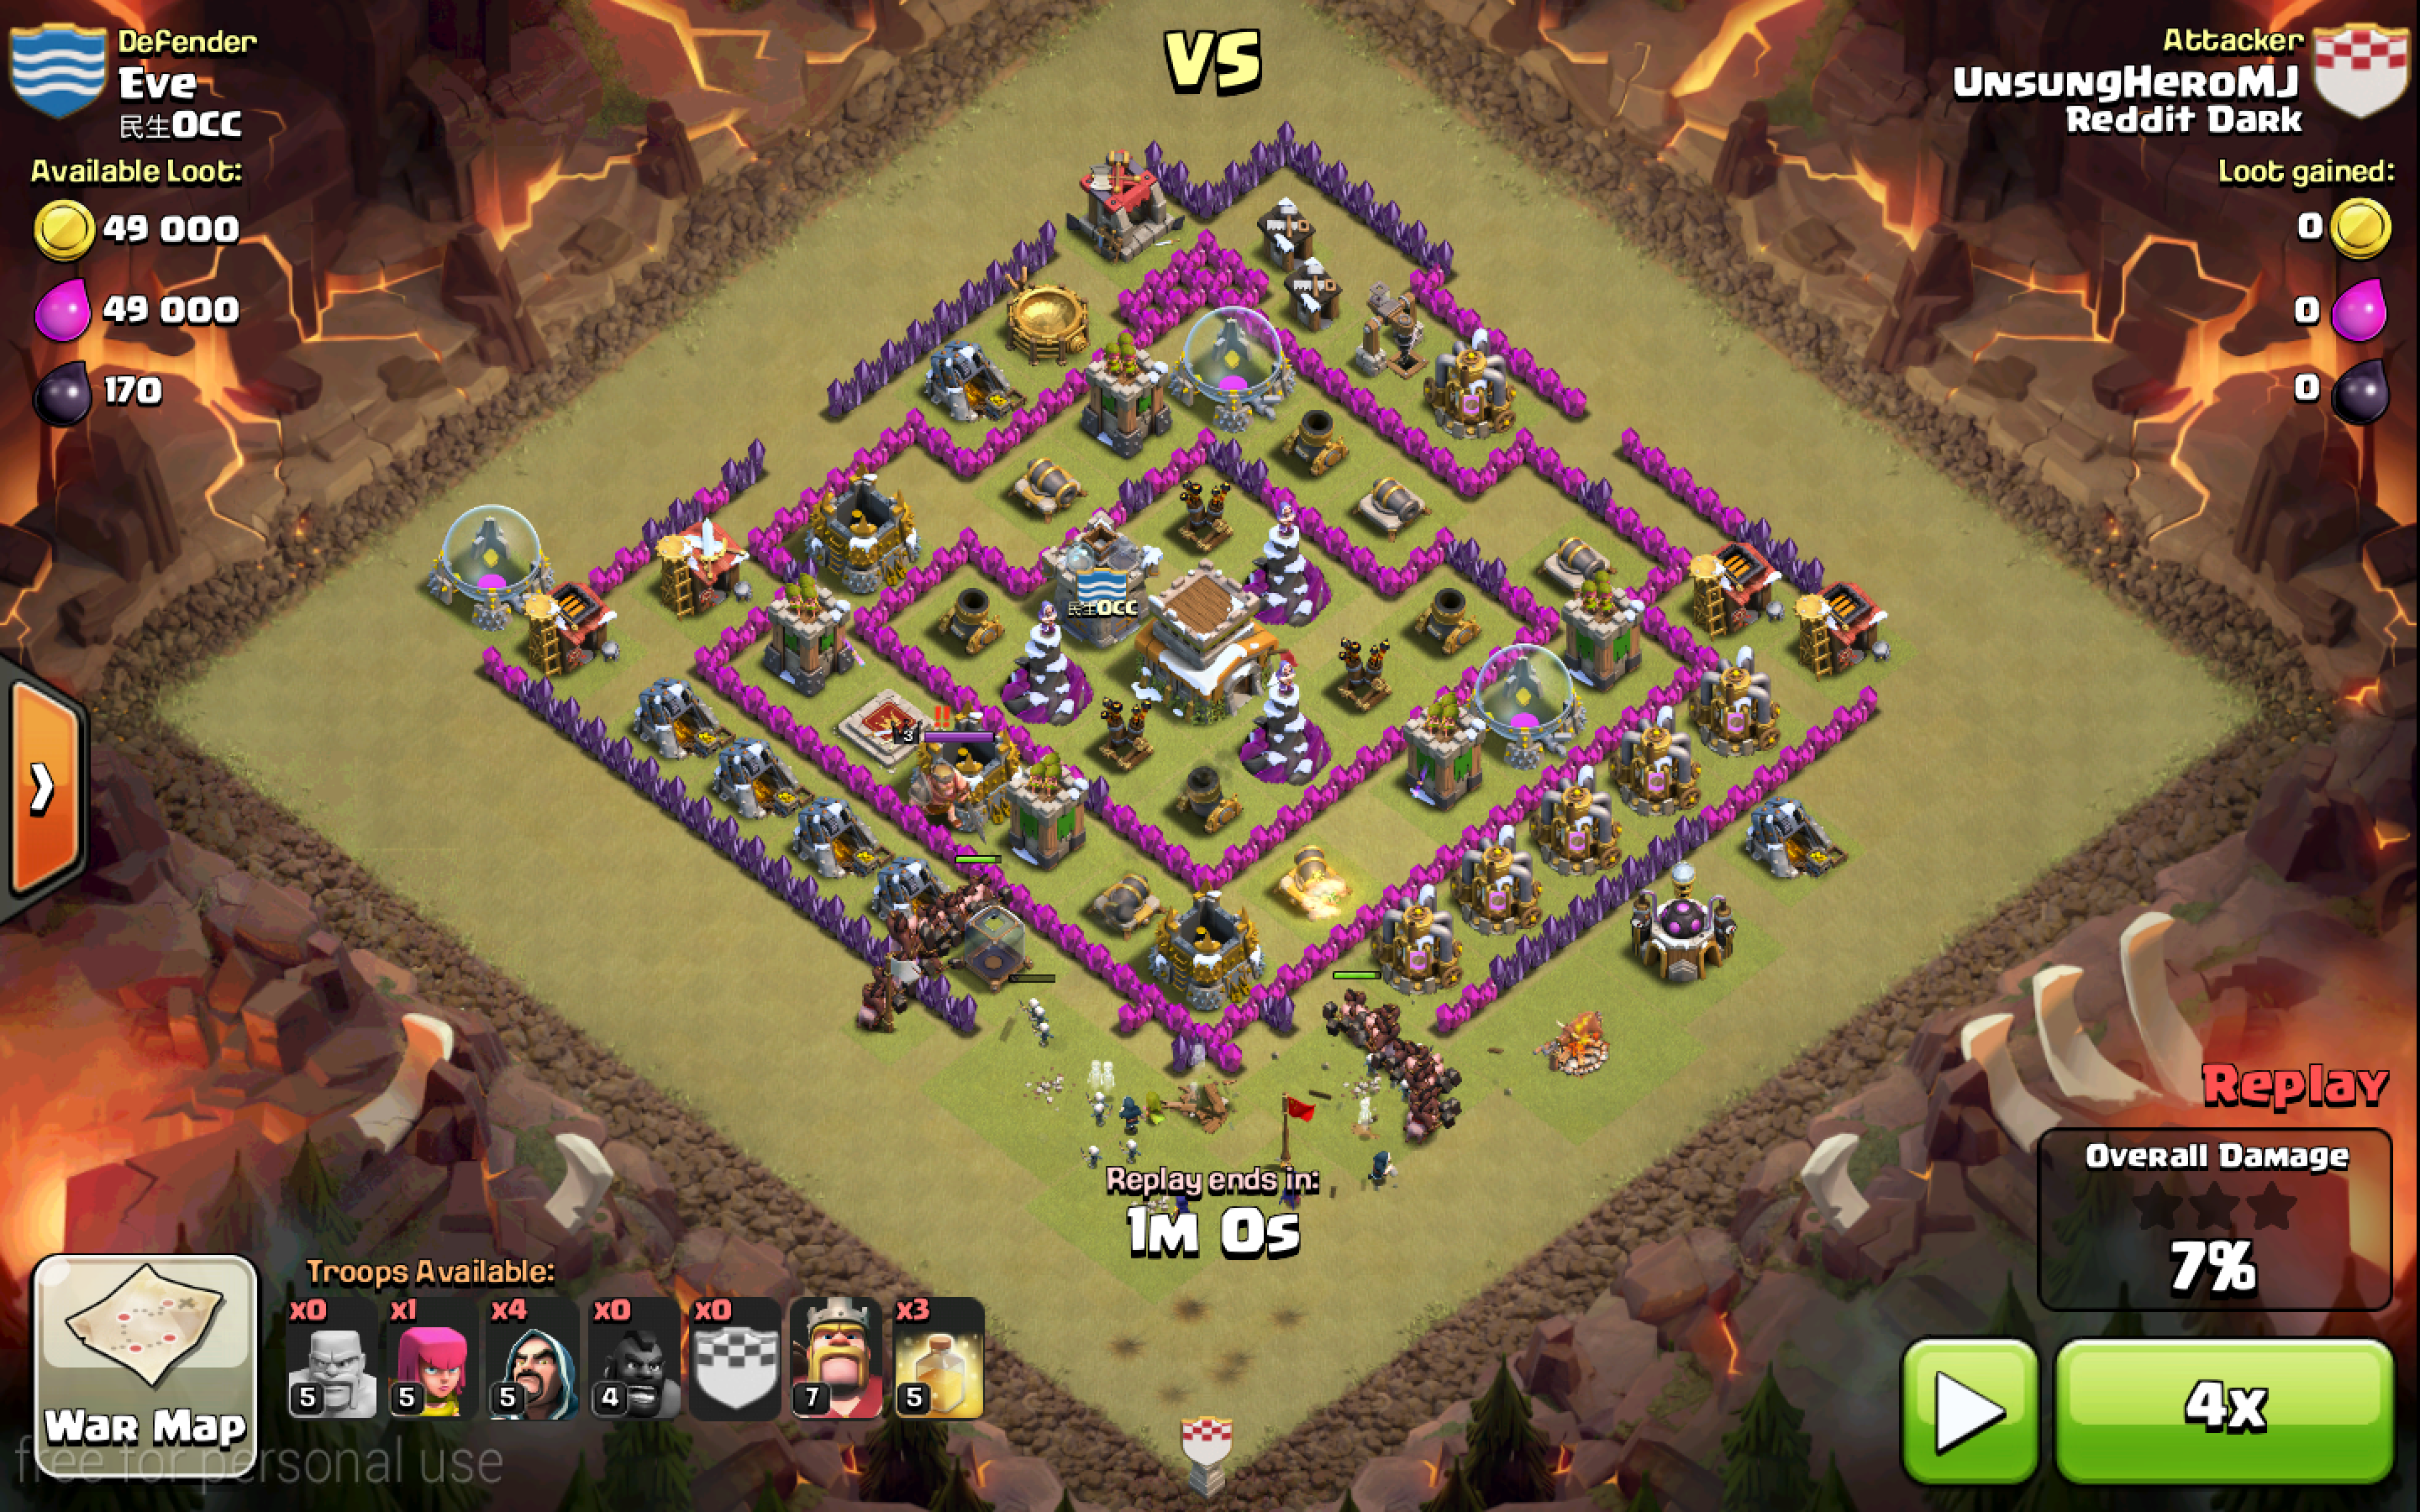
OK. To begin, make sure the base you’re looking at has absolutely NO chance of double giant bombs going off while you’re raiding. If there’s a 4×2 space, do NOT attack it unless you have evidence to believe there aren’t two giant bombs there. Or, as comments have added on, you’re able to pop it before you commence your full-on raid. Let’s say I’m scouting a base like #26 in our last war.Now, the clan castle reaches like this. I need to pull the cc to an open space to execute them. It looks like the south corner will do.
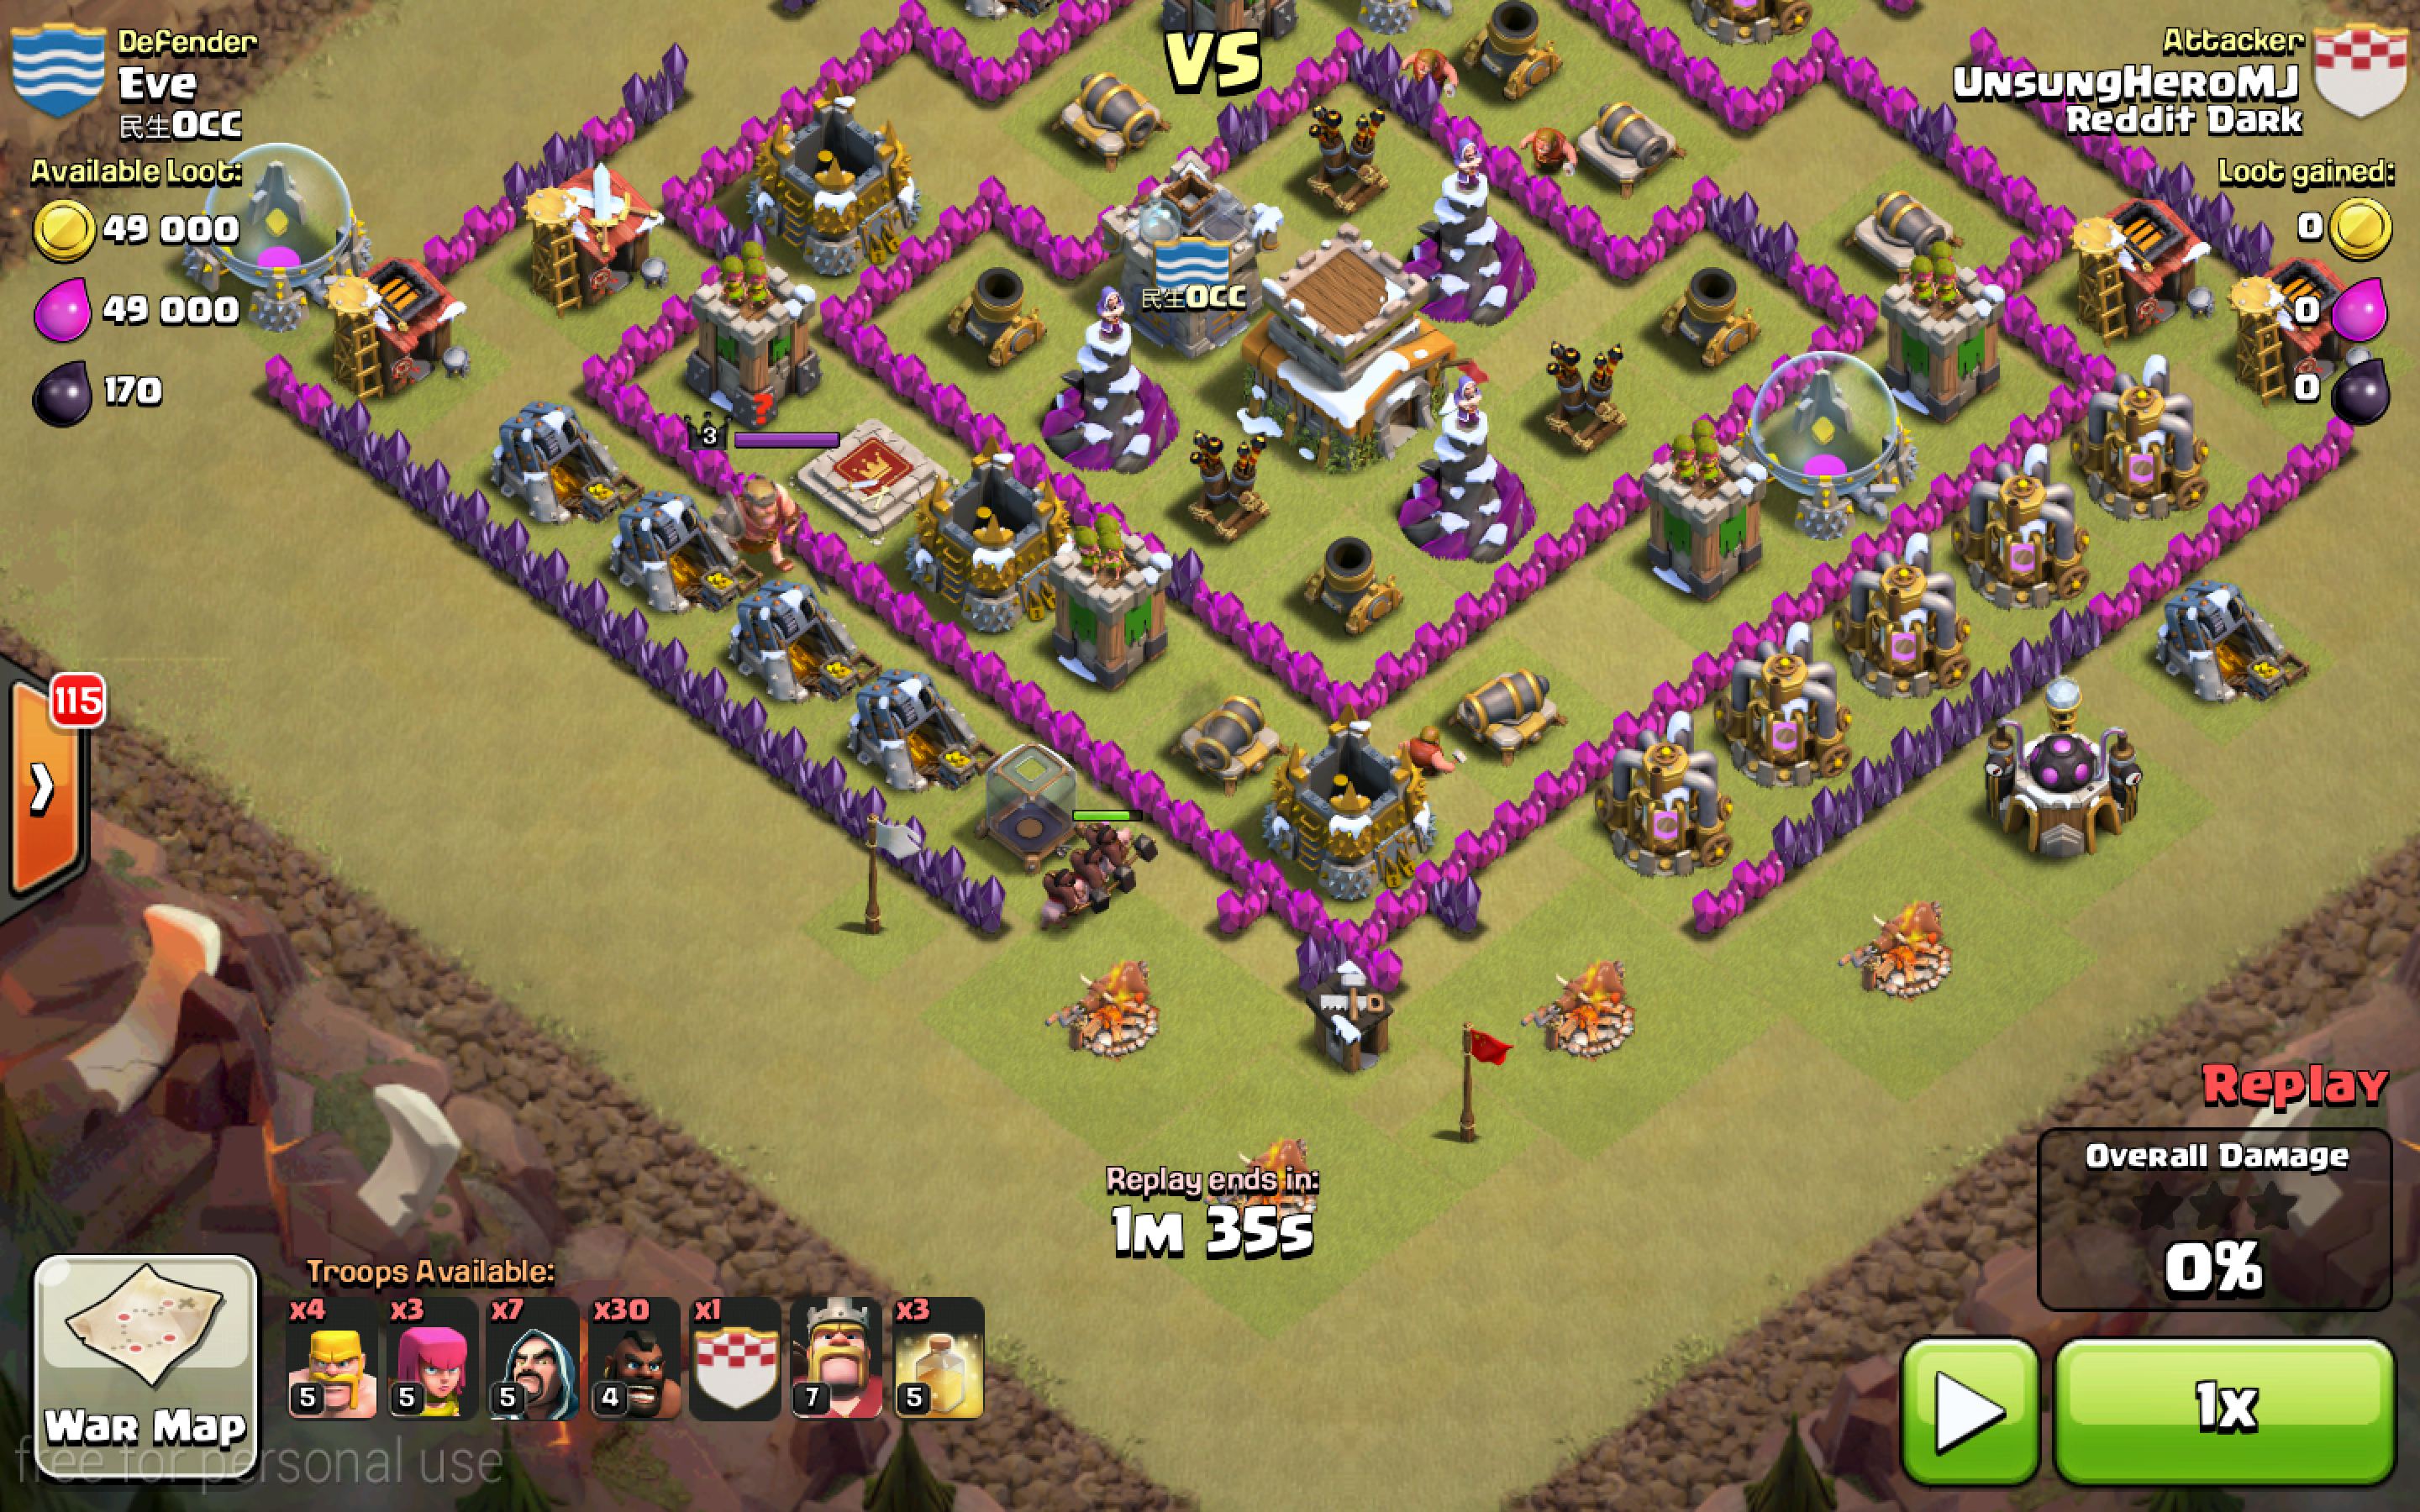
I place 3 hogs on the south-left cannon like so. Two of them die fairly quickly, so don’t be afraid to send in some more, especiallyif the cc isn’t lured out completely. Luckily for me, 3 hogs did the job since there are only 3 troops in the cc. You need the cc to be fully lured out, or you will fail the raid. No exceptions.
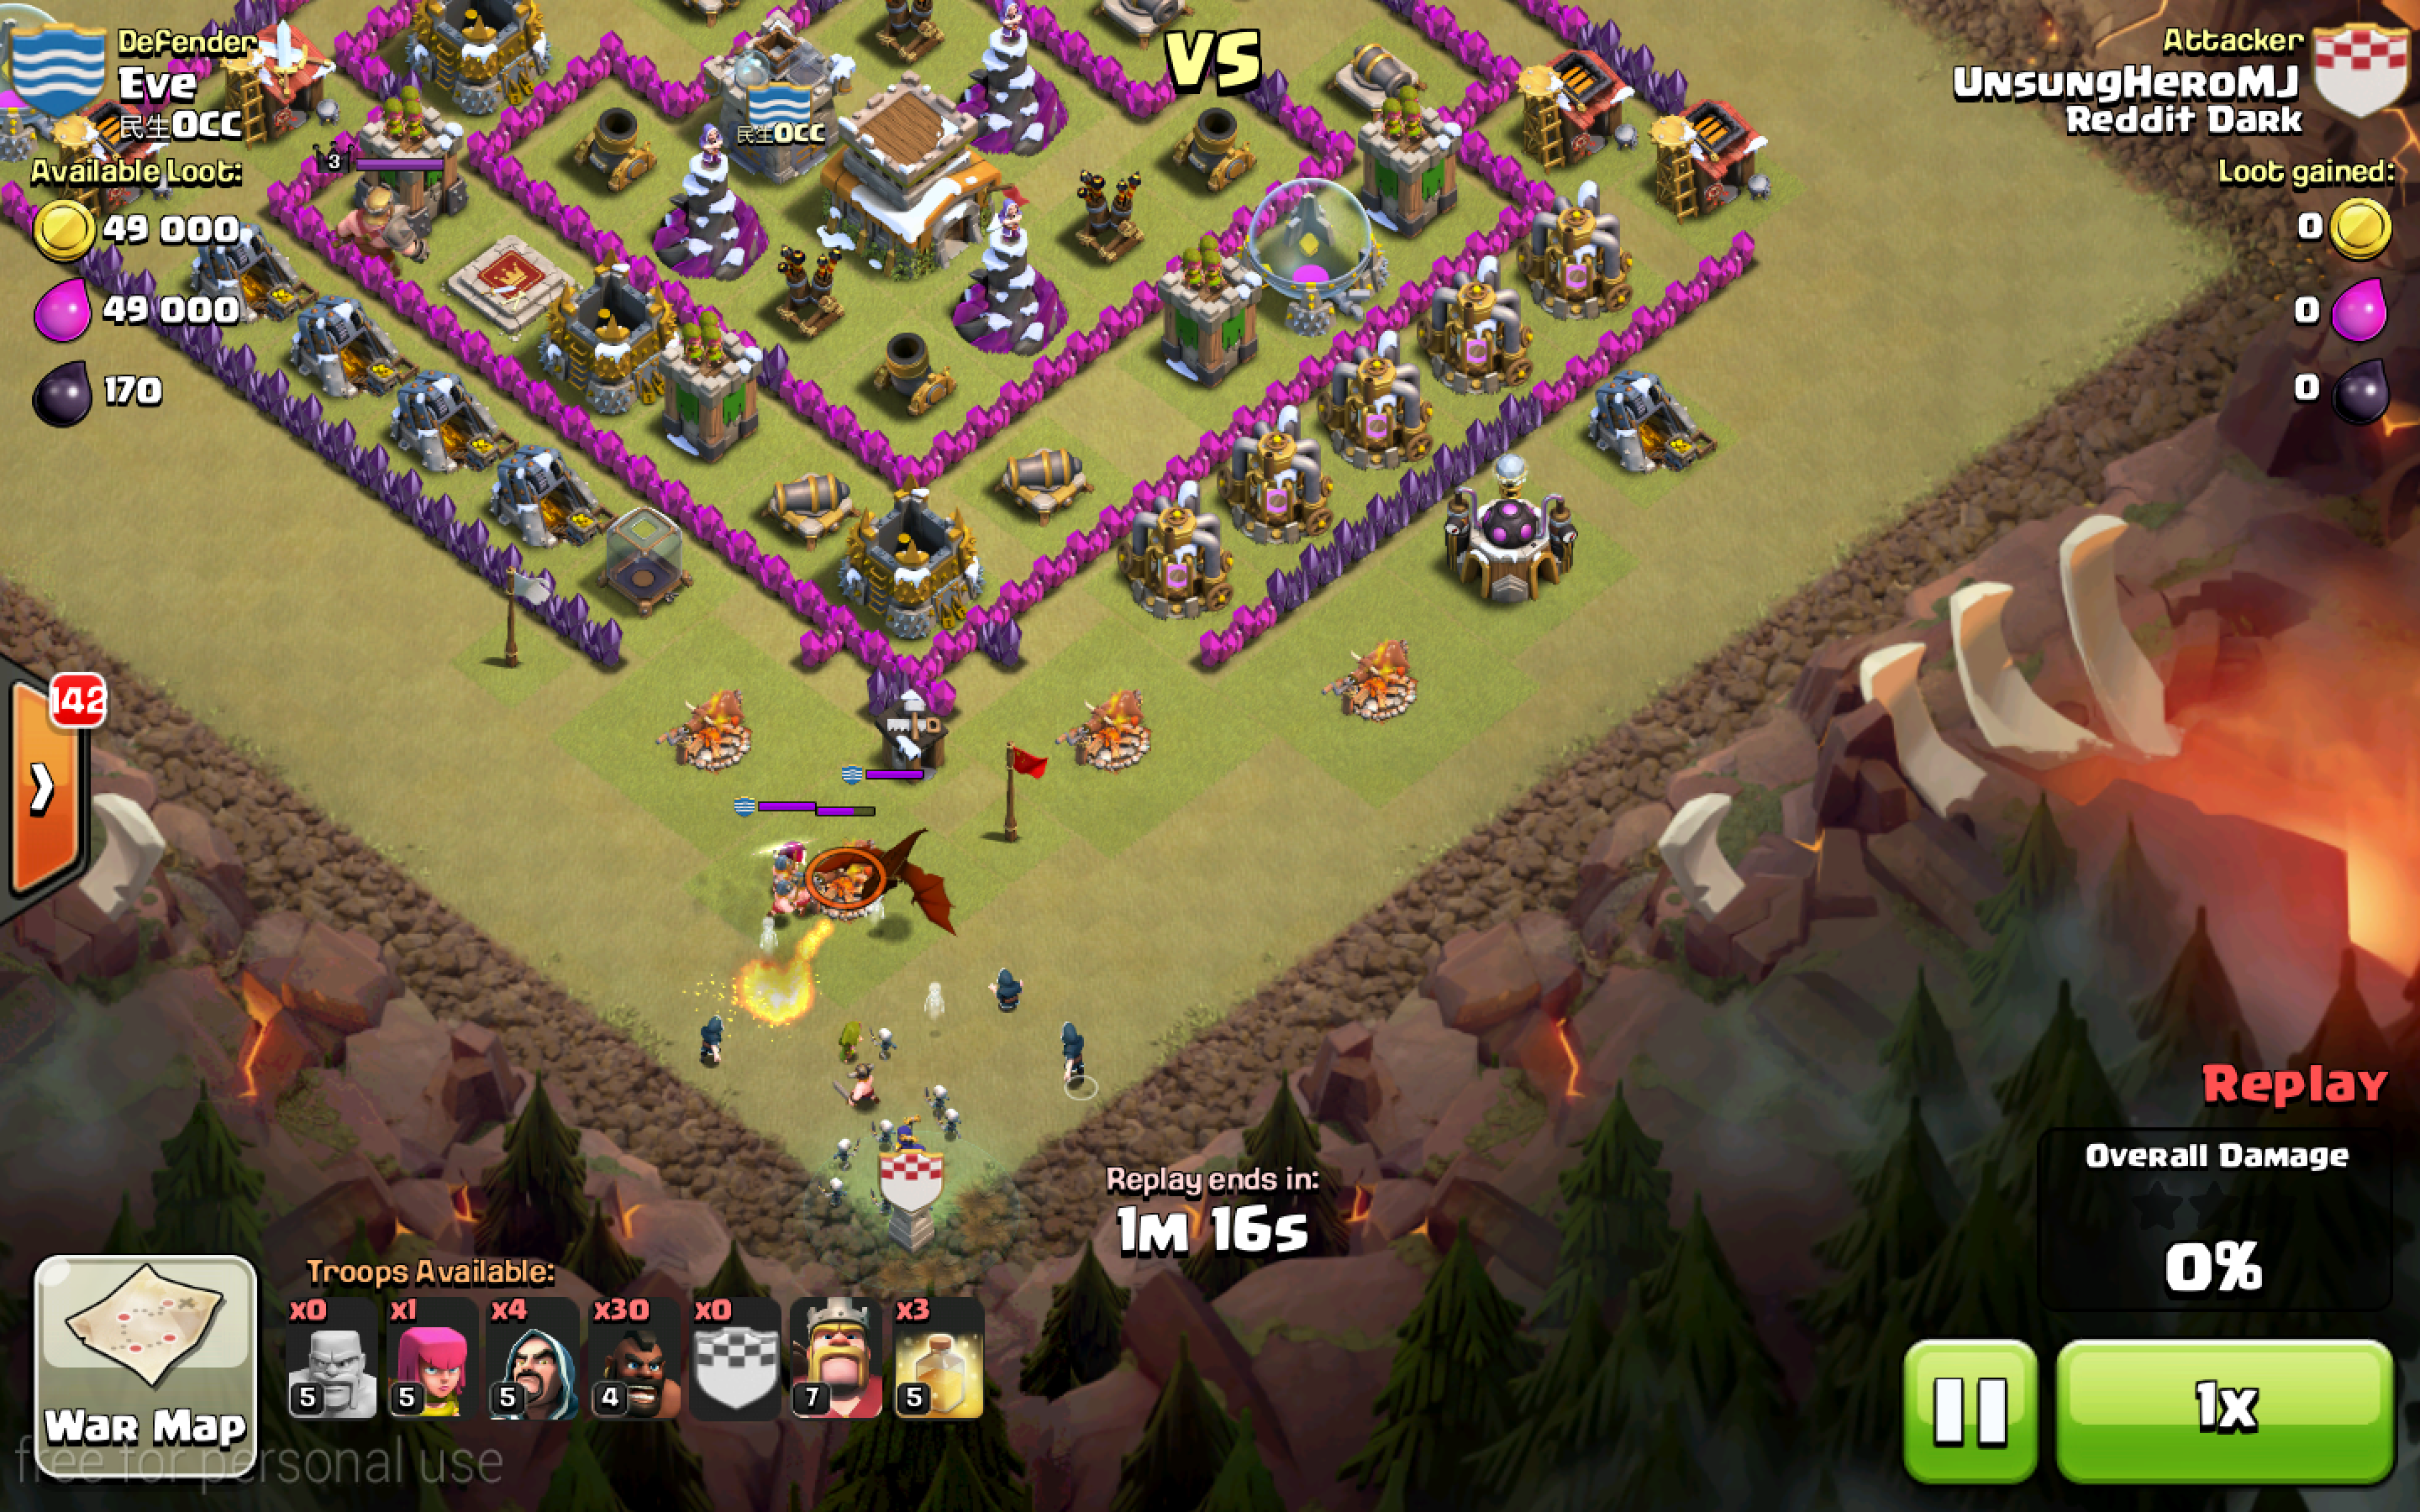
I deploy an archer to move the cc to the south corner. I need to place another archer to move them even further back. Don’t pull them too far, however, or you won’t have space to execute.
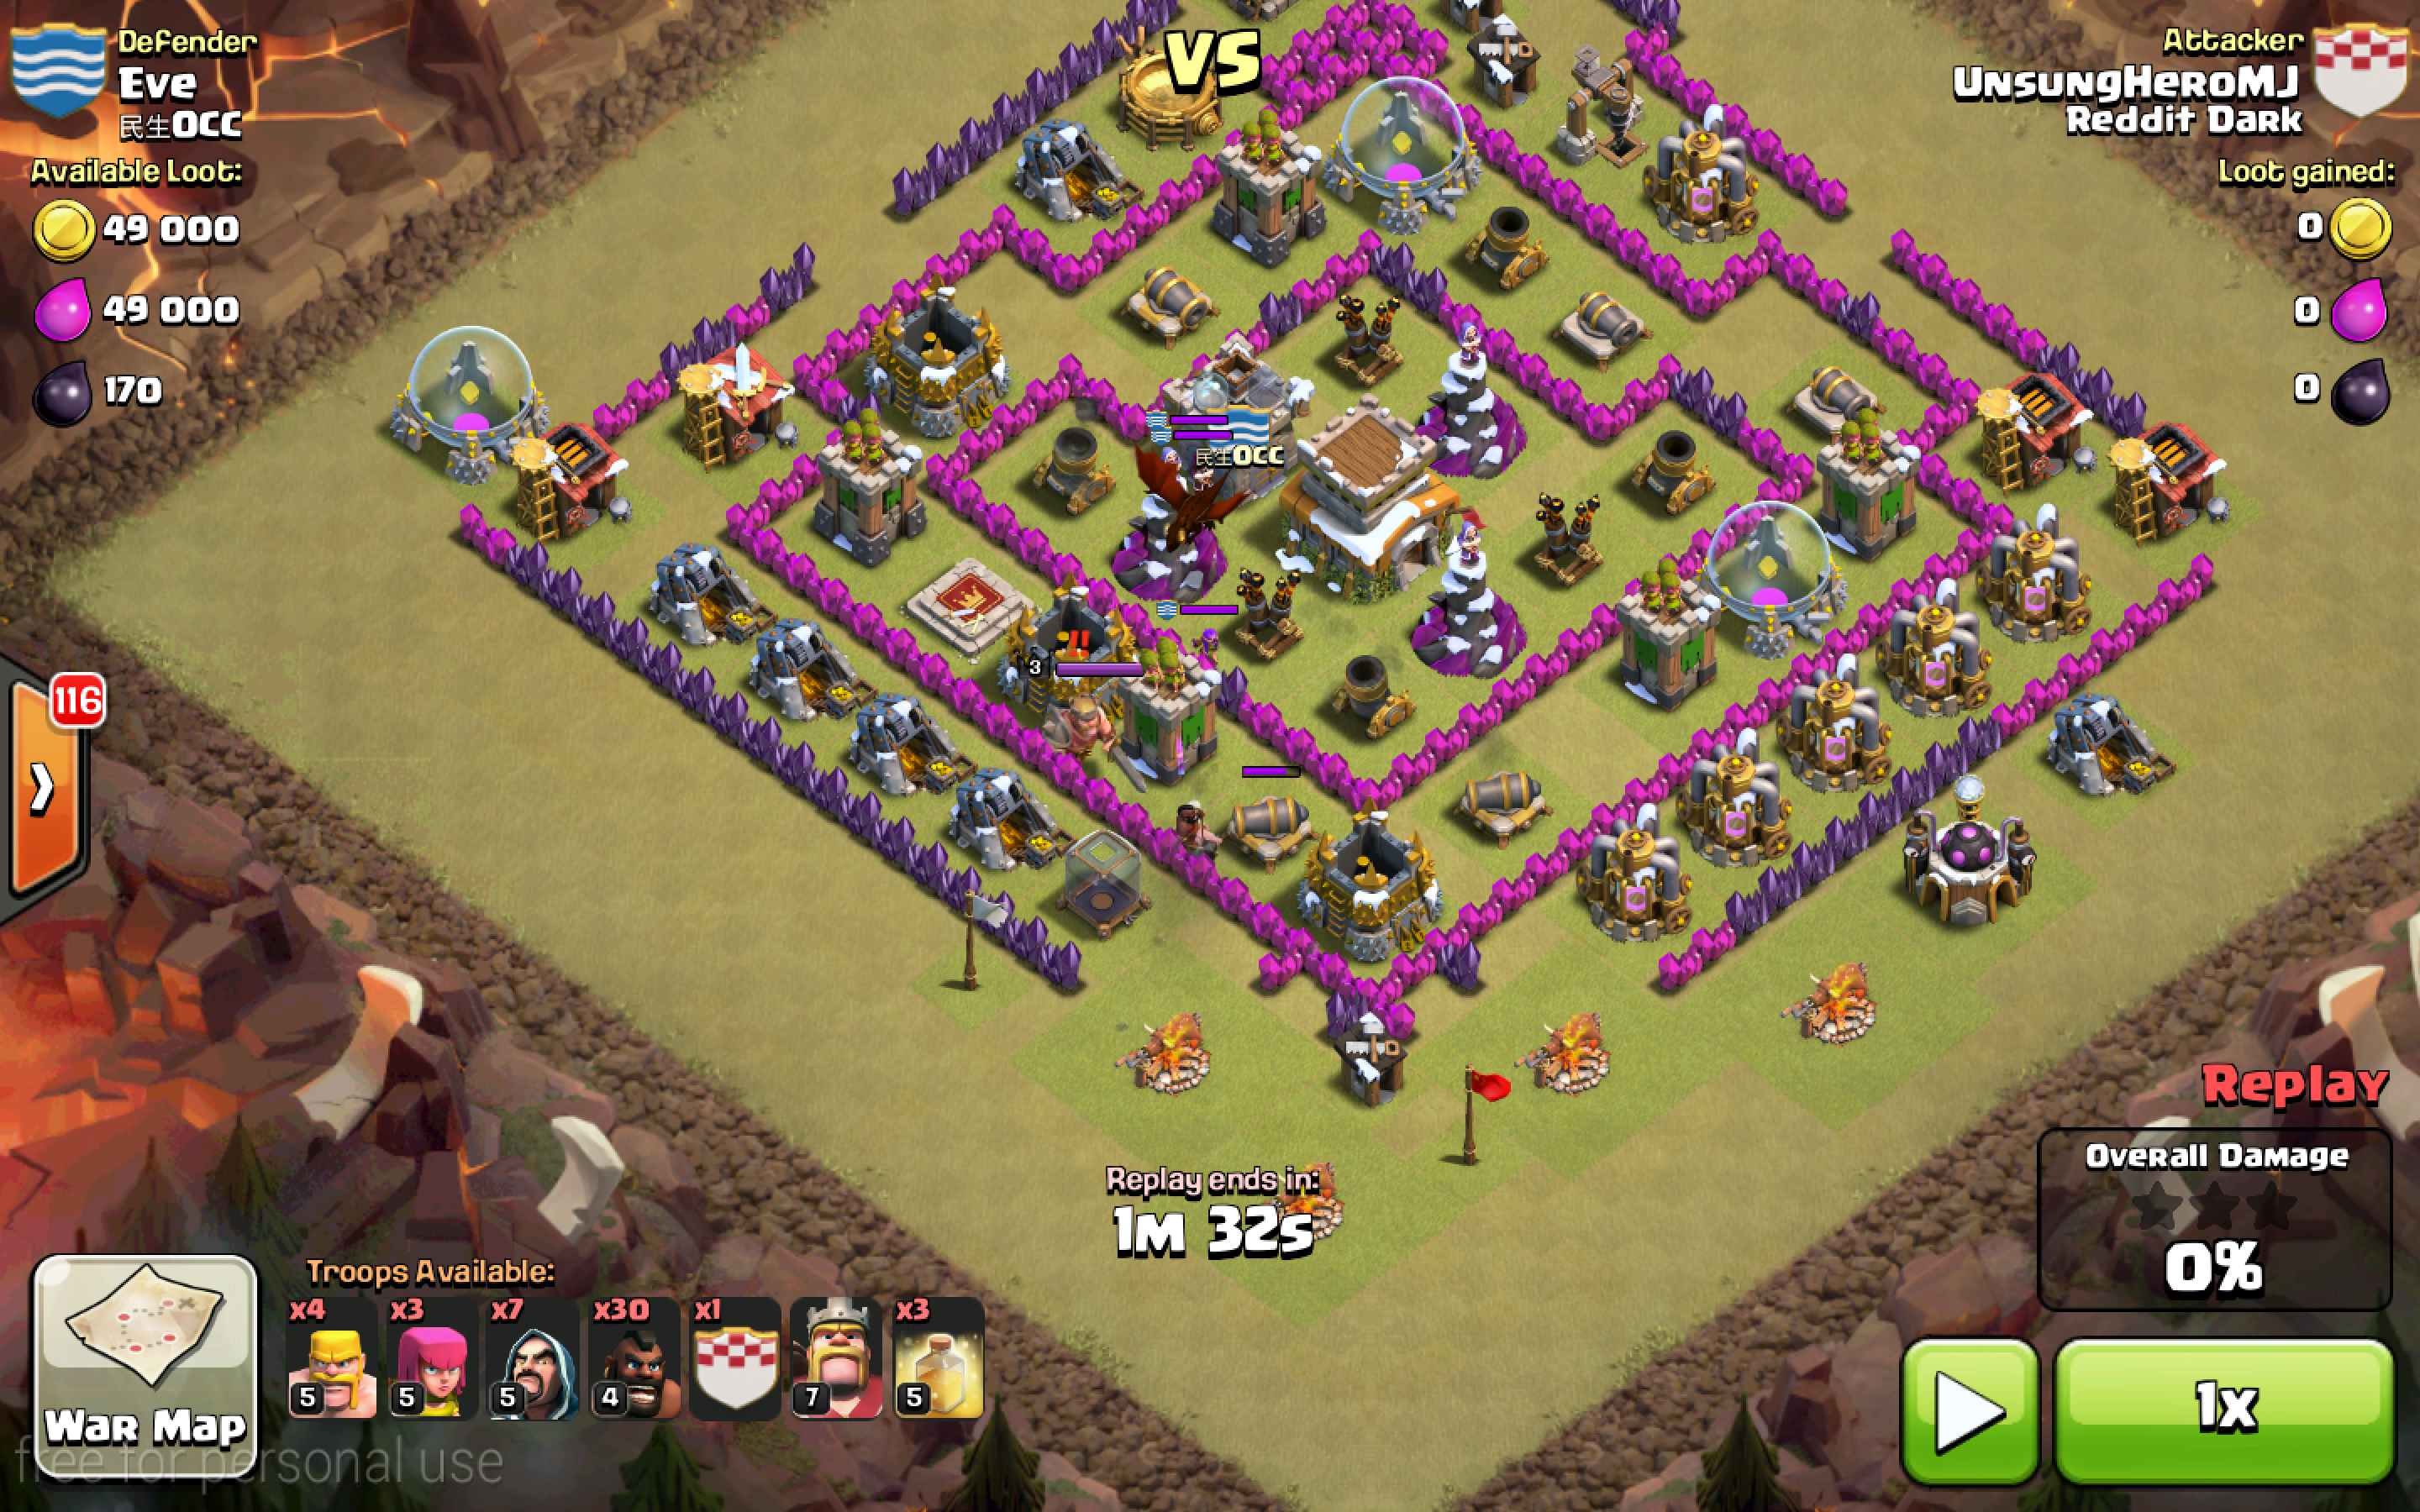
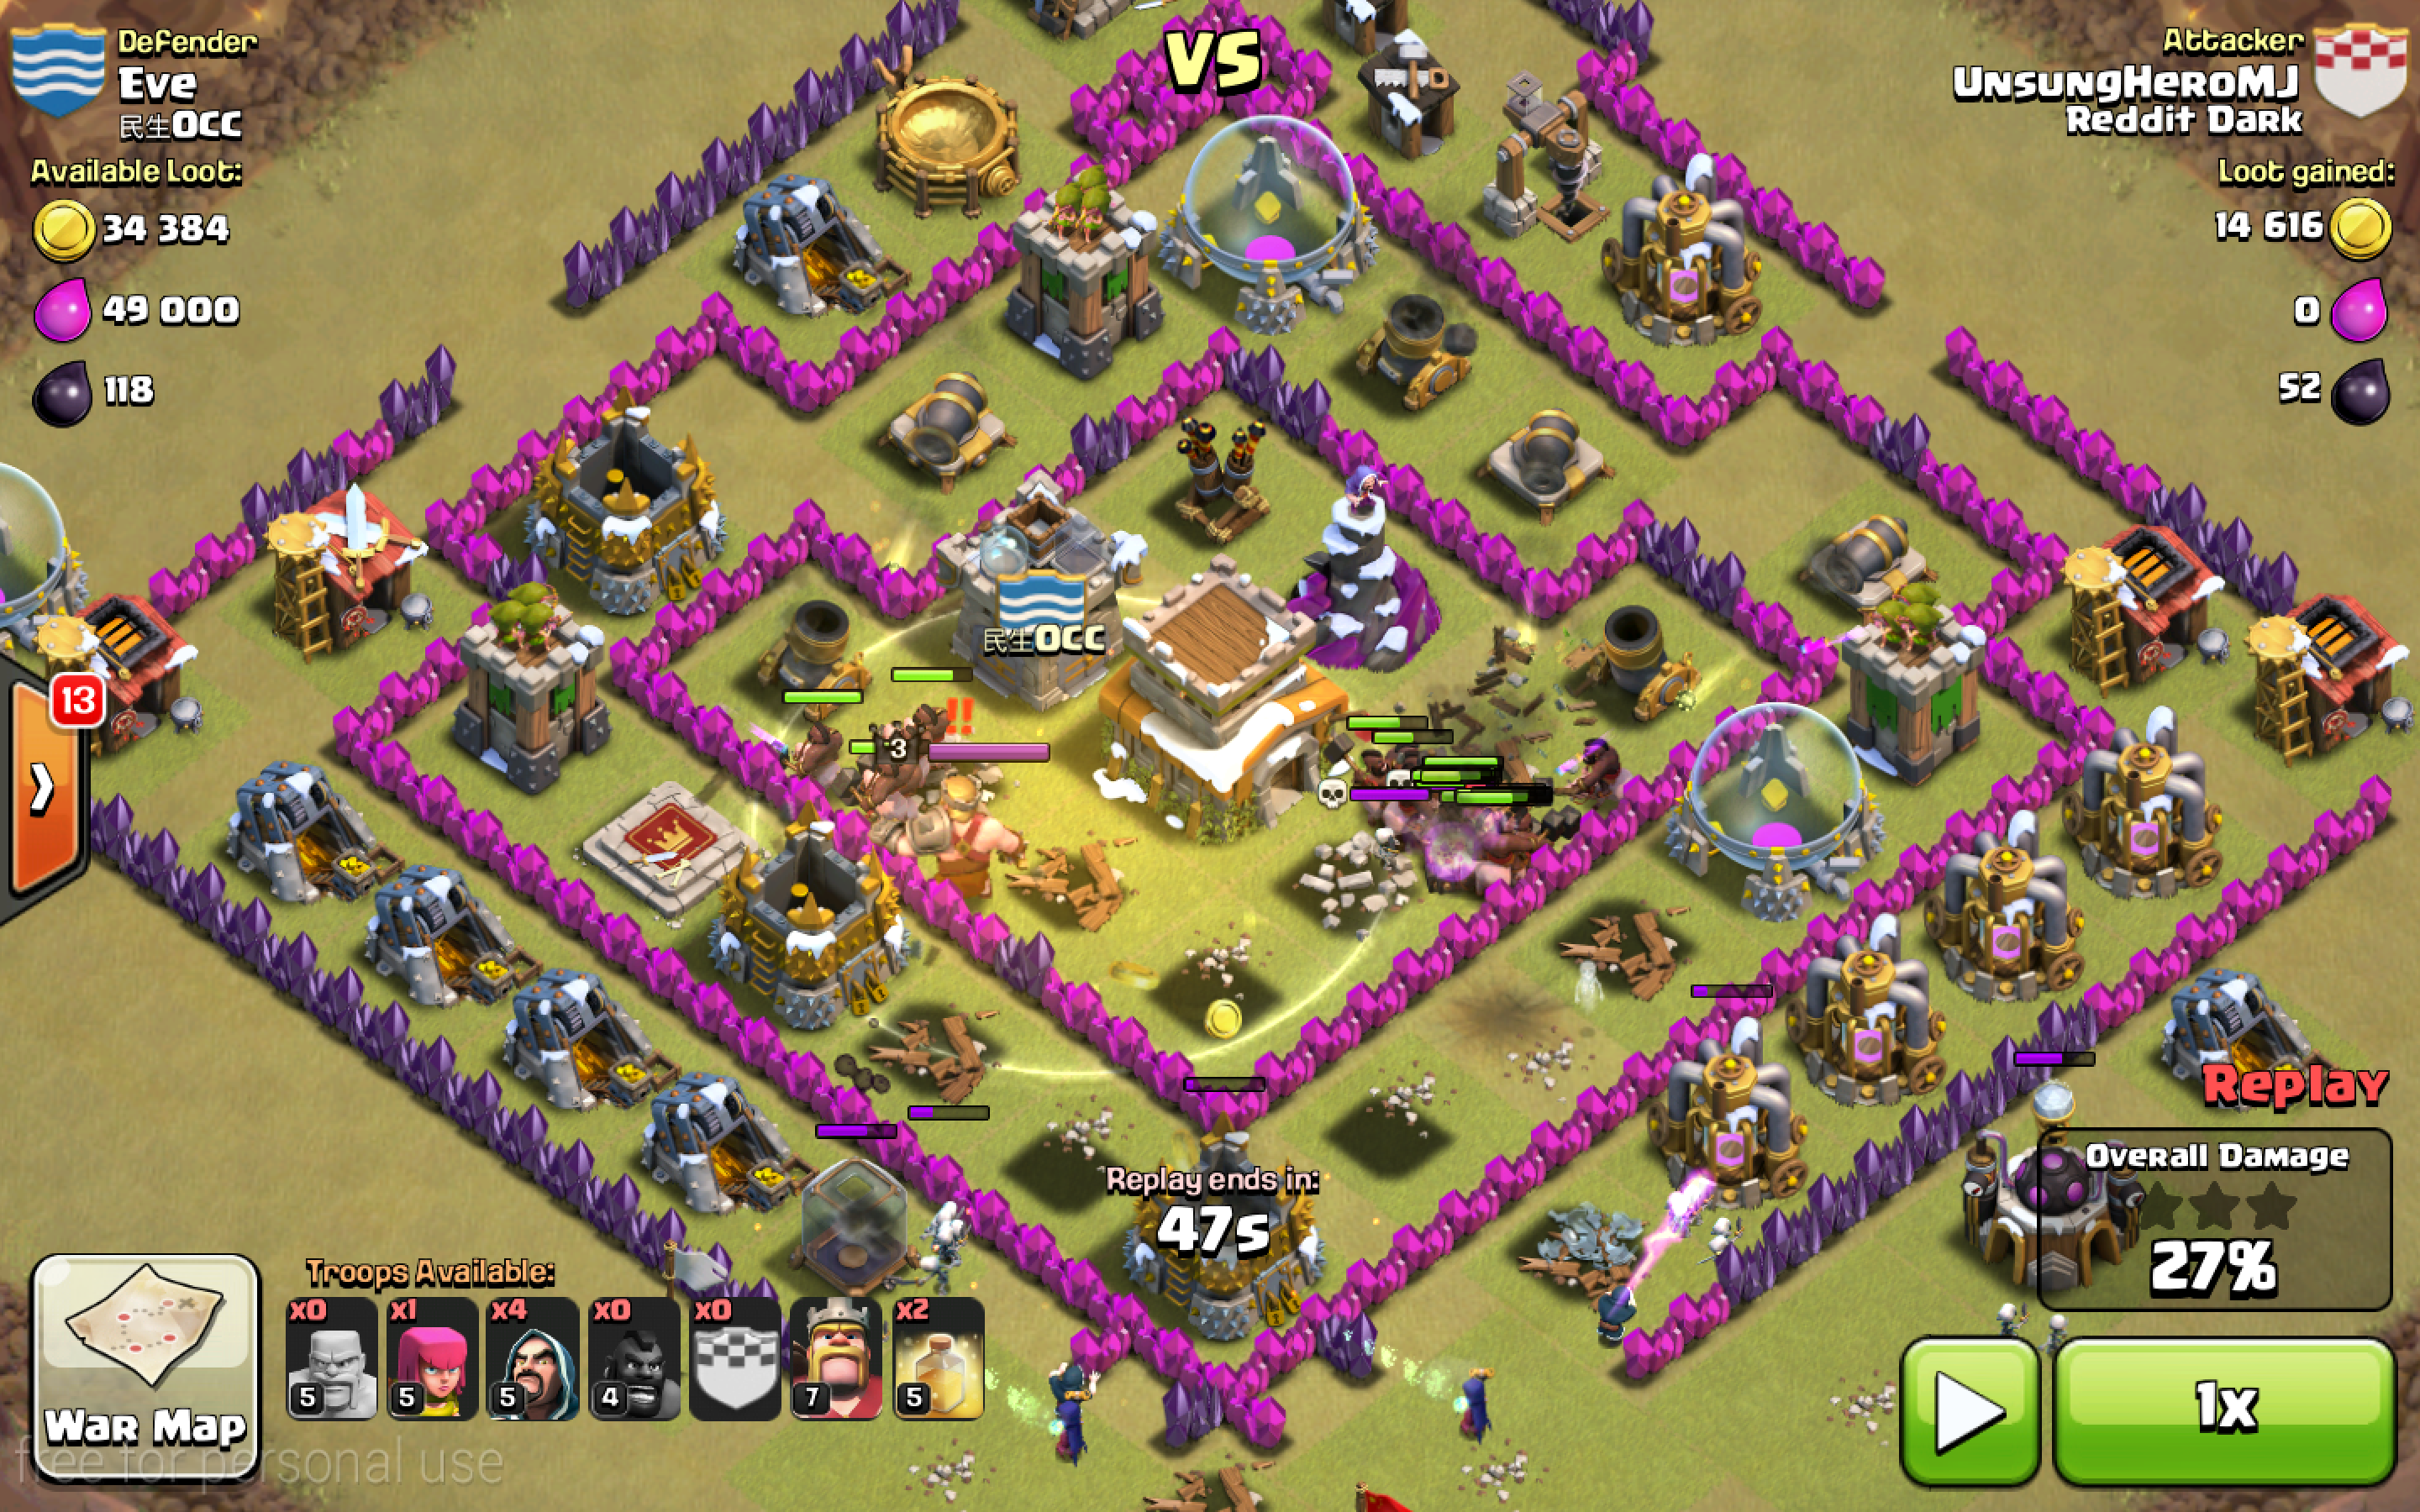
Note: This is only one way to kill the cc known as the 223. There are other ways. Next, I immediately drop my four (note: there’s only three in the picture but a fourth is about to be spawned) barbs close to, but not on the cc troops. Then, I place the cc witches back about a building behind the barbs. Right after that, I place three wizards to the sides, but still as a part of the action.
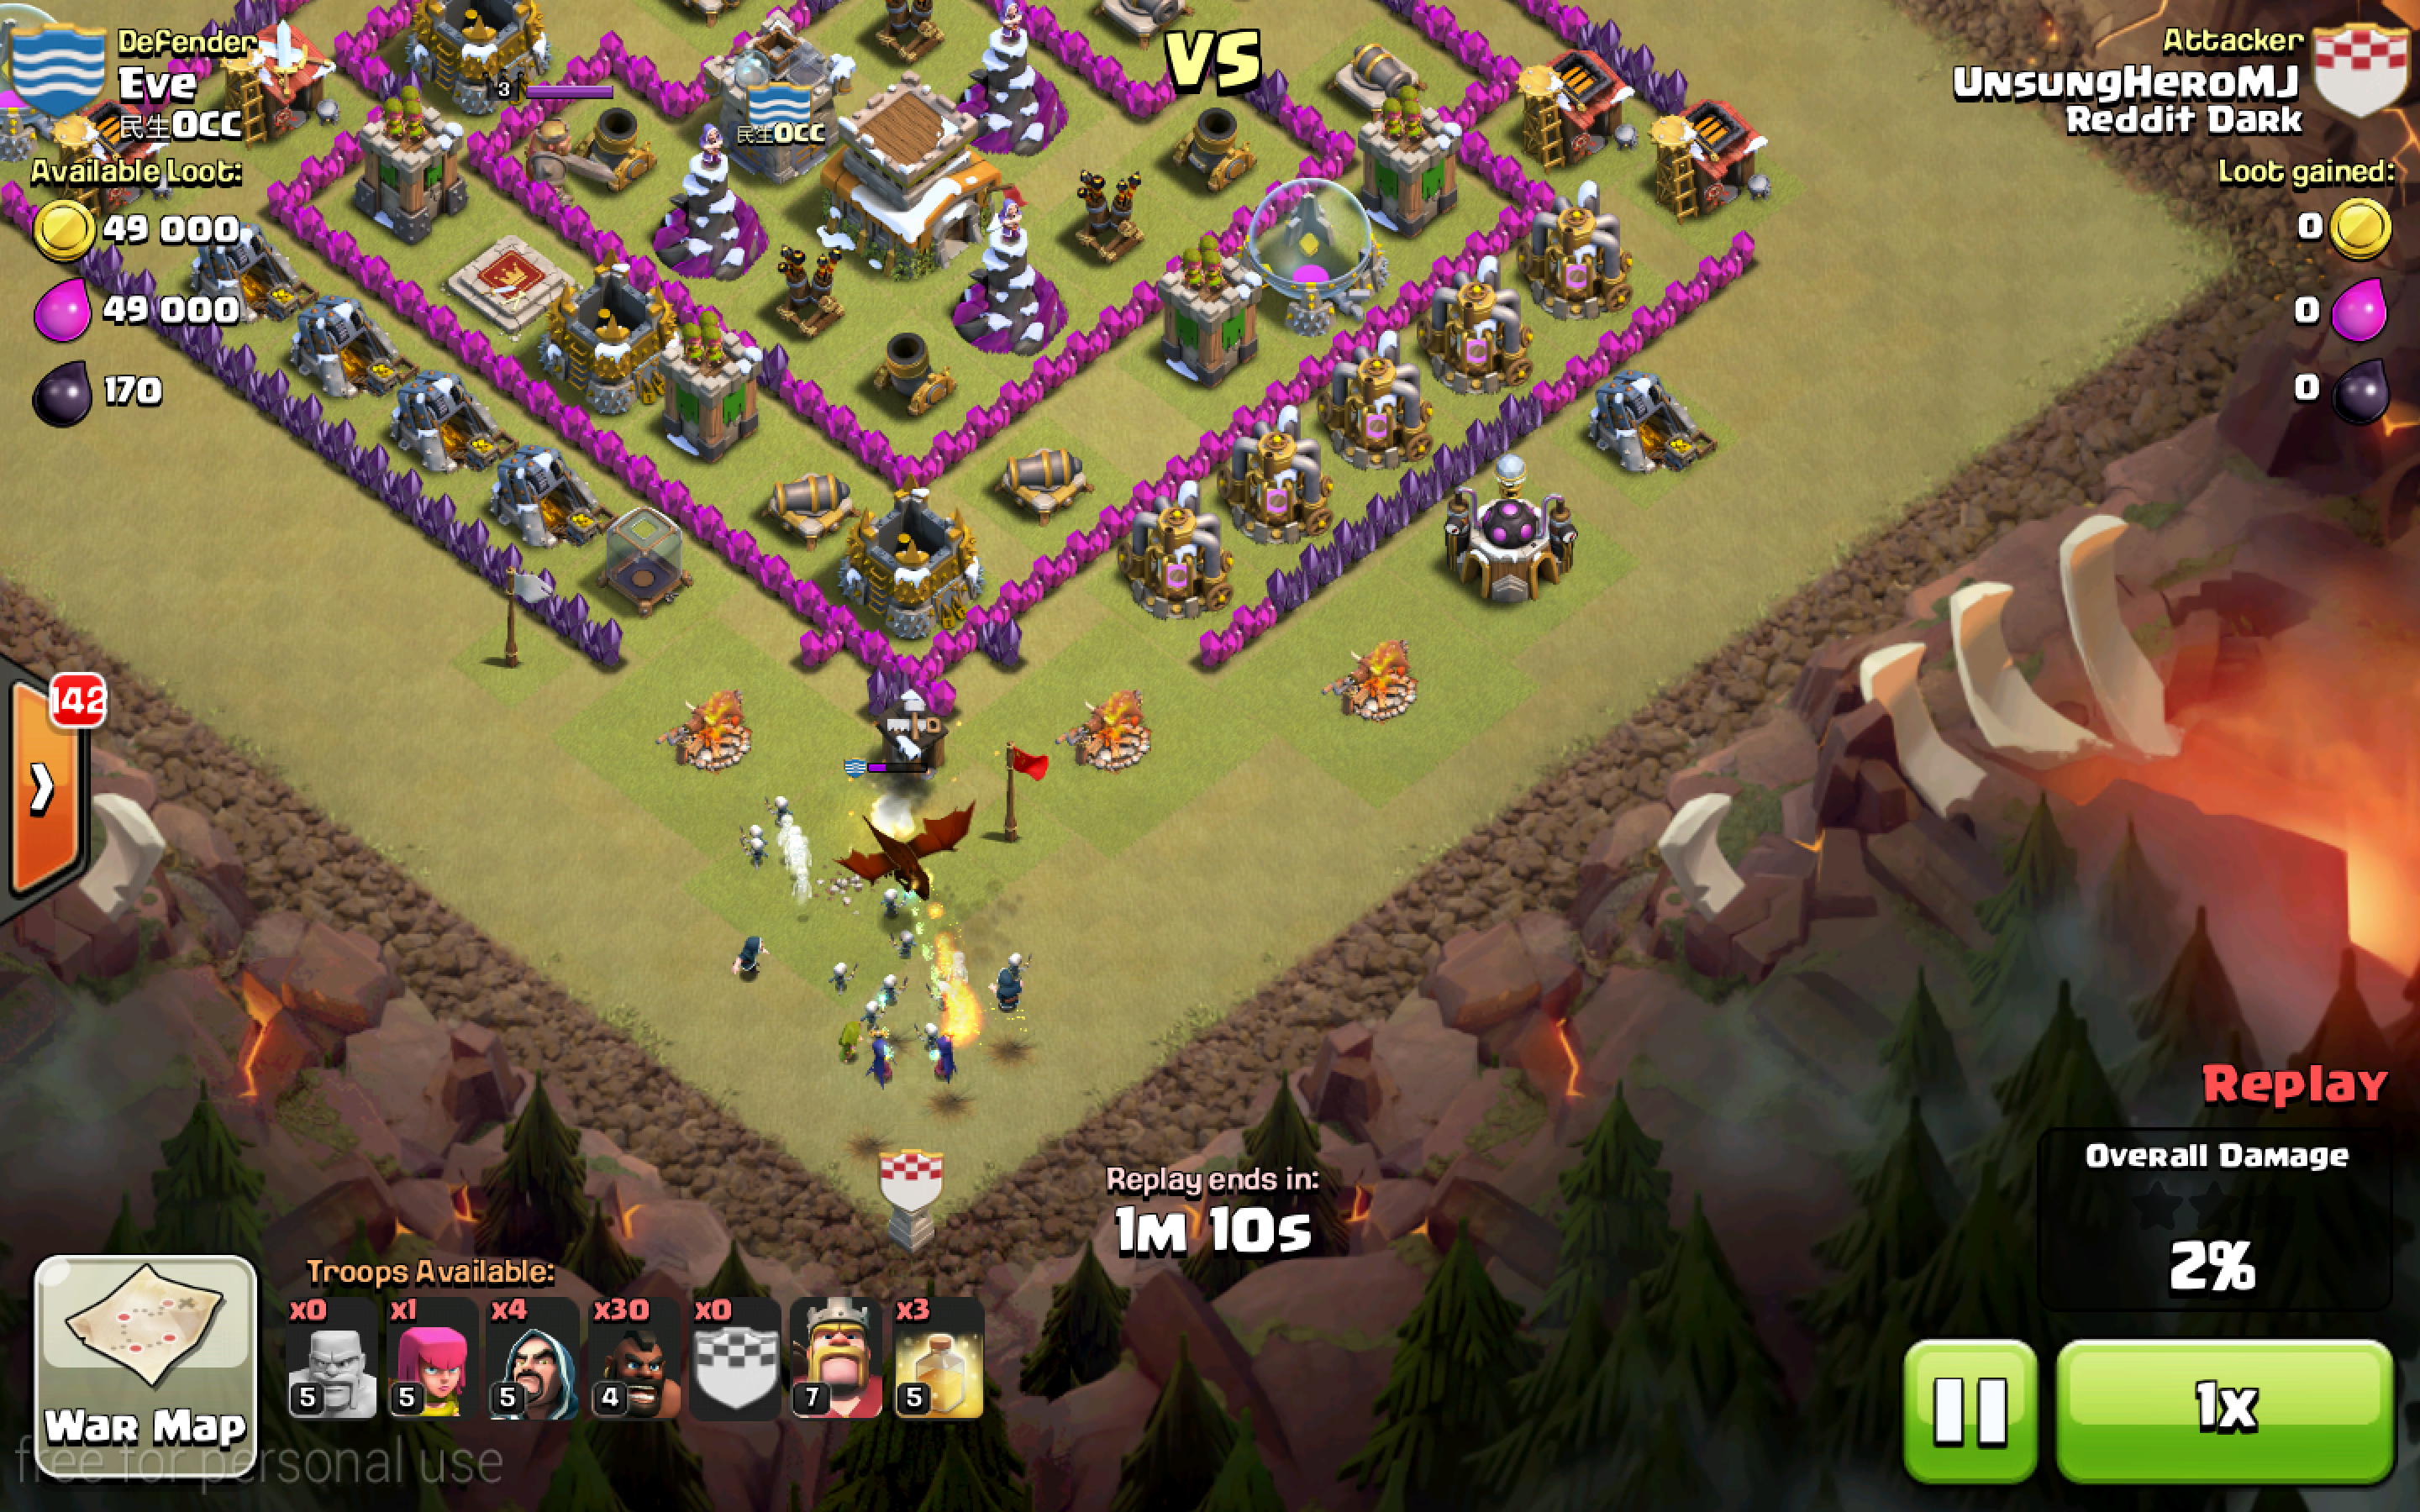
If it all goes well, the cc should aim at the barbs (initially) and the skeletons while the wizards and witches shoot them down. Look, the cc is dead!
Note 2: If you place any of the 3 too close, they’ll be killed, leaving you without half of your cleanup squad. If the barbs are too close, the cc will kill them faster and end up targeting the witches or wizards before skeletons are spawned. If the witches are placed too close, they’ll be targeted, and killed. If the wizards are placed too close, the cc will aim at them and you’ll be left without the driving kill force behind the strategy.
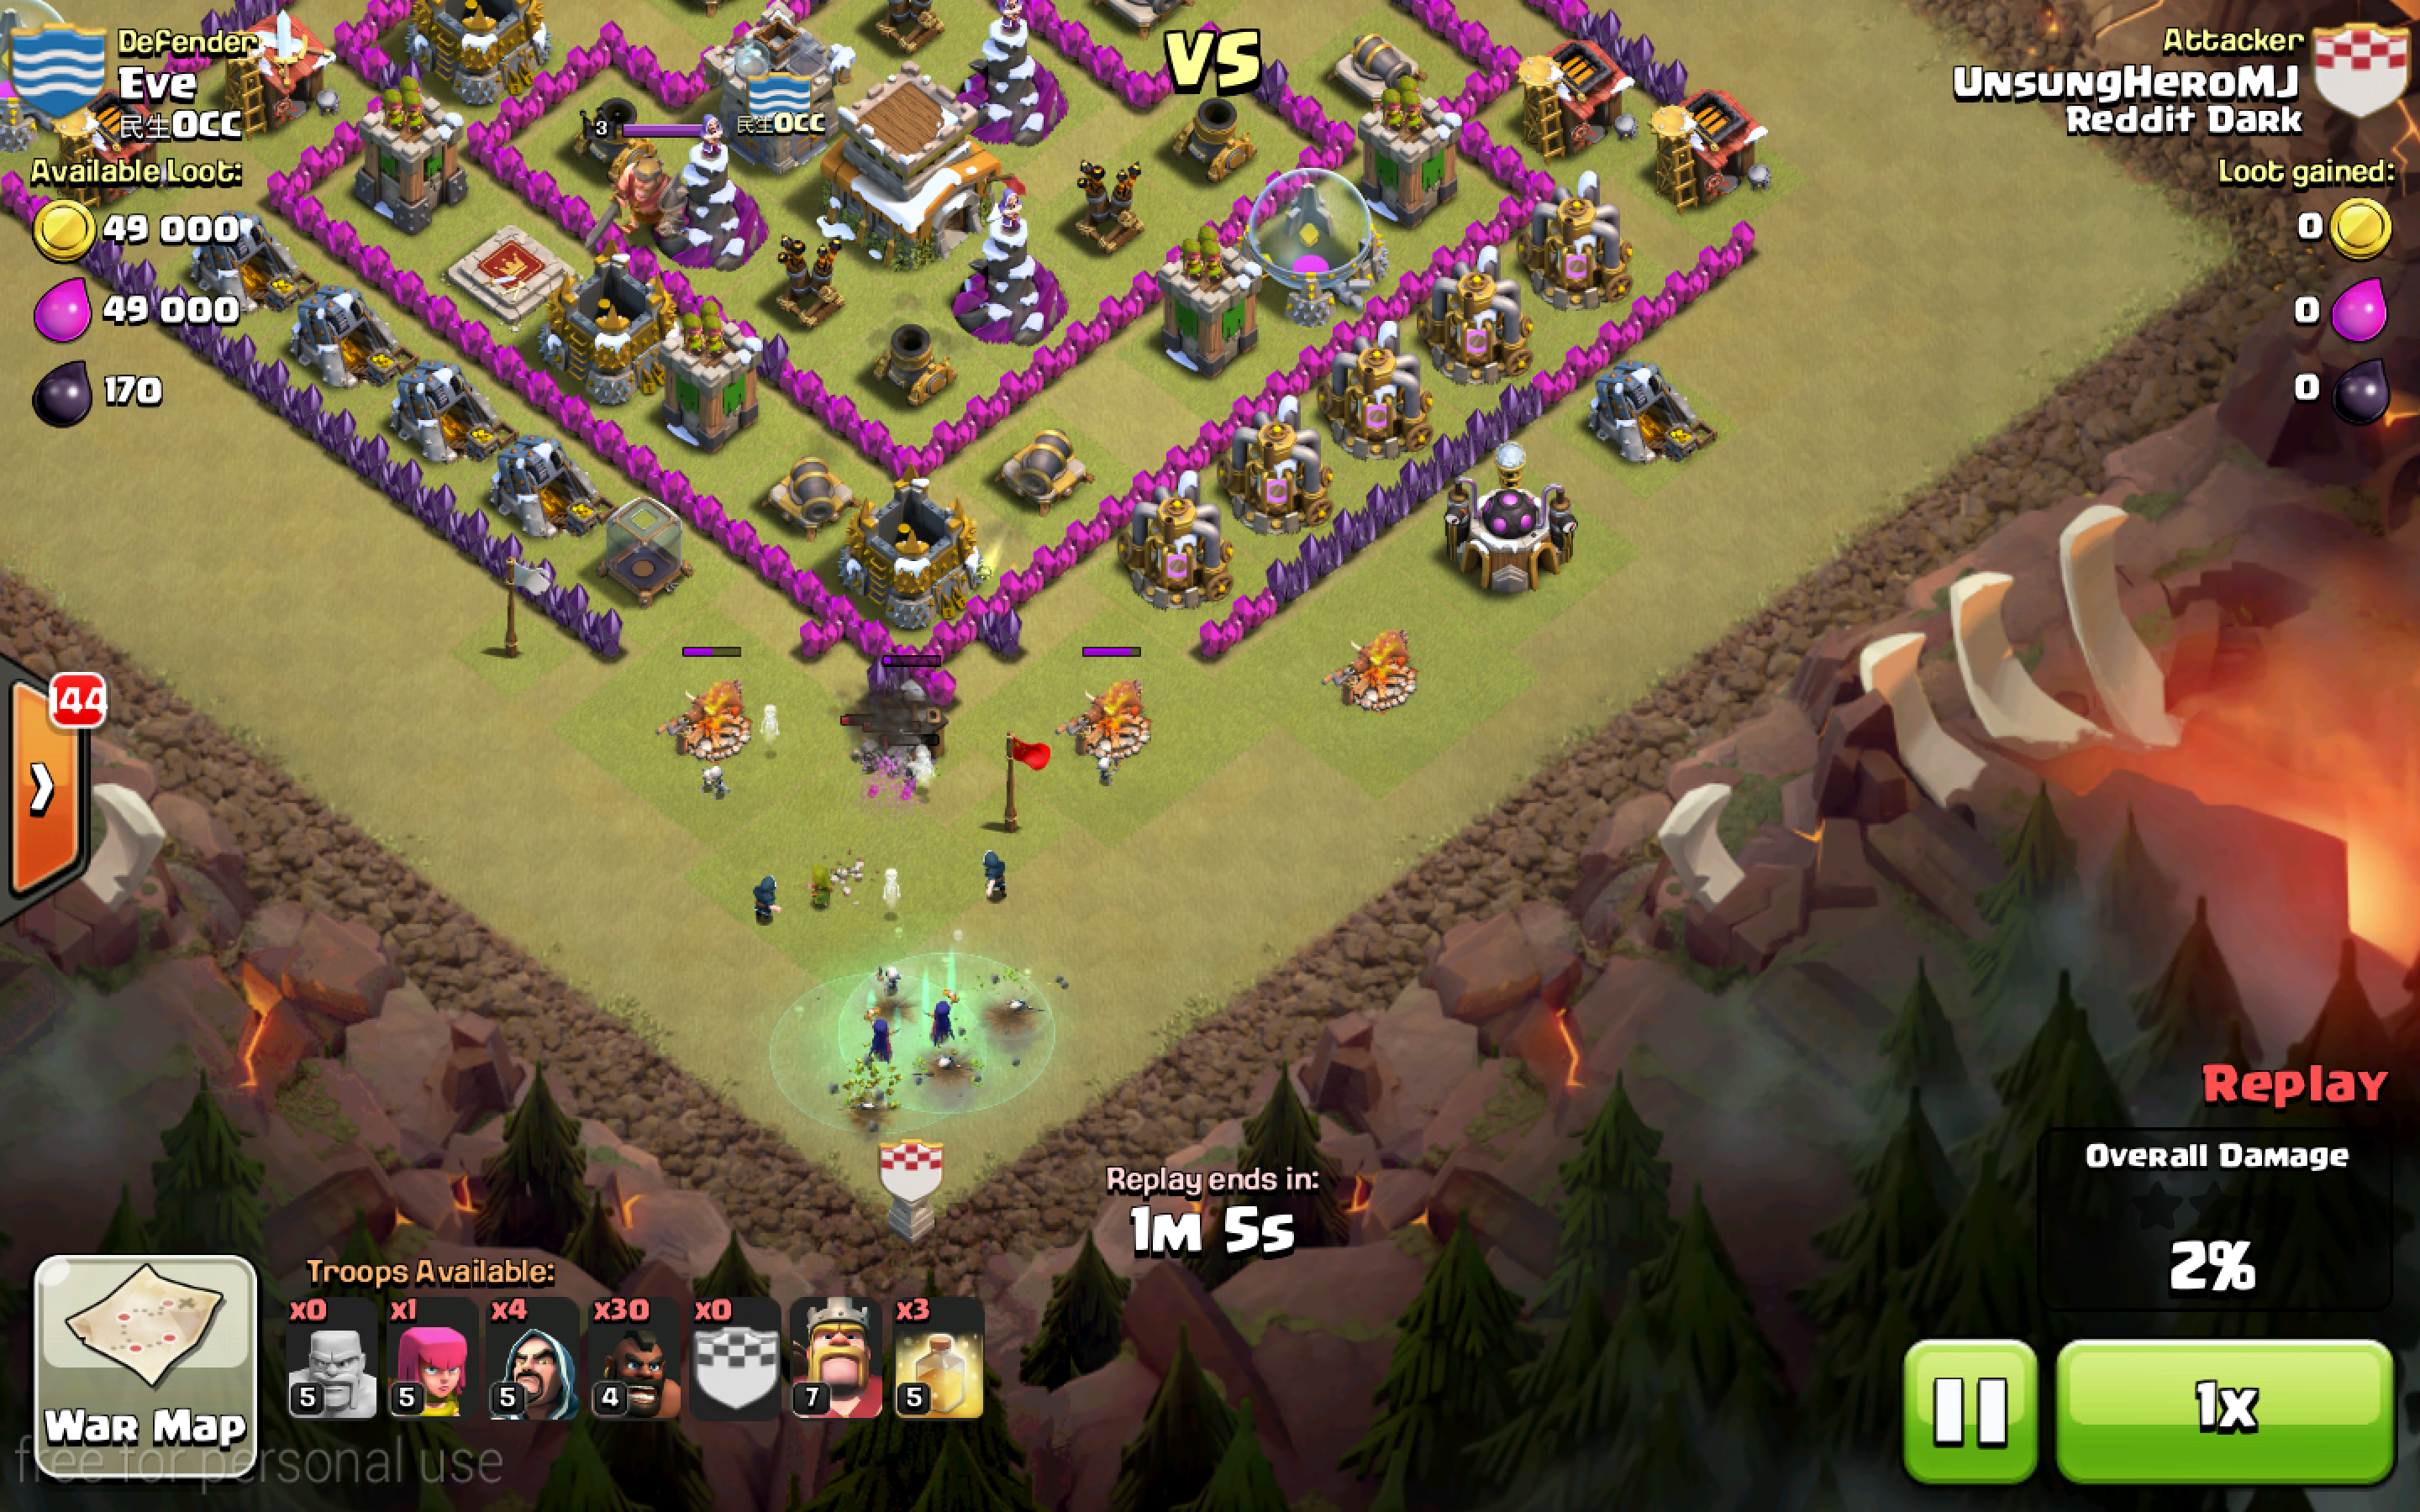
Now, the cc is killed. Here’s the base, again. Look at the 3, separated, open spaces. I can reasonably assume that they’re teslas, and if they were bombs, they wouldn’t bother me that much.
There are many ways of deploying hogs, even something we call Asian-Style in RD (yeah, we’re that fun), but the following is my personal favorite. Deploy the hogs in two streams by holding your finger down, in a place where they will path efficiently. The two points where the hogs are divided shouldn’t be too close, but not too far as they will diverge to the point where it’s hard to heal them all with the given spells. You want them to stay together by separating. Anyway, here’s a picture. I chose the south archer tower and the south-right cannon for the following reasons: – Both streams will move directly to the core. – The non-defense buildings next to the archer tower are going to help the left stream move towards the core. – It’s behind the kill squad (223), which is optimal.
Now, for the heals. Don’t place them too far away, but don’t place them too close. It is important to be anticipating where your hogs will go so you can heal them. Heal when: 1. Hogs are at low health (duh). 2. You see the hogs heading toward a possible giant bomb. 3. The hogs are near a wizard tower (optional, but more important the higher level the wizard tower is).
Here’s an example of a heal I placed. It could have been placed a little more to the right, but sometimes fingers are unpredictable.
Here’s my second heal. I didn’t need a third one.
Place the BK and the rest of the wizards where needed to help clean up.
IMPORTANT NOTE: If the cc is starting to target your witches/wizards, place down your BK to tank in the center of the action, and use the ability if necessary. As McMarvin7 pointed out, if you’re attacking a th9, then make sure to kill the archer queen before sending in your hogs.

Recent Comments