Aura Kingdom Guardian/Ravager PvE Guide
Aura Kingdom Guardian/Ravager PvE Guide by Nethernal
Hello people of Aura Kingdom~ So far throughout the Guardian section of the forum, I am yet to see a Guardian/Ravager guide. I also see a lot of people recommending Bard or Duelist as a Guardian sub-class over Ravager. Granted, this is all a matter of opinion, but I’m here for the people aspiring to be Guardian/Ravager!
Table of Contents
1. Introduction
2. Build (Stats, Envoy Path, Masteries)
3. Gameplay (General Tips, Keeping Aggro, Dungeon Guide)
Introduction
So you want to be Guardian Ravager? What advantages does this have compared to other subclasses? What are the disadvantages?
Well let me tell you, as Guardian/Ravager, you will have a lot more Area of Effect skills to hold your own while attacking many enemies at once. This is highly useful for the current “Lure the whole dungeon” strategy!
You get skills such as  (Aftershock) which stuns in an area, which is very useful, as well as
  (Round and Round) which deals continuous damage around you and drains 1% of damage as HP!
You also have  (Flame Slash), now this may not be as great a Damage over Time skill as some that Duelist or other classes have, but it will significantly increase your Single-Target DPS. It’s also one of the few ranged attacks you will have as a Guardian/Ravager.
Some disadvantages would be:
• You have quite a bit less DPS against single target enemies, than a Duelist.
• You cannot heal yourself, like a Bard.
• You’re strictly close-range except for a few skills, unlike a Gunslinger or Sorcerer.
Now with that out of the way, let’s get onto how to set up your Guardian/Ravager.
The Build
Stats
First things first, Stats. What points should you allocate where?
Offensive Stats
I HIGHLY recommend that you go full SPD in until you reach cap Skill Cooldown (50%). At around level 50 you should be looking for AT LEAST 35% Skill Cooldown.
After you reach 50%, I’d recommend going full DMG.
Defensive Stats
This can go one of two ways:
1. Go full HP
2. Go full DEF until you get to cap damage reduction (75%), then put the rest into HP.
I don’t recommend putting any points into Evasion.
Envoy Path

This is my current Envoy Path.
I suggest going towards “Brute Force” (bottom-right), “The Will to Live” (top-right) and “Malicious Stance” (middle-left). These help you tank well and keep aggro.
You can go towards these in any way you want, you can see how I’ve reached them but other people may want to get other things along the path.
After you get them what you get is really up to preference. As you can see I’m getting the extra DEF and HP Envoy’s.
Masteries
Onto Masteries, what you use here can be entirely up to you, but I’ll show you what I use.
General Skill:  (Splitting Air Cutter)
This reduces the enemies defense by 8% (or 10%) when you use Sword Slash, which you should be using a lot. Sword Slash also has a slight Area of Effect on it so you can hit multiple enemies with it if you position yourself well.
This means that anything your attacking will generally die faster. Which is helpful.
Attack Spec:  (Focus)
This gives +5% SPD. Pretty self explanatory, you need SPD for Skill Cooldowns.
Advanced Skill:  (Revitalizing Wall)
Probably THE best mastery in Advanced Skills. It turns your ordinary damage reduction shield into something that can recover your HP by crazy amounts, especially if you’re tanking multiple enemies at once. It’s your main source of self-recovery.
Defense Spec:  (Iron Wall)
DEF +5%. Easy explanation, you want to tank.
You could also choose to use “Vigor”, which gives +5% Max HP, or “Courage”, which gives +3% Max HP and -2% Damage Taken.
Tactical Spec:  (Break Defense)
Similarly to Splitting Air Cutter, the less defense the enemy has, the quicker it dies.
You could also choose to use “Organized Sabotage”, which reduces the damage the enemy deals, whichever you’d prefer.
Special Skill:  (The Best Defense)
1% of DMG is added to DEF. More defense? Yes please!
You could also choose to use “Omniscience”, which gives 1% of DEF is added to SPD.
Gameplay
General Tips
You should usually use  and
and  before engaging in any battle.
While luring, you can use  and
and  to move around. You can also use to drain HP while luring, this is useful as this skill allows you to move at full speed still.
Remember! You can move while using and  . Use this to reposition yourself so that your DPSs can hit the back of the enemy.
Keeping Aggro
A general thought on how to keep aggro is to use all of your Malice-Generating skills whenever they are off of Cooldown. While this can work, it’s not extremely efficient. I’ll show you some skill rotations which offer the greatest Malice-Generation while cycling smoothly.
(NOTE: For this, around 35%+ Skill Cooldown is needed, otherwise you may have to wait in between certain skills).
Single Target Rotation:

 would be or or (To be used when they are off CD)
This is for generating high amounts of Malice on a single target, keeping the aggro pinned on you.
At the start of the fight you can either use or to get in, and during the fight you can also use these skills to get close to the boss again if they end up moving away from you.
Area of Effect Rotation:

would be  or or (To be used when they are off CD)
This is to keep the aggro of multiple enemies as well as possible, spamming Terrifying Roar should be of up-most priority as it’s GUARANTEED aggro on you in an area for AT LEAST 4 seconds.
You should also use and when they are off CD.
Dungeon Guide
So here I will be going over how you, as a tank, handle certain bosses. I will be covering things from Deep’s Cavern up. (Unless asked to include earlier ones)
Deep’s Cavern:
Zaunna
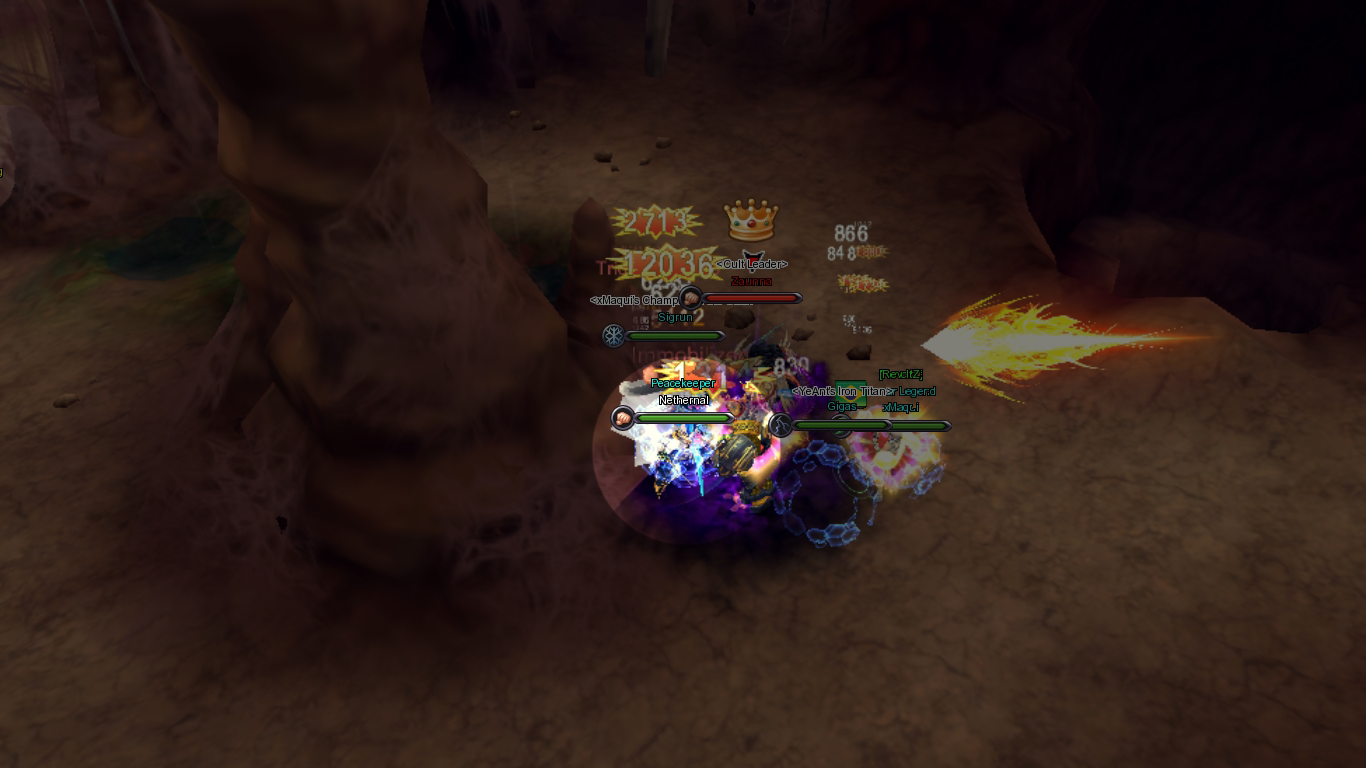
For this boss, you should just use or to get in. After this, make sure to walk through him (so that you are positioned behind him, as shown on the screenshot). After this, start using your Single Target Rotation to make sure he aggro’s you.
He’s pretty simple, so you shouldn’t need to much guidance on how to deal with him effectively. Just make sure he’s attacking you, and all of your DPSs can get back attacks.
Adrecei
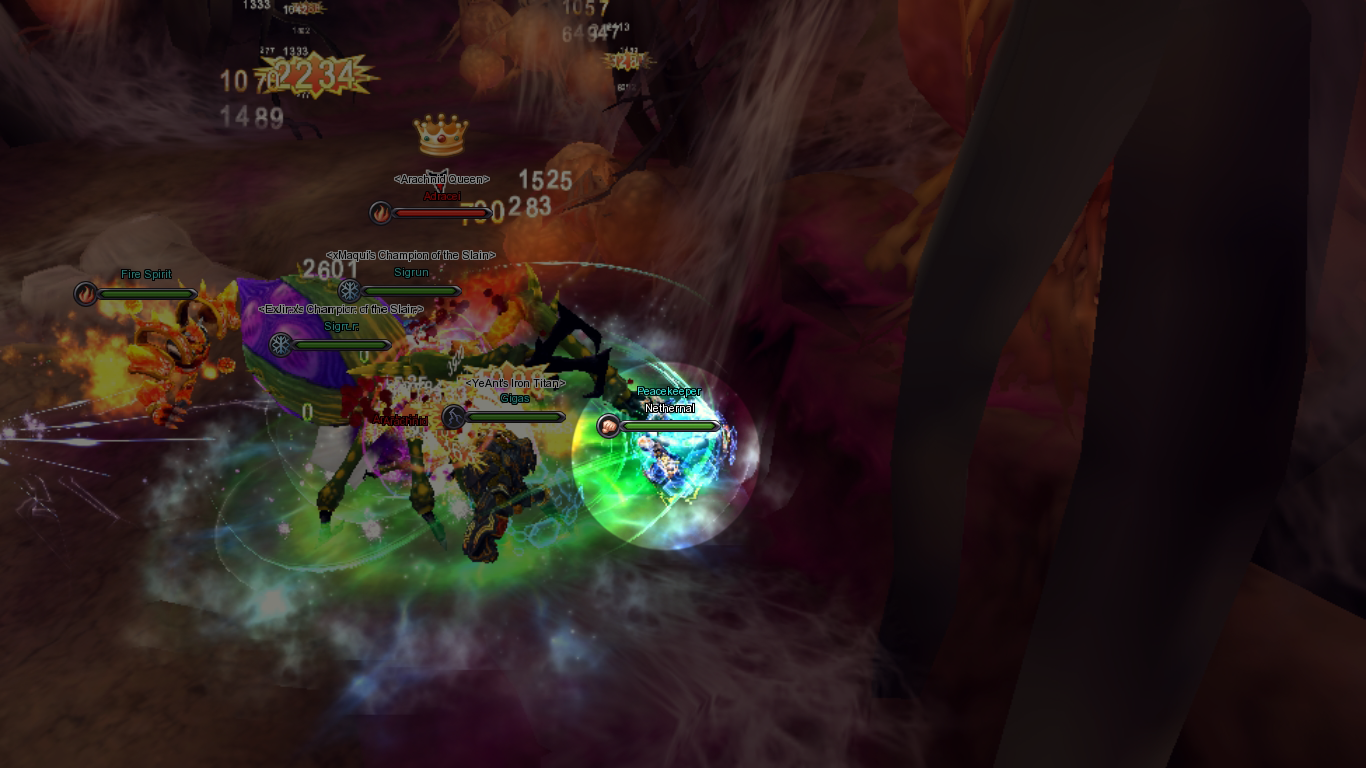
Adrecei is a bit more complex, similarly to before. Use one of the two skills to get in, walk behind him and position yourself as shown on the screenshot, and start using your rotation to generate aggro.
Every now and again, Ardecei will randomly select a party member and rush towards them. This is something you can not prevent. What you CAN do is look out for when he does this. As soon as he charges at another party member, use or to get close to him again and then use to instantly aggro him.
Argus
Just position yourself as seen in the screenshot, and keep using your single target rotation to generate aggro. This will allow all of your party members to get back attacks easily. Every now and again he’ll knock you up into the air which puts you in a stun-like state. Just wait ’till you hit the ground again and keep using those skills!
He’s simple, like Zaunna, he doesn’t really do much.
Wrathborne Temple:
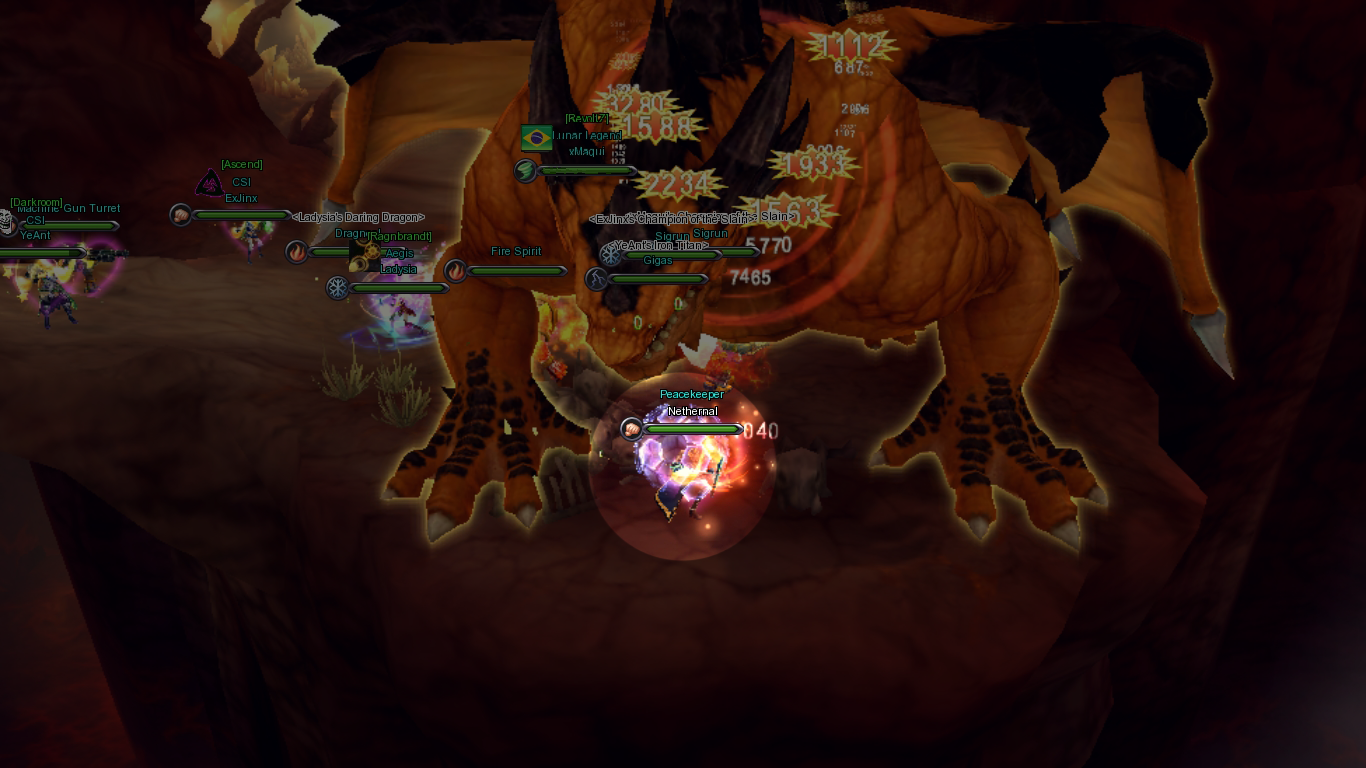
Kelosa
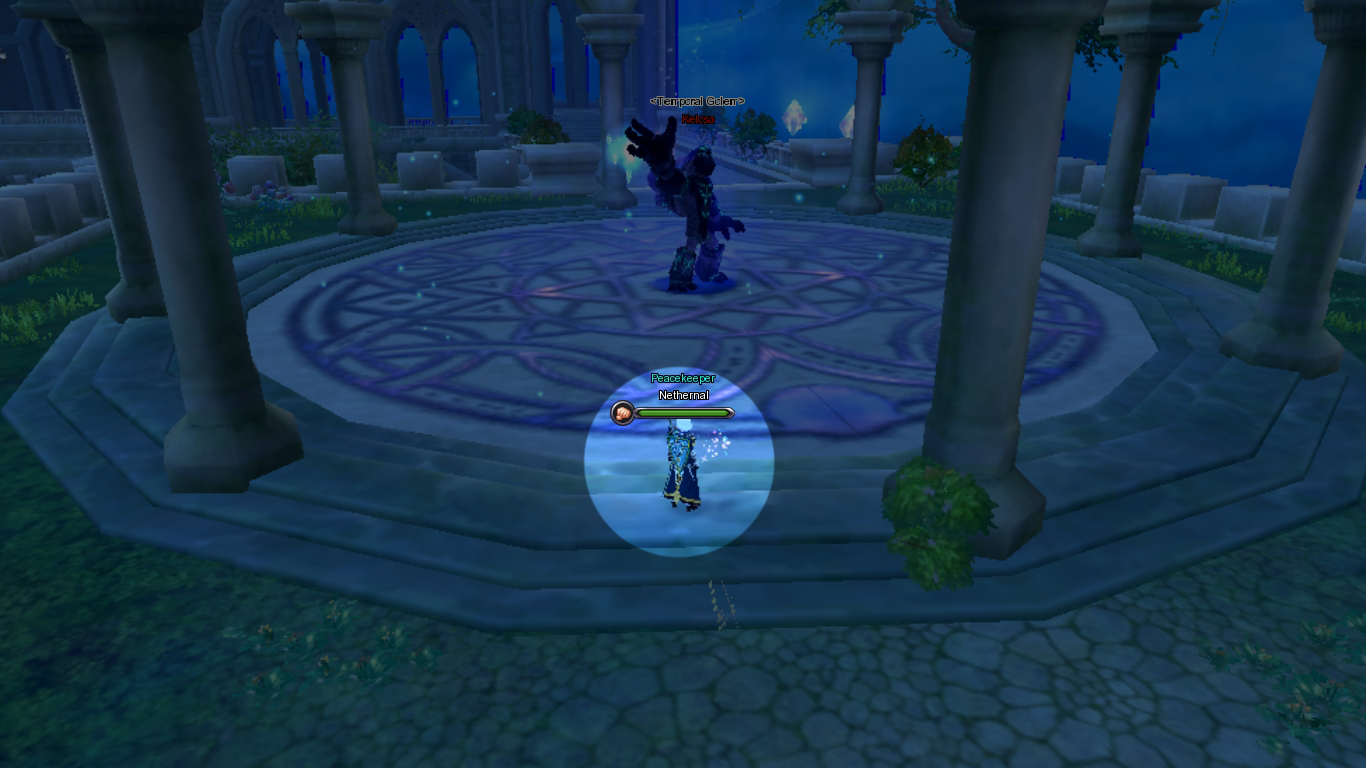
This is where the fight starts. Your job is to lure him! Lure him where you ask? Down the stairs. (The stairs in which you walk up to get to him) As seen in this picture:
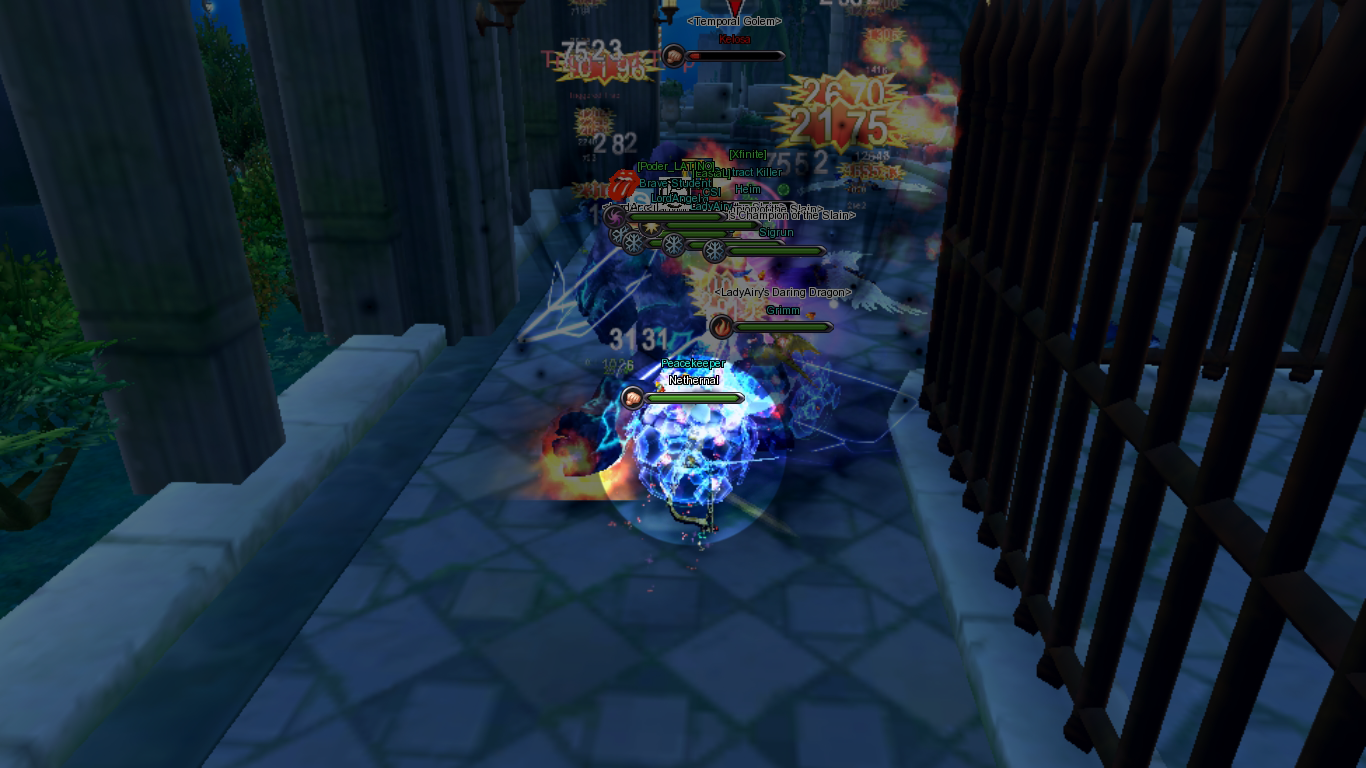
The reason this is done is so that his totems can’t buff his defense. Not everyone uses this strategy but it’s the most used as it’s the easiest to do.
You could also opt to just fight him where he starts and have one of your DPSs destroy the totems around him, but this is much simpler.
During this fight all you really need to do is use your Single Target Rotation to keep him aggro’d onto you. Pretty simple stuff.
Saint Hale

Against Saint Hale, make sure to lure him up the stairs just behind him and then try to make sure he is facing the back wall at all times. This should allow your DPSs to be safe.
Similarly to Adrecei, Saint Hale will also charge at a random party member. When this happens, use or to get close to him again and then use to instantly aggro him.
After that maneuver yourself so that he is facing the back wall again, away from your DPSs.
Frederic
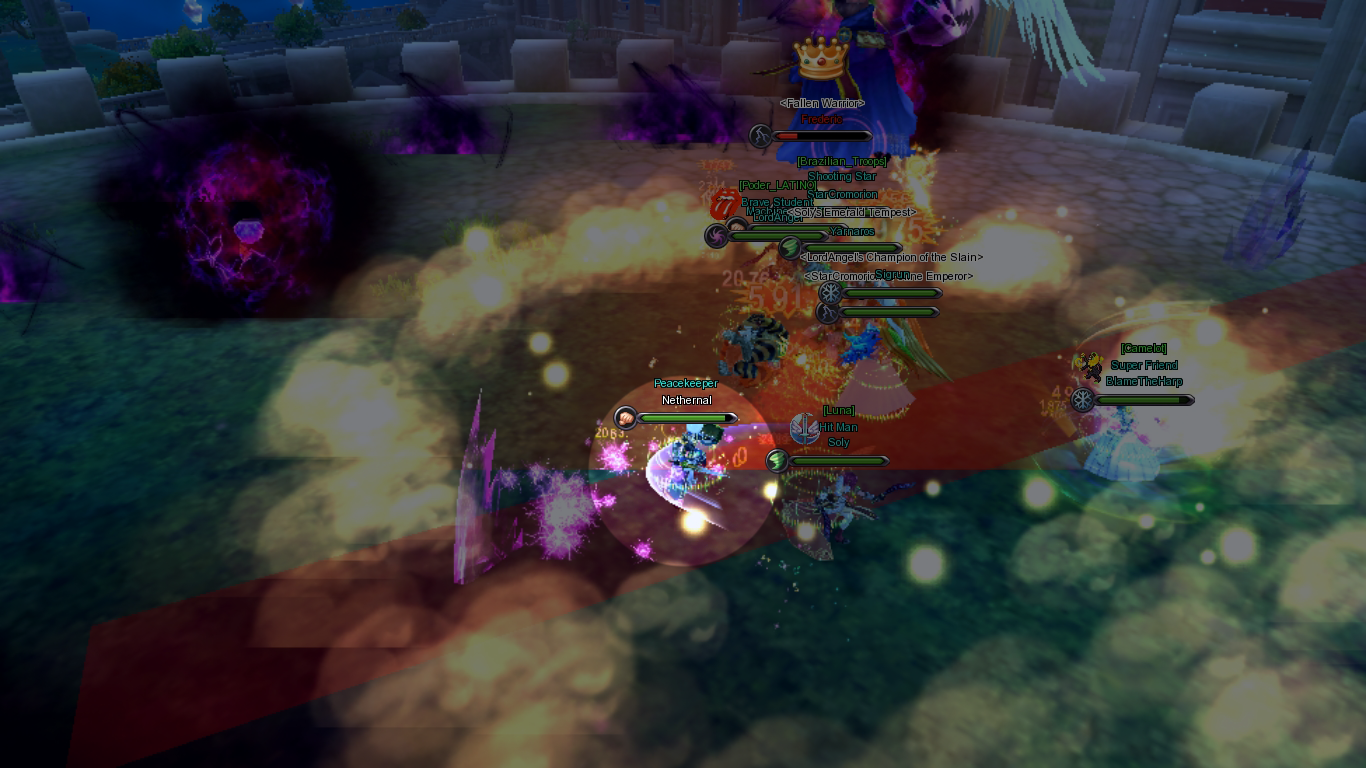
Against Frederic all you really need to do is make sure his back is towards your party members. Just keep the aggro on you.
You don’t really need to dodge his attacks but make sure your party members do! Especially the one that covers like the entire stage.

is good opcions?