PlanetSide Dog Fighting Guide
PlanetSide Dog Fighting Guide by Raves
First off, I’d like to thank TRxToeSplitter for his invaluable help with the screenshots in this thread.
Ok…Dog-fighting.
Without a doubt, my favorite past-time in Planetside. Having fought alongside and against some of the best pilots on the Emerald Server, I took note of their flying strategies and have decided to compile a guide to dog-fighting. This guide may contain some trivial information that many already take for granted, but I thought I’d post it anyways because some people me still not know bout it.
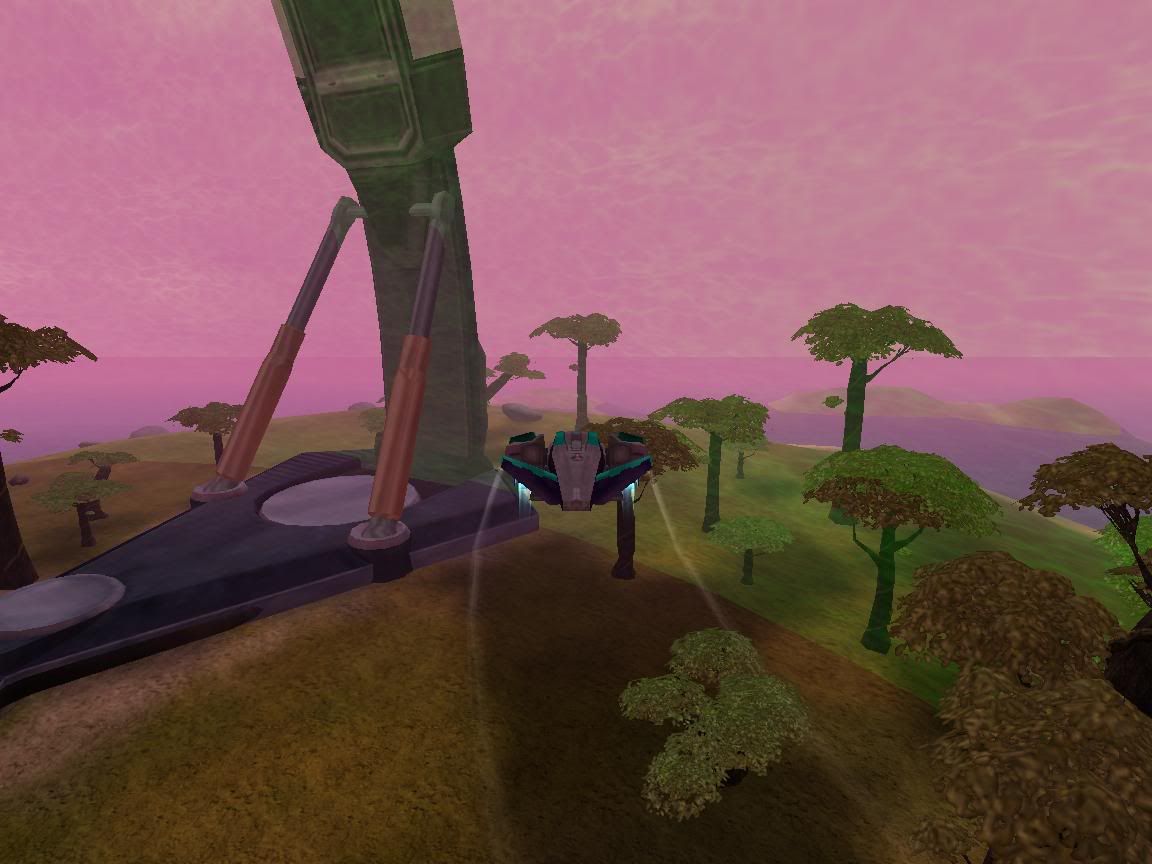
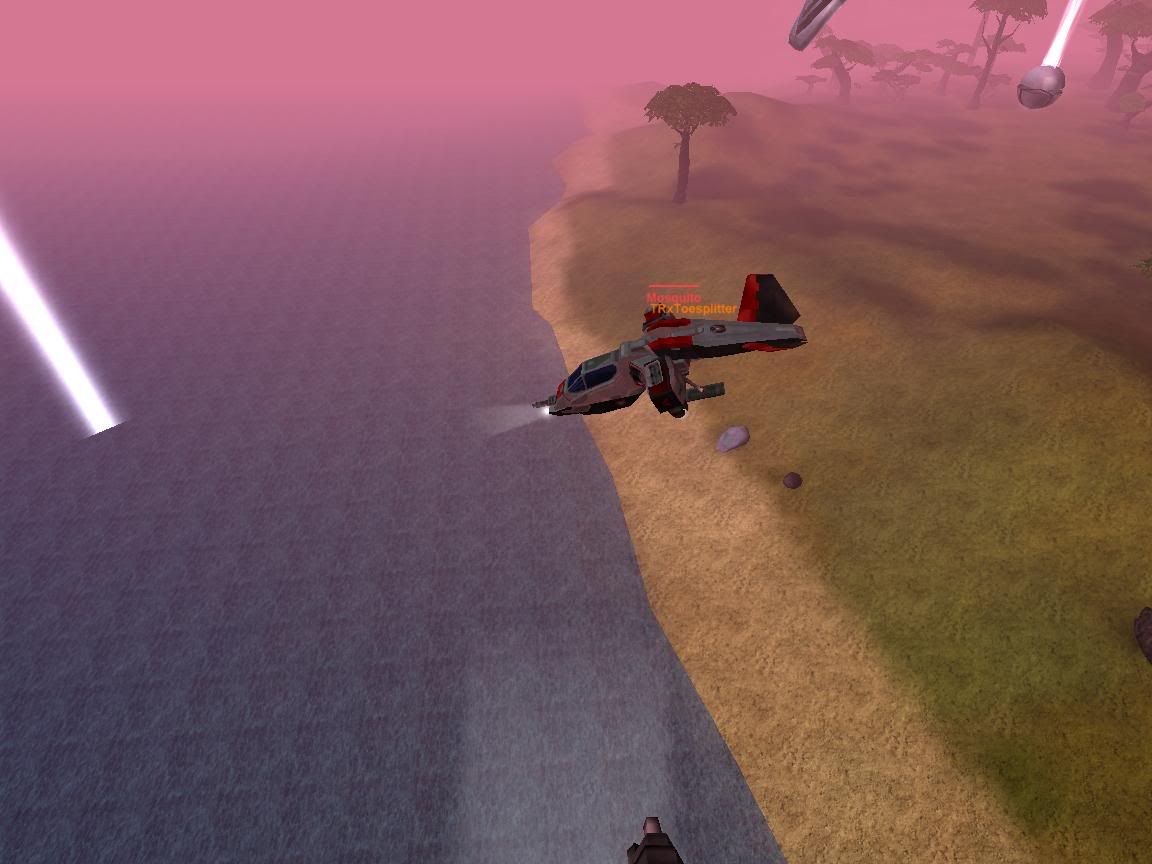
Ok, first, and the most important is the 3rd person view on your mosquito or reaver. You should always have your third person view maxed out (using the ‘+’ key –default- on the numberpad) for 2 reasons. One, it’s easier to see an enemy if he/she tries to move into your blind spot. Two, you are able to turn your aircraft faster in 3rd person than you are able in 1st person, therefore you need to be able to keep track of your enemy (and your environment so as you don’t hit trees, mountains, etc..) at all times. Here is a screenshot of what your 3rd person view should look like (do it immediately after your acquire your mosquito from the terminals, and keep on doing it till it becomes second nature):
Ok, now that you have your view sorted out, you need to know about the afterburners. The afterburners, or AB for short, are immensely helpful in combat. I cannot stress enough: DO NOT USE THE AFTERBURNERS NEEDLESSLY. A plane without afterburners is very easily shot down. After getting more experience dog-fighting, you will learn how invaluable the afterburners are. They should only be used to boost you into the enemy’s blind spot, or to get out of your blind spot if the enemy has managed to get behind you.
Ok, now about the actual fighting. The two most important things a pilot needs to learn is how to strafe effectively, and how to aim properly. You can boost your aim by planting motion sensors on the ground and then practicing blowing them up from a distance while strafing (tip from SGprophet). If I remember correctly, I think it takes around 12-15 direct mossy shots to take out a motion sensor. Try to get it so that you can take out a motion sensor while strafing in under 25 shots. Remember: DO NOT AIM WITH YOUR CURSOR. The tracers on the bullets are your best friend, use them. Aim with the actual bullets, using the cursor to place your initial shots. This is something you get the hang of with experience and practice.
With regards to the second most important aspect of dog-fighting – strafing, you should always try to get into your opponents blind spot. The first method to try to get into your opponents blind spot, and arguably the most important, is the initial turn in a face-to-face dog-fight. When you spot an enemy coming at you, go up to him firing a few shots as accurately as possible to try to take out the shields if your opponent has them. Once you get within 10 meters or so, slow down and turn. The speed by which you slow down is immensely important in getting yourself into position. You should slow down using the following method.
Looking at the previous screenshot, as my opponent is coming in at me from the right, I will need to turn right as soon as I pass him. So, once I am within 10 meters of his aircraft, I will go into 3rd person, turn my aircraft to face the ceiling whilst pressing the following key combination: the default back-movement key (s), the default left-movement key (a), and the default descent key (c), all whilst pointing my mosquito to the right with my mouse. Using the (s) key will help slow down your aircraft, pointing your mosquito upwards and using the descent key will also help you slow down your aircraft quicker, and using the left strafe key when turning your plane to face the right also helps slow you down quicker (same is true if you want to turn to the left – strafe to the right and turn your mouse to the left). If you do this correctly, and your opponent is not experienced enough, you should have yourself positioned behind the enemy. This will give you a few free shots into the enemy’s back which you must take full advantage of before the enemy repositions into a better firing position (remember, every shot counts).
The Turning process:

Ok, so you have passed the initial turning phase and both of the dueling aircrafts are slowly moving around each other firing. Now is where strafing effectively is very very important (and sometimes, using the afterburners strategically makes all the difference). The temptation is to not let go of the strafing key that initially got you into the position you were in. For example from the previous screenshots, I used the left-strafe key to get me into position, and hence I would use that to continue strafing around the opponent in a circular fashion. This is a mistake. Using this method will change the whole dog-fight from a contest of skill into a race as to how has the best aim. What you should do (as I have found it) is the moment you are positioned in a straight line with your opponent facing each other, use the opposite strafe key that got you into that position. For example, I used the left-strafe key to get me into that position. The moment I am in a straight line with my opponent, I would use the combination of the default ascend key (e) and the right strafe key (d) which would make me and my opponent move into a each other. But by utilizing this method, you will position yourself over your enemy and have a few free shots on the opposing aircraft (again, which could make all the difference). You should have realized now, that dog-fighting is not about who has the best aim, it’s about who can position themselves better. A person with crappy aim can defeat the best pilots if he can position himself into their blind side.
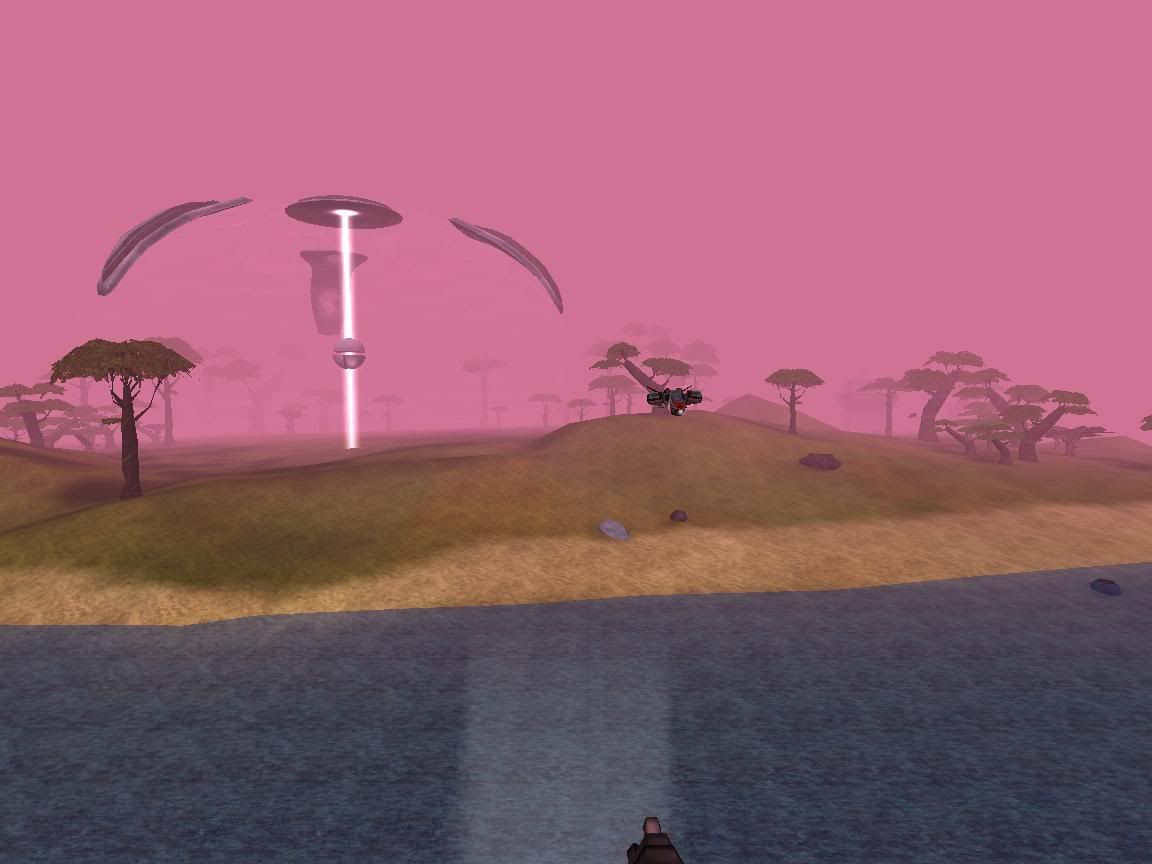
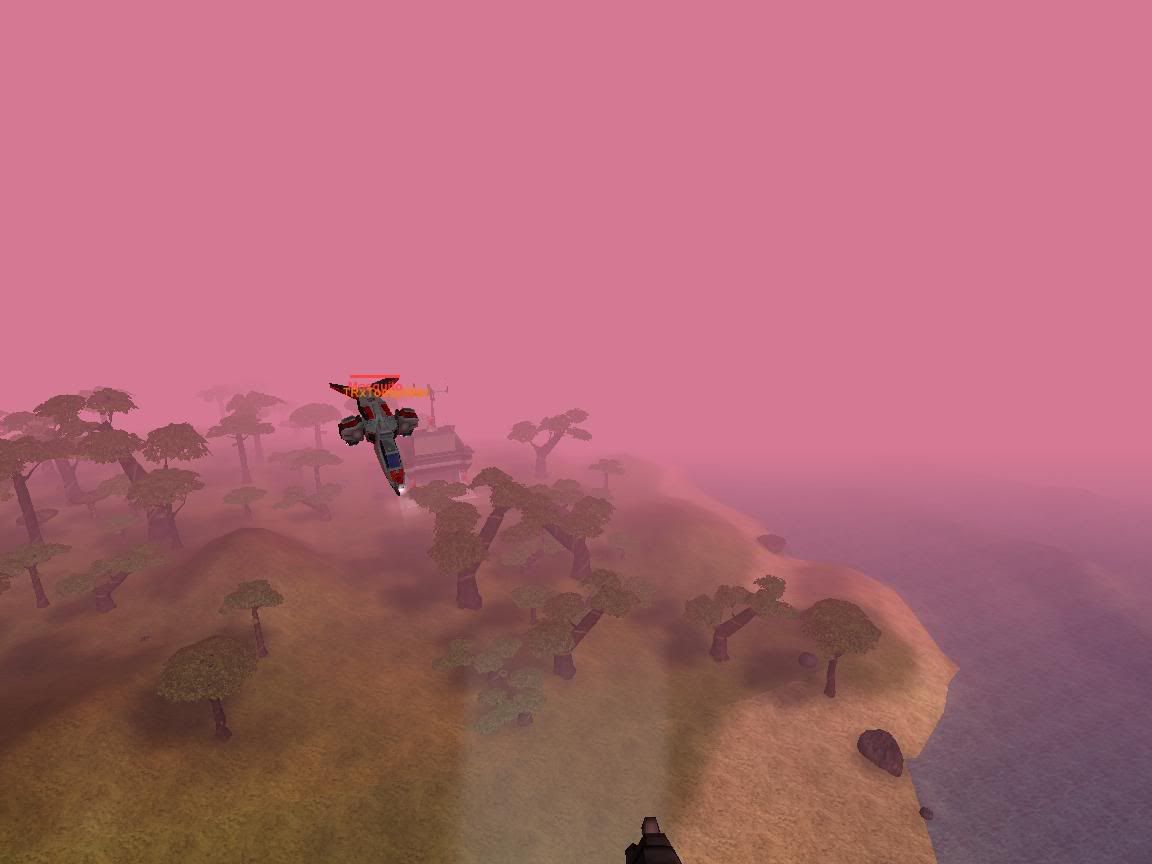
Here are some screenshots of positions that you will want to get into:
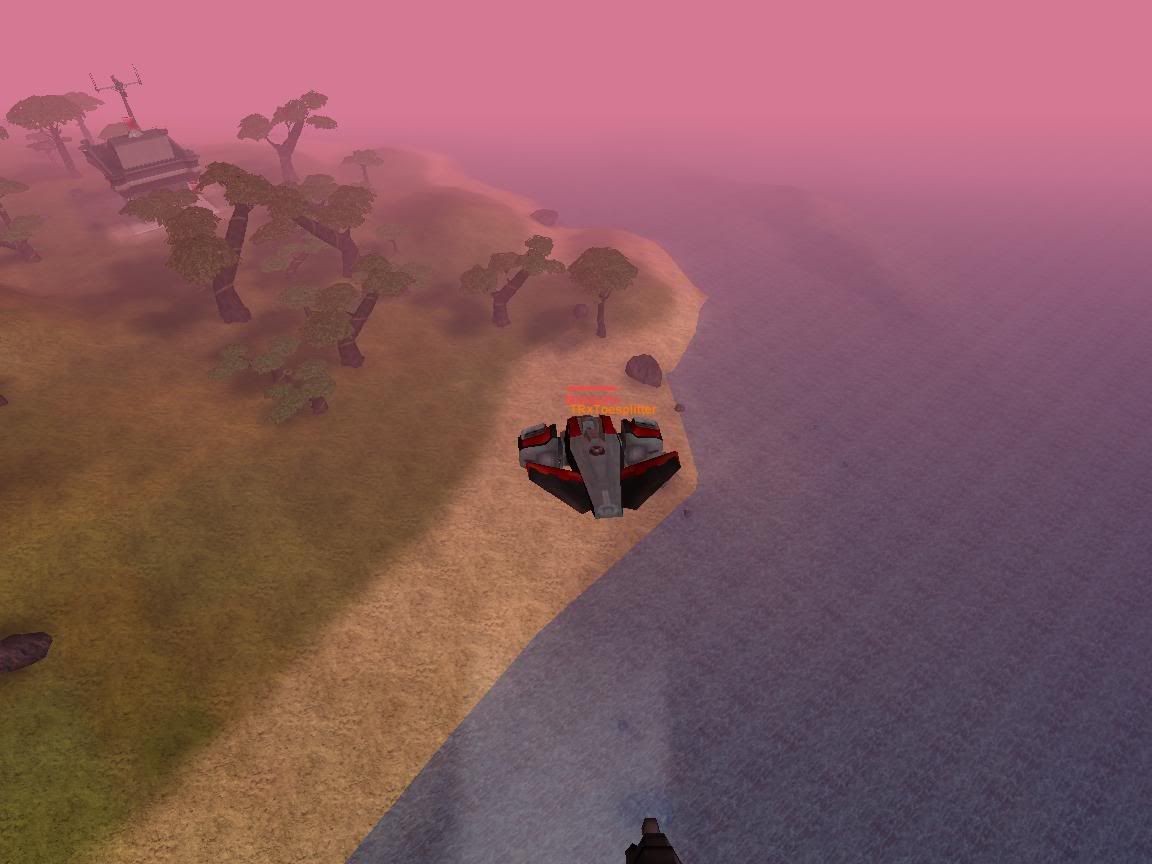
Here are is a screen shot of a position that you will never want to get into (use afterburners here and keep on repeating the whole dog-fighting procedure till you get into a good position):

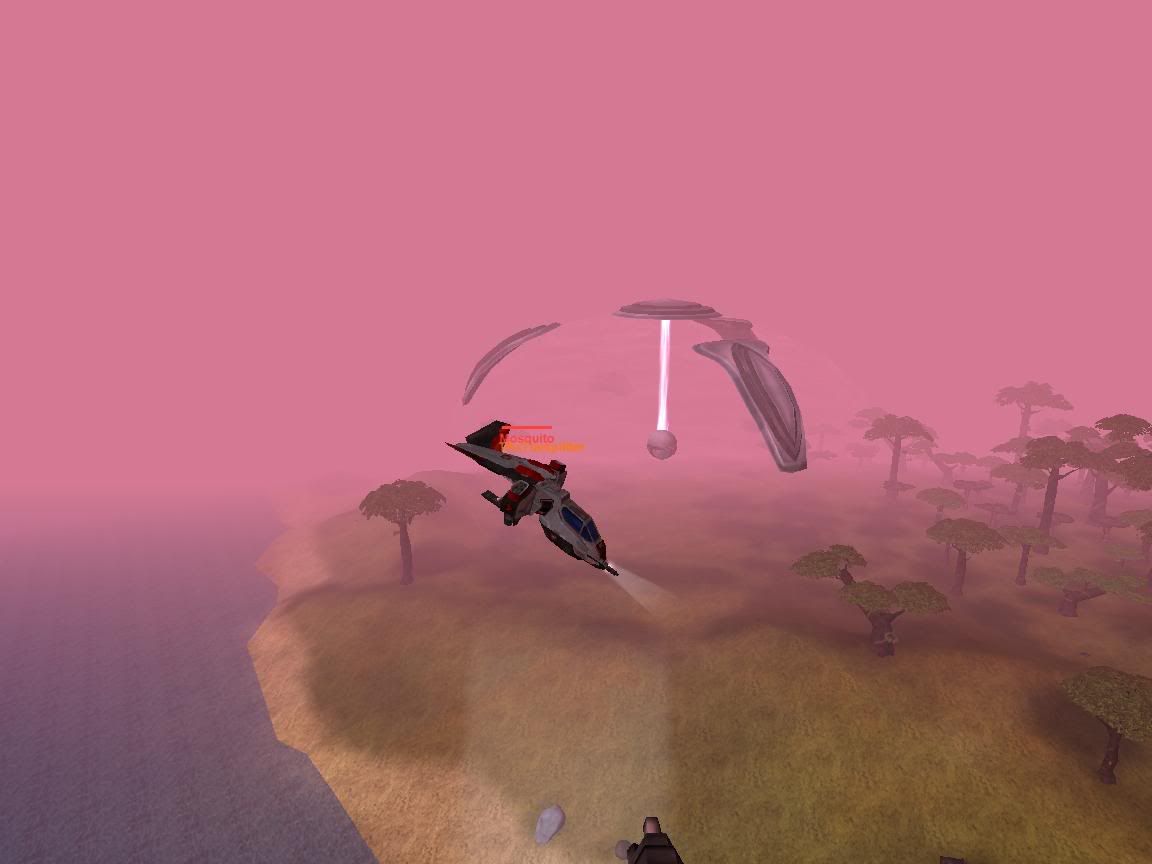
And here are the neutral positions (as I like to call them) where the person with the best aim will always win. You should always try to avoid these:
S-Strafing Scenario:
The way this works is that when you are positioned fighting an enemy aircraft, you either ascend or descent (depending on the situation) in an S pattern. You would ascend if the enemy has the hieght advantage and you would descend if you have the hieght advantage, so as to get better shots at your opponent. However, you would only do this if you are fighting a mosquito; when you fight a reaver, u should always try to keep your distance or be on thier blind side as the 20mm guns would tear through your craft, given the pilot is a half-descent shot. The S-strafing scenario is mainly a mosquito dueling techinque because its very agile. What you would do is move in an S pattern while straffing. For example, you strafe left, then left-up, then up, then right, then right-up, then up again, then left-up, then left, etc. This would make you a lot harder to hit because the enemy would generally have to lead you into his shots, and if you suddenly changed positions or altitude, the enemy would have to alter their aim so as to hit you, and genearlly, they would miss a few shots (which again can make all the difference). If done properly, you can win a dogfight without even losing your vehicel shields. It takes a lot of practice and paitence to master, but is very rewarding.
Now, facing multiple aircrafts.
Shooting down 2 or more planes at once is a very rewarding experience. However, it is extremely difficult.
In order to be effective, you must learn, NEVER CONCENTRATE ON ONE AIRCRAFT.
What you do is you shoot at one enemy, force him to turn away, turn around, shoot into a different enemy, force him to turn away, etc…
What you are doing is avoiding the whole turret scenario because 2+ planes vs. plane in a turreting situation will always result in the 2+ planes winning. This takes a lot of practice to get the hang of, but is very fun. In this situation, afterburners are extremely important, and so, don’t waste them needlessly. Use them in small bursts to get you out of a bad situation. Remember, if an enemy plane runs, DO NOT CHASE; wait till you have killed all the enemy aircrafts attacking you before you proceed to chase a fleeing plane. And remember, do not focus your attention on a plane with low health ignoring all the other planes attacking you. The name of the game here is avoiding damage, and by focusing your attention on 1 plane, you are allowing the other planes a huge opportunity to get into good positions to shoot you from. Whichever enemy flies into your line of fire is the enemy you shoot it. And if notice that you are being shot, use evasive actions. You want to minimize the damage you receive. There are a lot of movies on www.planetsidemovies.com on people displaying this: look for movies by elcyco, stylus, and Anakin.
Having the drop on an enemy (coming in from behind):
Here, you have a clear advantage in that you have a few free shots without the enemy being able to fire back at you. Do not take those shots unless you are sure you can get hits with them (you do not want to alert the enemy to your position if you are not going to be much of a threat to him). If you don’t have a descent shot, don’t take it, fly around till you get into a good angle, then start firing. Those first few shots can make all the difference. And then just do what comes naturally.
Having an enemy drop on you (an enemy comes in from behind):
The moment you notice you are being shot, take evasive action and turn to situate yourself to face your enemy. The best way to do this, is to turn left and right, left and right for a few seconds to allow the enemy to get closer, and then make a sharp 360 degree turn so as to situate yourself behind your enemy (using afterburners in the middle of that 360 degree turn). This is an ideal scenario and doesn’t usually happen, but you have to try to get as close to it as possible. If you are unable to get into that position, then use your afterburners so as you are facing your opponent and use the methods I talked about in the beginning of this thread.
Knowing when to chase and not chase:
I have a specific rule about this. If I am in a mosquito, I will usually chase an enemy that runs away. But if I am in a reaver and I know the enemy will probably make it to an enemy base, I don’t bother chasing. The reason being that the reaver is too slow and will probably not be able to make it out alive as it will be shot by turrets, etc… If you are sure you will get the kill, then by all means go for it, if there is any doubt, then don’t. Better to be alive and lose a kill, than having to wait for a vehicle timer. Mosquitoes are better chase planes because they are fast, they are maneuverable, and they are invisible on radar.
Use the environment to your advantage. Learn to fly around trees, between them, around mountains, duck underneath catwalks, zig-zag in bridges, etc… These things can be of great help if you are being chased and need to get away, or if you don’t have any afterburners as they buy you some time.
That’s all I have on dog-fighting for now, I’d like to hear some of your comments or pointers on anything I may have missed. Thanx.

Recent Comments