Dungeon Defenders Alchemical Laboratory Build Guide
Dungeon Defenders Alchemical Laboratory Build Guide by ViciousXUSMC
I posted up a build I use and we just had somebody report in that they beat Insane Alchemical Laboratory Survival all 25 waves with the build, and its also been working very well for me.
So with like 2 or 3 lab build threads out there, figure my build should get one too 
Here is my original build:
I got to wave 20 on insane without any signs of the build failing or having a weakness. Lost due to “self destruct crystal”
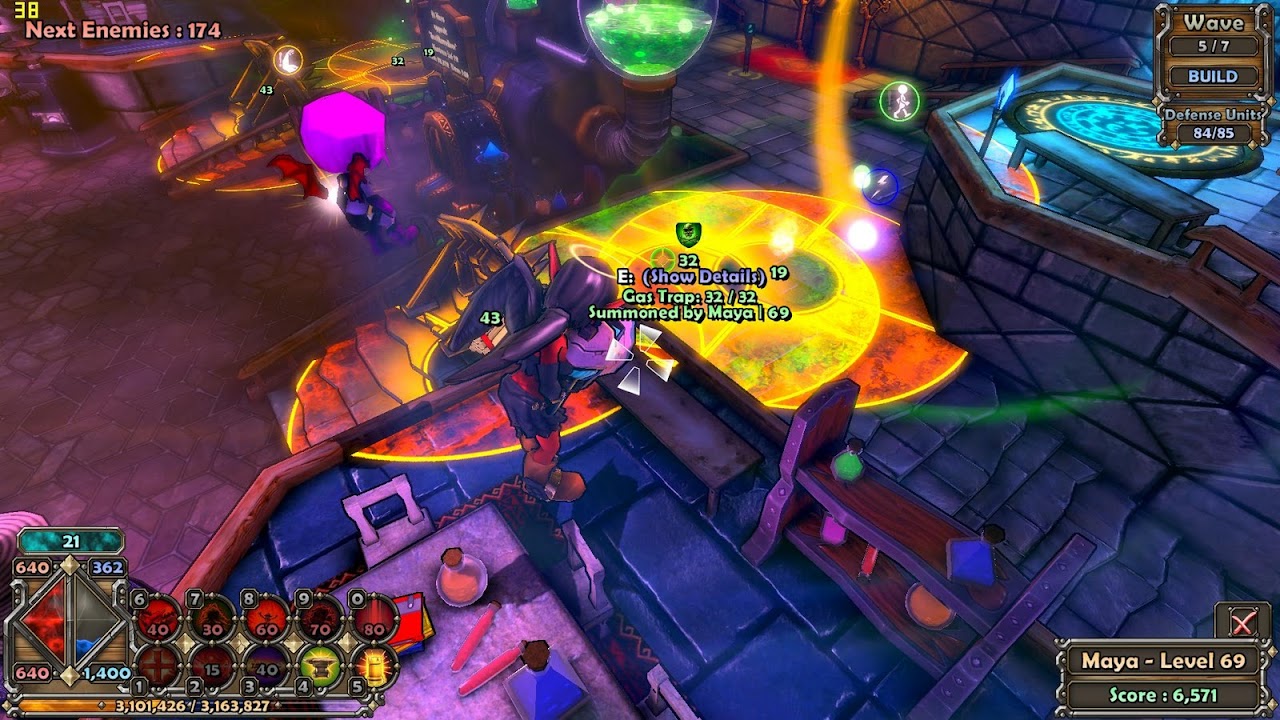
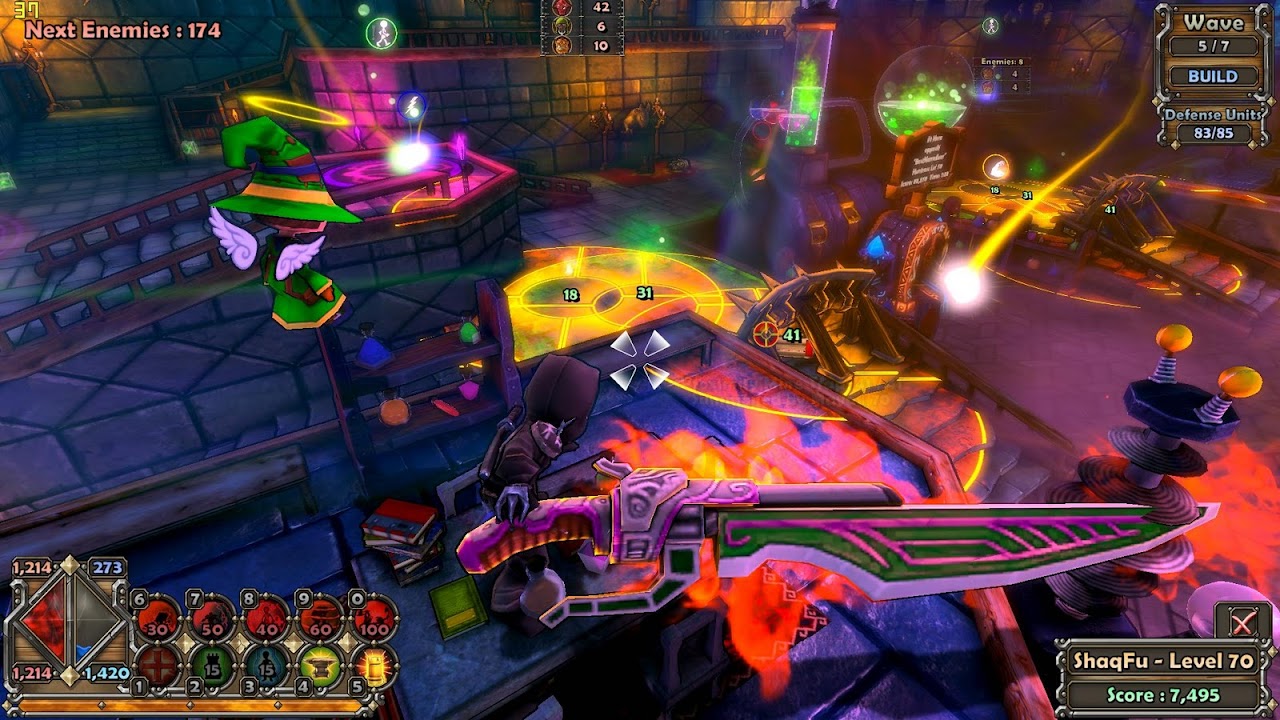
I don’t know if it was a glitch like the invisible skeletons in the floor or something, or if we just got really unlucky with an archer in rage from behind one of the walls. So this screenshot shows the walls moved further back up the stairs when I used to have them near the bottom of the stairs so that more mobs would die before a proxy charge had to be used.

Here is all the reasoning that went into my design.
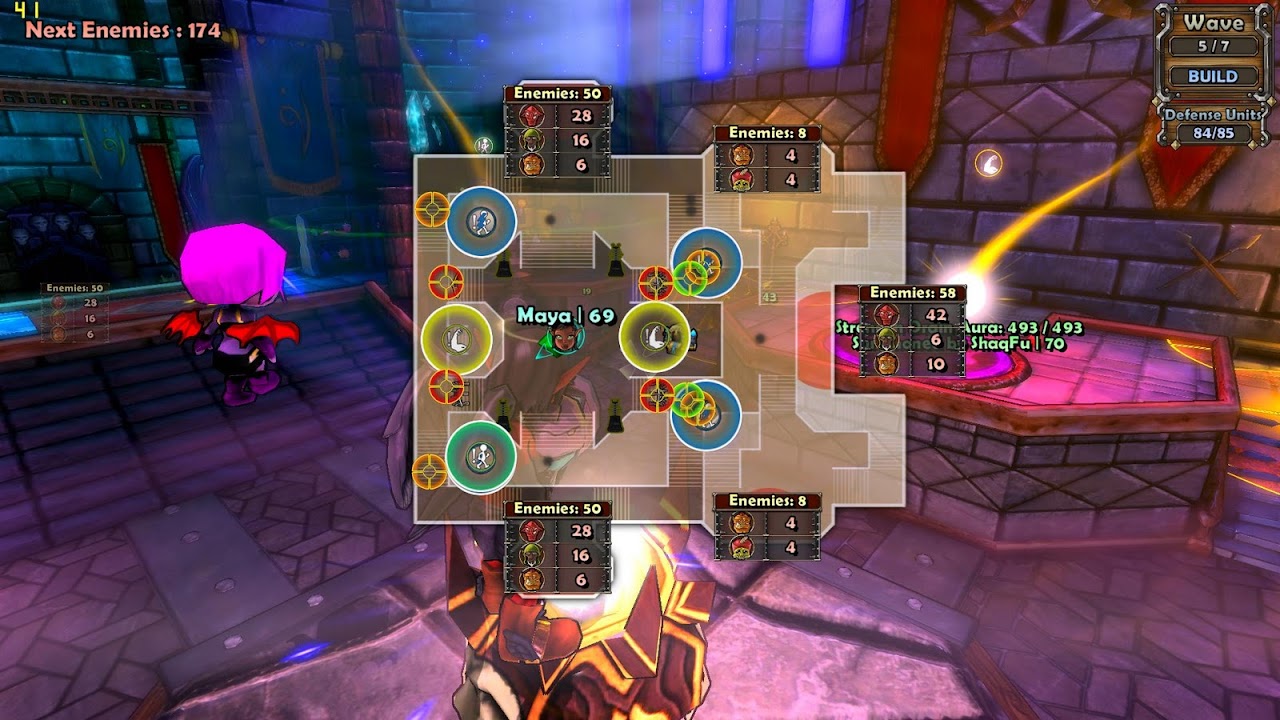
1.) I have walls covering all 4 chokes with a strength drain aura in the center that is large enough to cover both walls. This makes my last line defenses very strong and almost impossible to break since there are no ogres on this stage.
2.) I like traps & auras they stack together in a wonderful synergy, the main difference between survival and other modes other than the hp/dmg of the mobs scaling is the sheer number of mobs and how large of a group they come in. Inferno Traps & Electric Auras offer the largest damage over a large area vs any towers. Add in a Ensnare Aura & Gas Trap and its pretty much death to anything.
3.) There is no towers to grab agro from ninjas or summoners, nor towers for ninjas to destroy. Apprentice towers I feel would be very vulnerable to the mass Ninja that starts after wave 15. Traps & Auras however are completely immune, only the walls can grab agro and they are protected by strength drain and have a proxy charge to greet any ninja that decides to attack them.
4.) Auras and Traps stack, literally, they are all right ontop of each other in the same spot. I run survival mode with the engineer pet that has an AOE repair ability. So I never have to worry about being able to repair in battle I can just keep fighting and run near my defenses and it pretty much takes care of itself. Maybe a small repair on a wall after mass ninjas kill you and get a few cheap hits in while your dead. Even without a repair pet traps & auras are way easier to repair than towers and you only have to worry about decay not damage from enemies.
Takin who beat all 25 waves with this build (Source: Link) said he modified it slightly.
Quote:
Actually funny to hear some of these changes because I already had a new modified build that I had not published that is very similar.
So here is my alternative build you can try out. The reason I made these changes is because I thought maybe an archer got close to a back wall and shot the crystal within range so I now cut the entire back area off. The new free DU let me make some other changes that I will explain below.
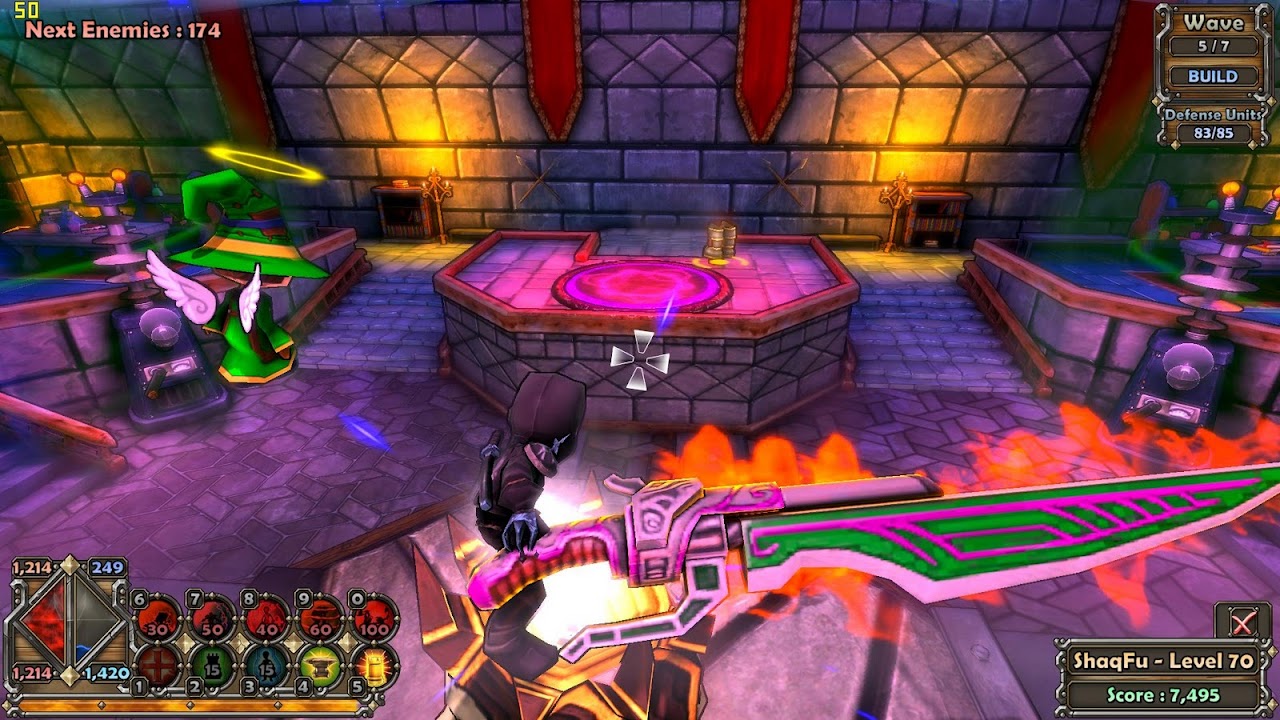
First here is the back area now totally empty of defenses:
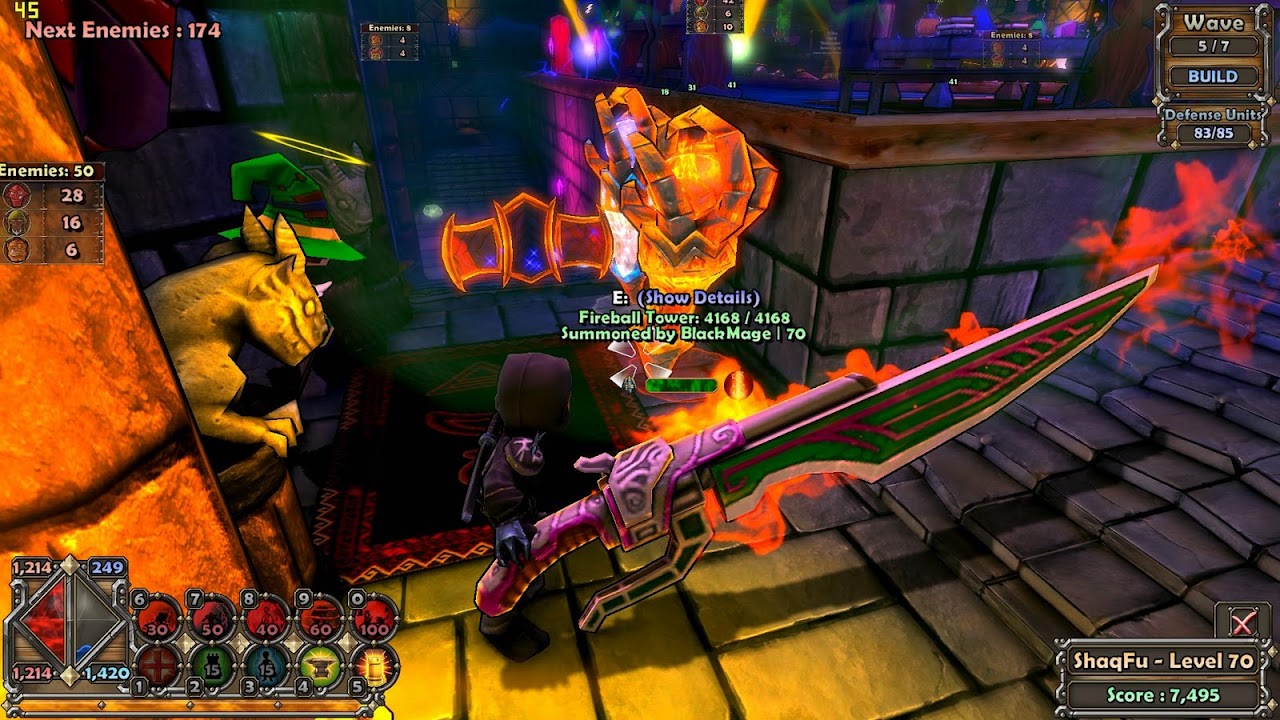
This is because we are cutting the choke further up near spawn with Apprentice towers & walls:
I never noticed ninjas in the back area really so I felt safe using towers here, I also made sure to put one tower infront of the other so that if one did get a ninja on it, the back tower could protect it.
The neat thing with this is the towers are killing a lot of the mobs that would normally be going in the forward direction to the front. I honestly had too much defenses in the back for the number of mobs that go that way for the original build. Not that it was a bad thing but I think this could be better. I need to hit wave 20+ to see for sure.
The Electric Aura is now right outside of spawn with the Ensnare Aura staggered behind it:
https://lh5.googleusercontent.com/-H…1-04-44-66.jpg
This means I kill again mobs that would be going to the forward direction not just the back direction, and also it kills faster speeding up the time. Its VERY important to stagger the Ensnare Aura and not stack them because if you put ensnare right outside of spawn it makes things go very slow and causes massive mob backup.
Positioning is easy, Electric goes dead on center to spawn as close as you can get it, for my aura size I just put Ensnare right in the center of the alchemy shelf.
The front area remains the same as the original build:
I like spike walls here they are well over 3x more durable than apprentice walls and so I dont want them to fall if I need to wander away for a while, mobs will be trapped in STR Down, Electric, Gas, and Inferno so they will die without hero DPS so its just important that they walls do not fall.
Freeing up the DU from not having the Strength Drain Aura in the back anymore I was able to put a Enrage Aura here in the front center:

My idea behind this was a “Ninja Bunker” Wave 15+ always starts with some bad ninja ganking. They go right after your hero so I figure why not stand in the middle of this aura and let them kill each other Also if your right up against the back, given my aura size I am also in the Strength Drain Aura keeping me safe from damage.
It works but not as good as I wanted because there is a 3 second immunity to Ninjas, it goes away next patch. So I think this Enrage Aura will be awesome after patch. Until then a Healing Aura may be better so you can just take the hits and not die. Only problem is the Healing Aura is so much bigger that it cant go into the same spot, for me I have to put it off center some.
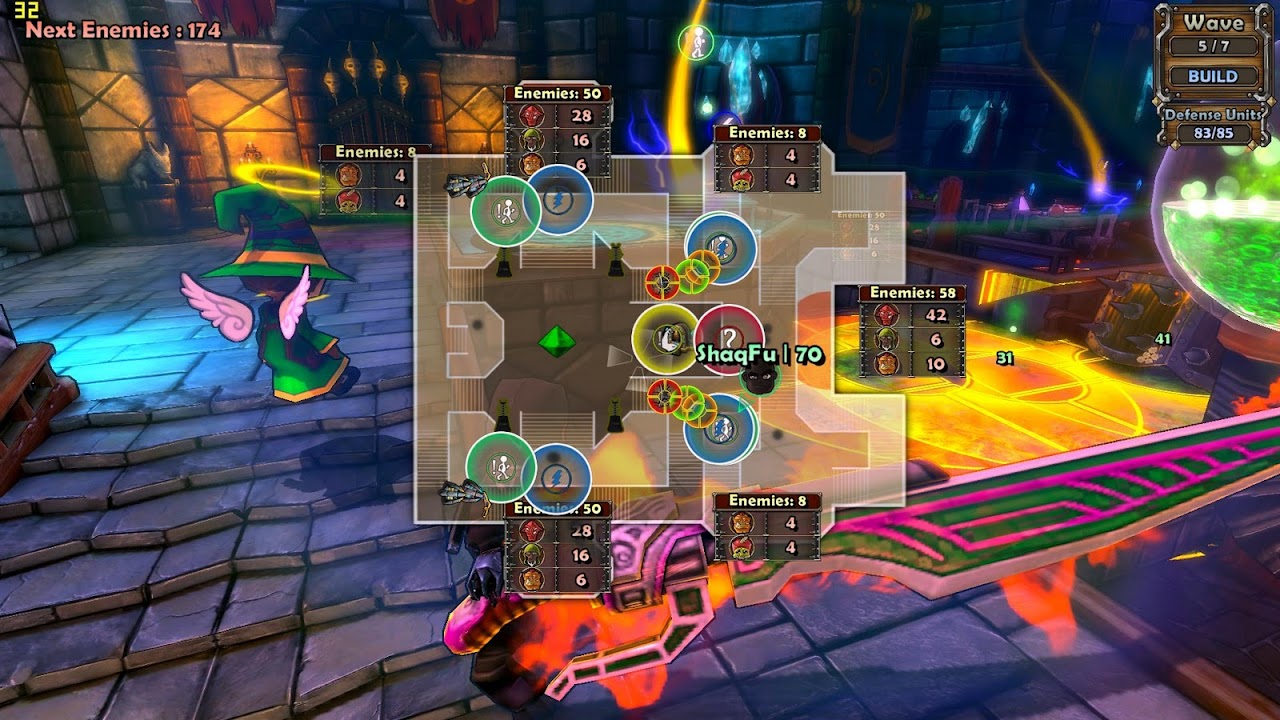
Here is the final map overview of the full alt build:
Try out both builds, feel free to experiment and let me know what works best for you and why!
My input on Alt Build so far:
> Less mobs going to the front not that it was a problem before but its nice
> Had to break my rule of no towers, so it could be vulnerable to ninjas but I think that area is pretty ninja free.
> Summoners will sometimes hack back in spawn due to agro on the towers so they will require manual killing. I think maybe putting the towers up above where the aura is placed may work well, then it can shoot into spawn and kill the summoners. Its on my list of things to try.
> This build can easily be converted back into traps for the rear if you want
I have tons of new video tutorials planned, just holding out till 7.11 because its going to be such a big game changer that I don’t want to make something that will be outdated in a few days.
Thanks Takin for the feedback on the original build and congratulations on passing wave 25 Insane Survival.

Recent Comments